onecelledcreature
Active Member
- Posts
- 280
- Location
- Cheshire
Ok i really wish i started this thread when i started work, then i could have grabbed some help as i went along.
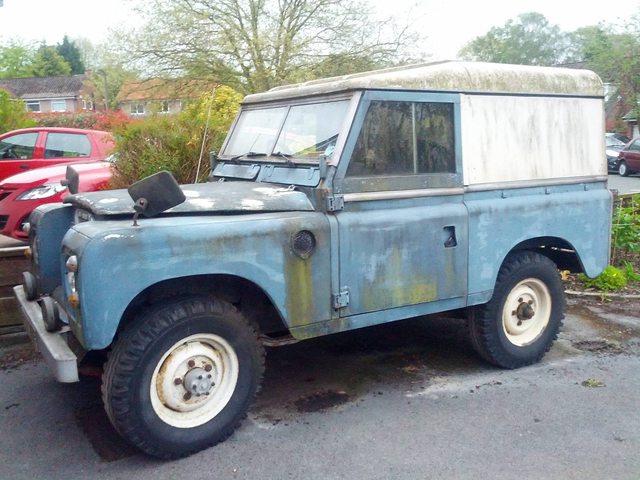
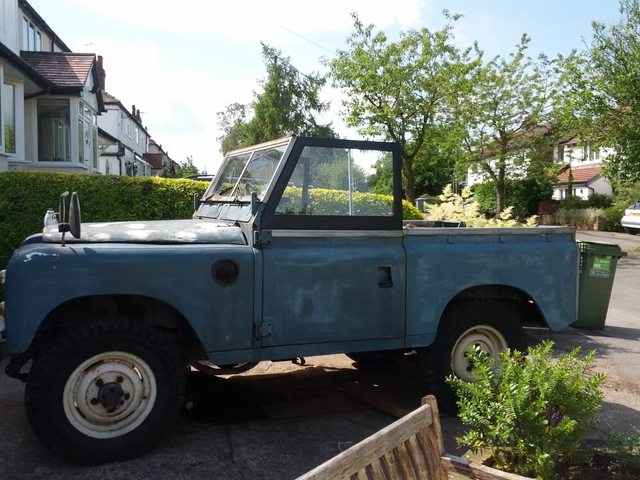
I was very fortunate to pick up a 1975 series 3 2.25d for Free. It had been stood for around 10 years, got chatting to the owner who was moving out and needed to shift it. So took the offer.
Towed it home and tinkered about for a bit, being a diesel it went without too much effort. Took a while to free the clutch and get it moving, but it just about moved back and forth.
This was in april.
everything looked not too bad on top, but to be sure decided to go for a near complete strip down to make sure.
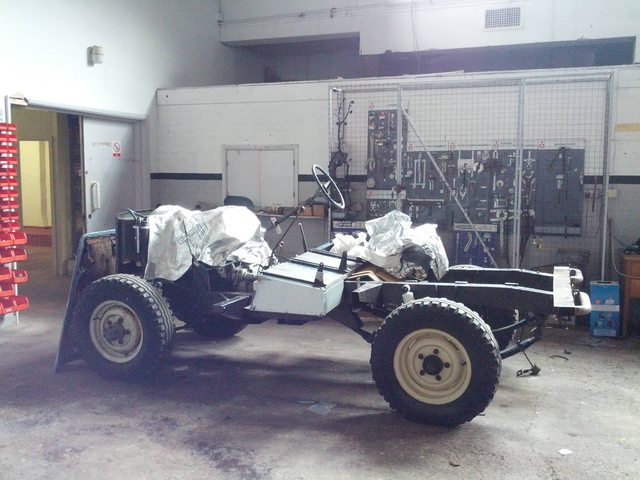
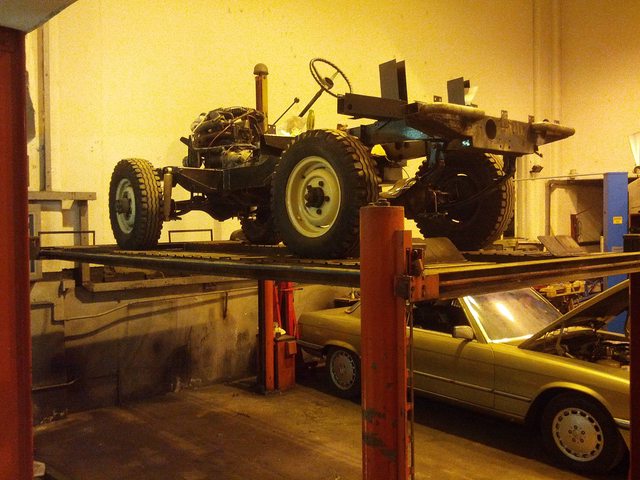
Am now at the point of finishing the chassis and building back up with an aim to being on the road by the end of summer.
Here's some photos
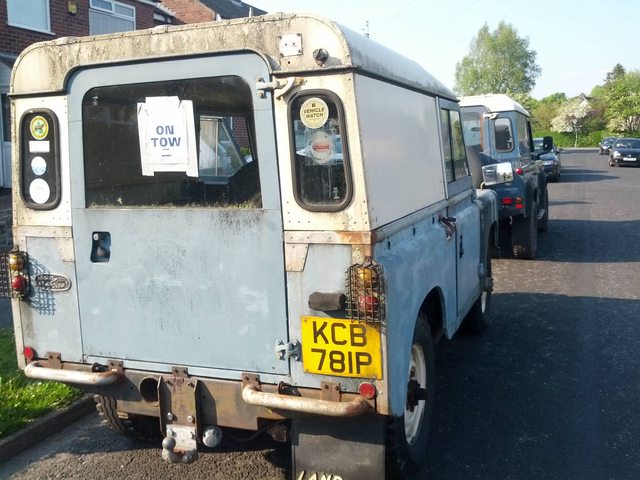
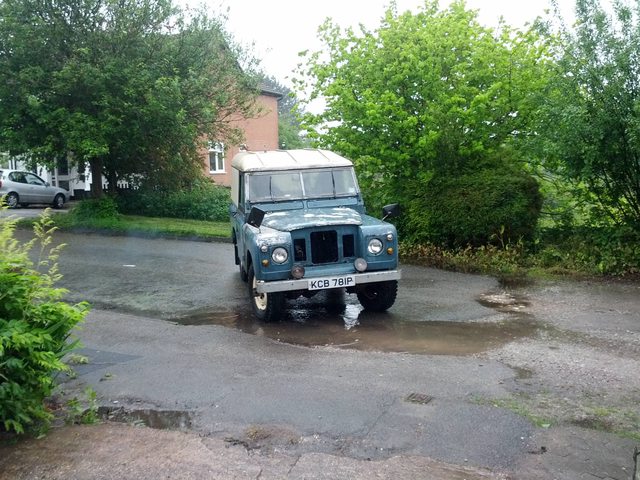
On tow
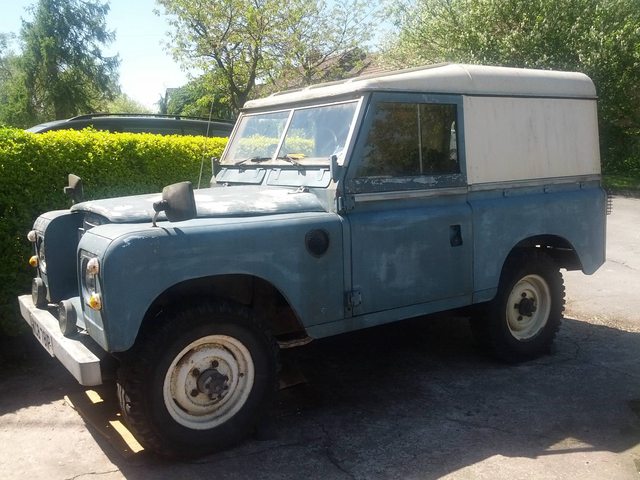
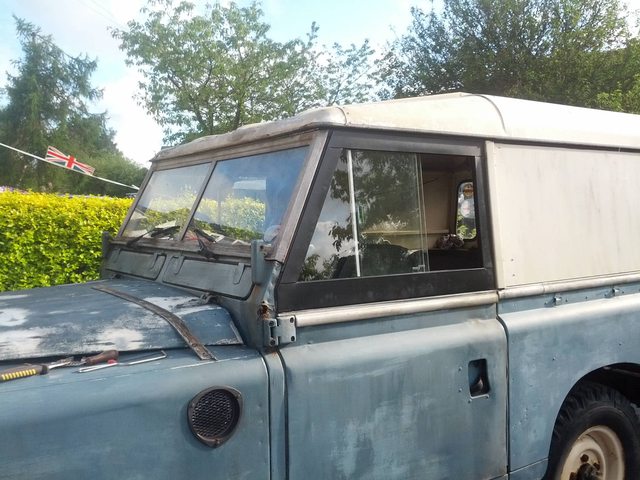
After a wash
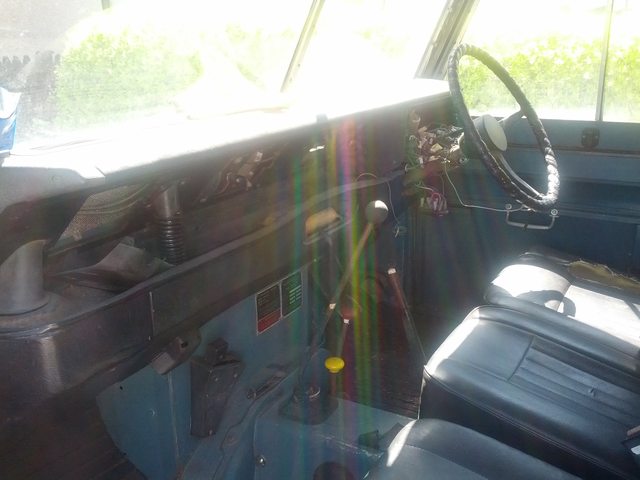
Fairly clean inside
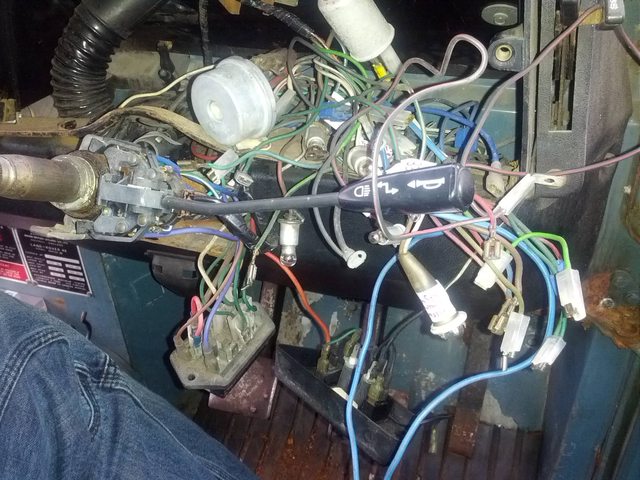
Dash and ignition were smashed off in a break in which is the only reason it was off the road
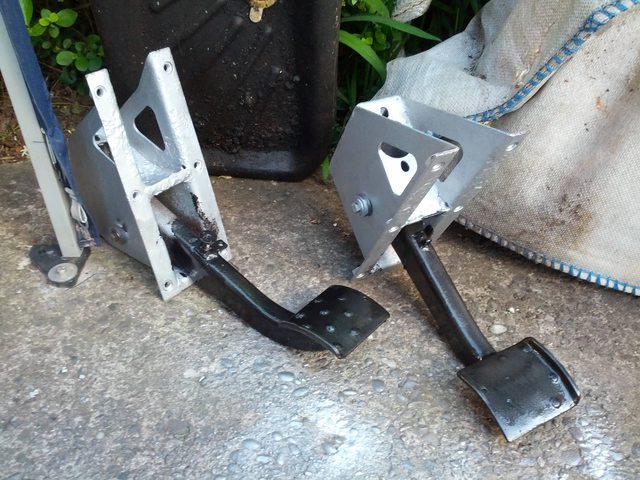
I wired most of the dash up to check it all out, mostly working
Getting in and out was making the rotton doortop fall off so replaced both early on.
First drive
Started the take down
rear tub off

got a tent up so i could work through this british summer

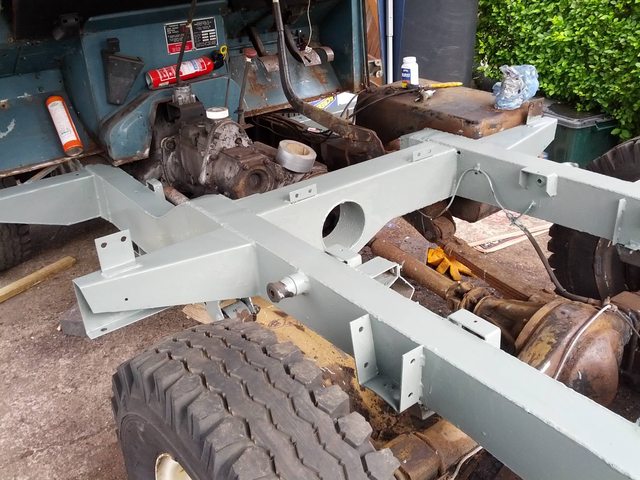
Cleaned up metal
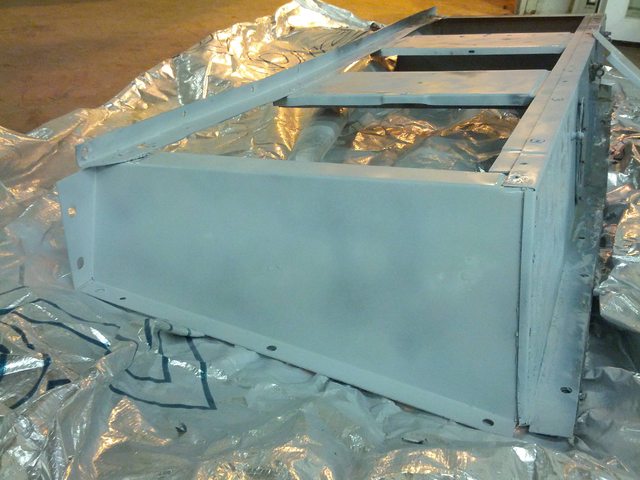
Primer
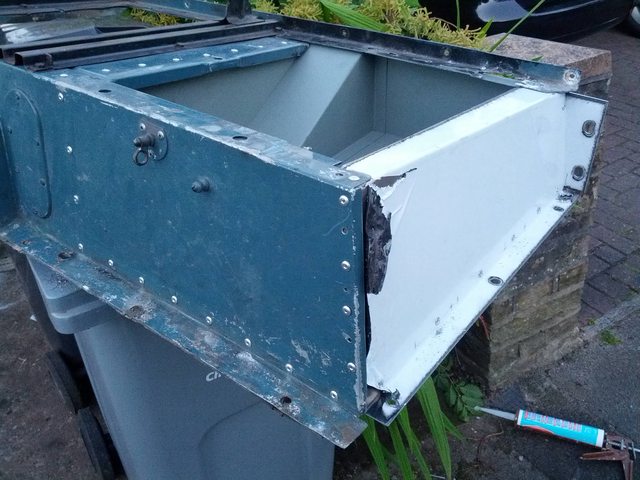
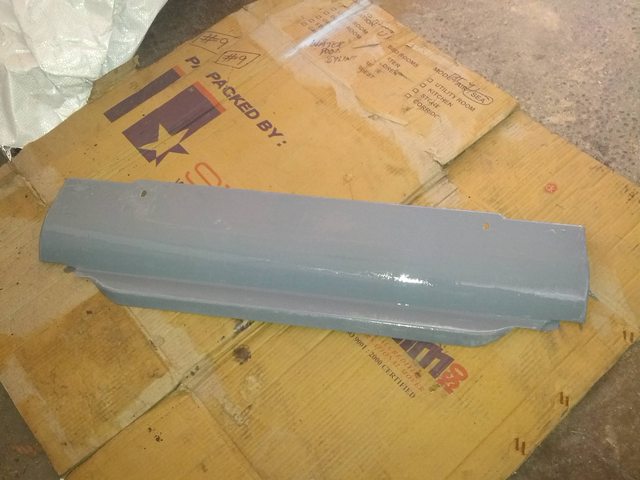
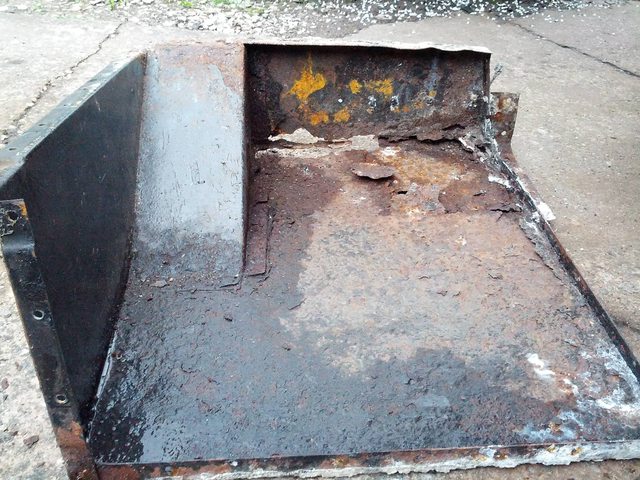
Decided the tool box was beyond repair so got a new one
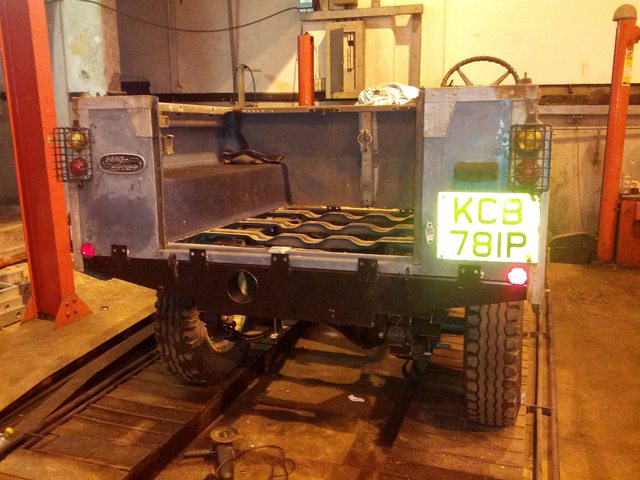
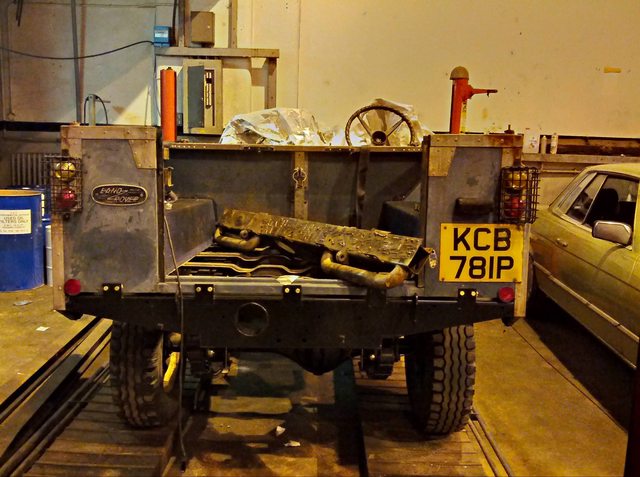
Paint on to the back
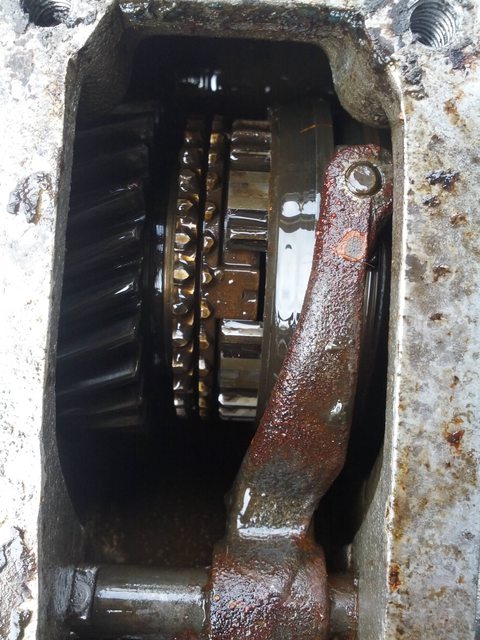
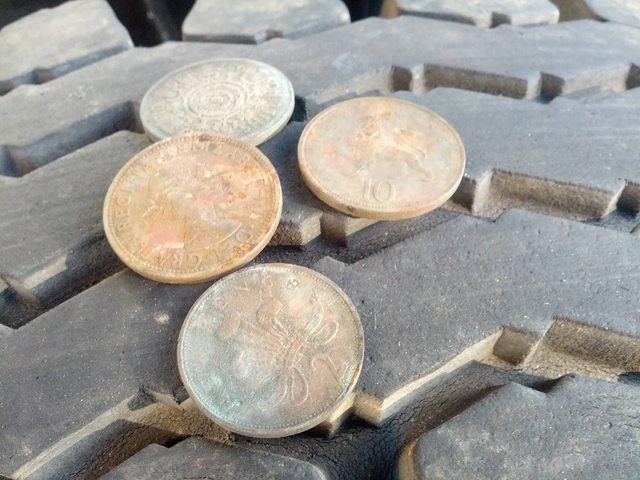
Treasure in the dash
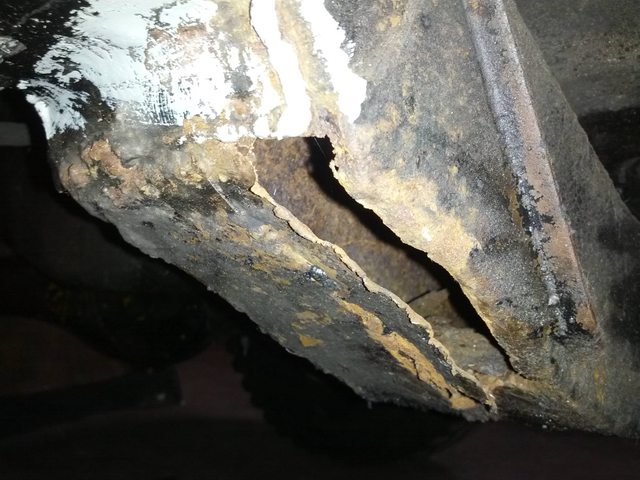
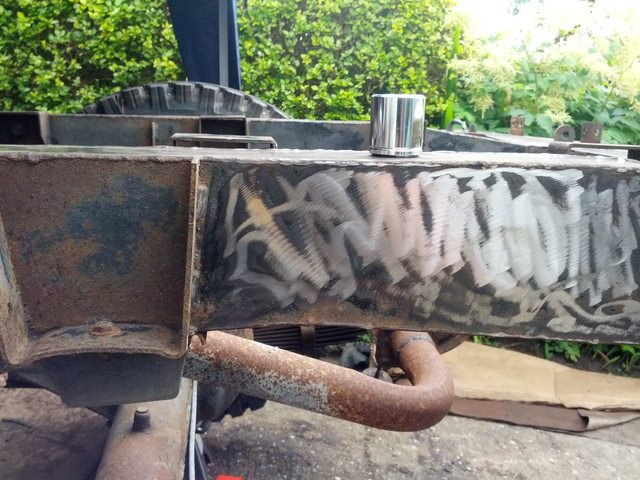
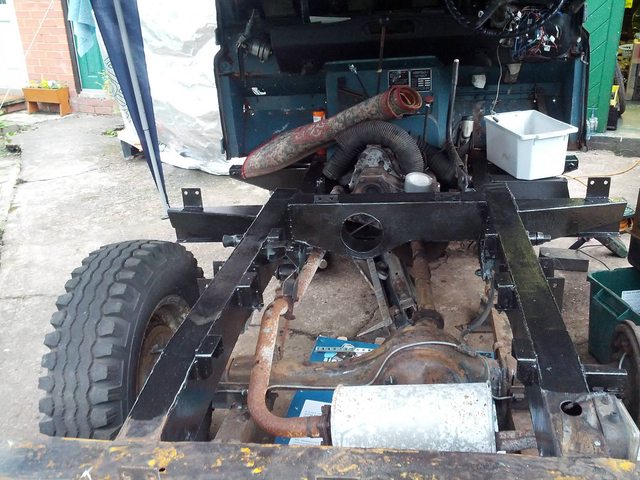
And the front of the chassis
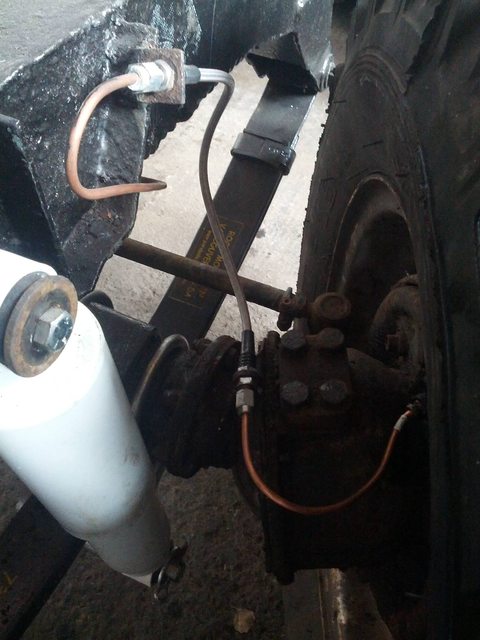
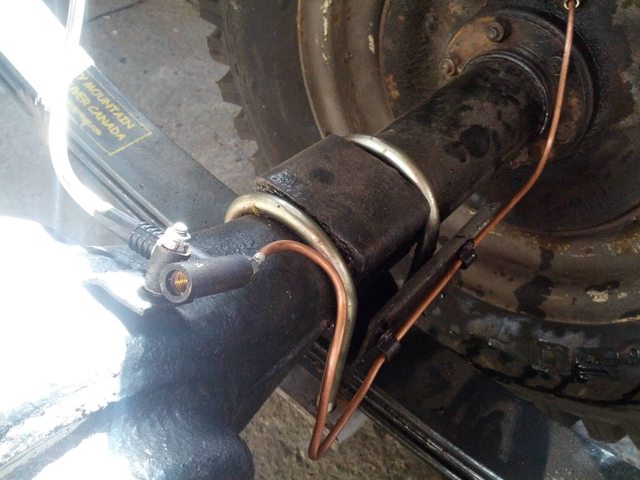
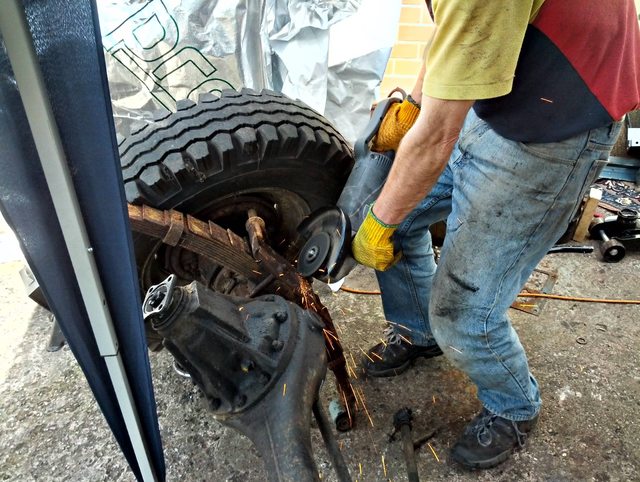
Front axle off, fitting rocky mountain parabolics

a little bit seized up
Started to build up a new bulkhead i picked up

front springs on
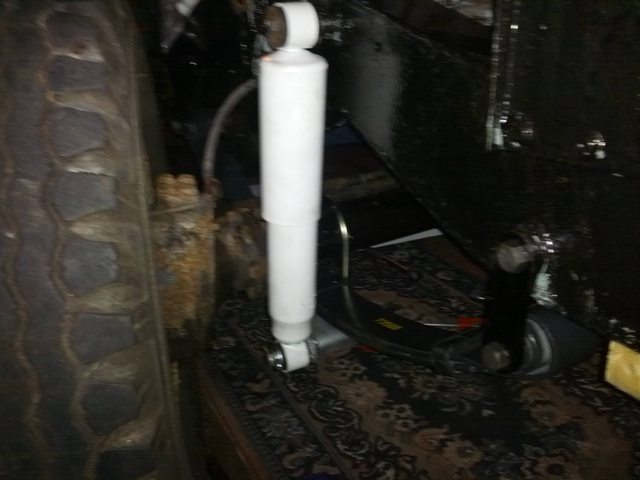
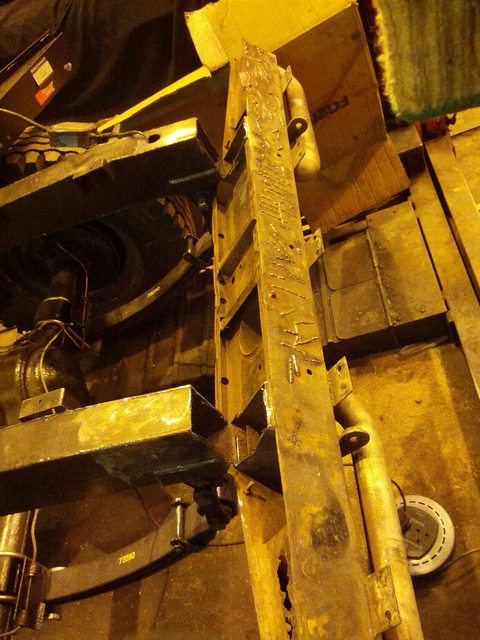
And the back

That's about where i'm up to now. I've never done this before so i'm happy about where ive got to in this time.
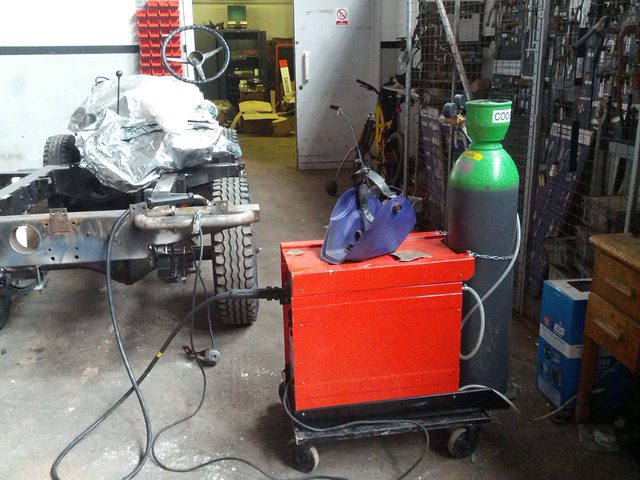
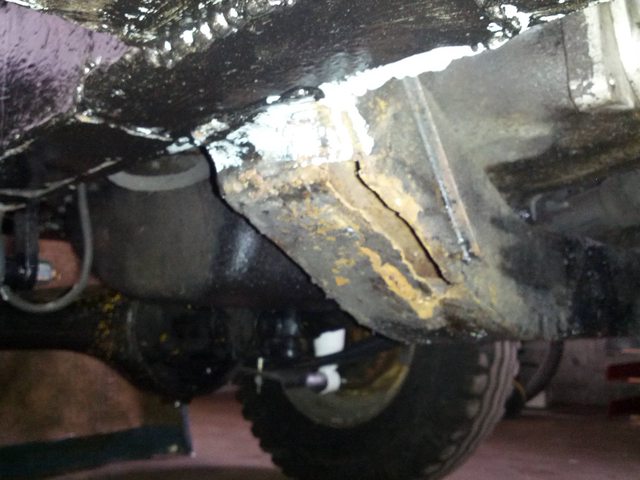
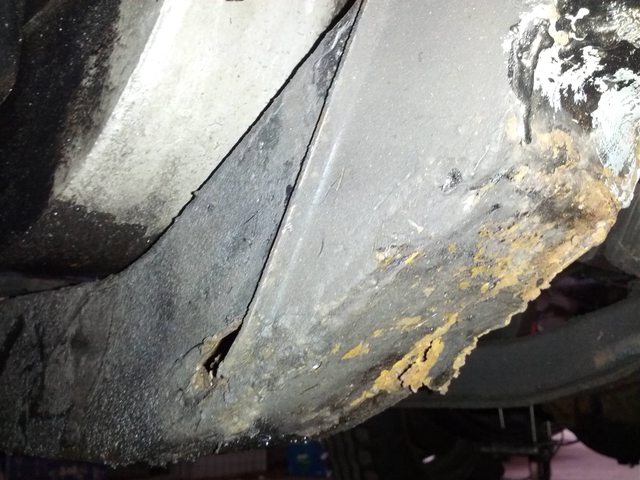
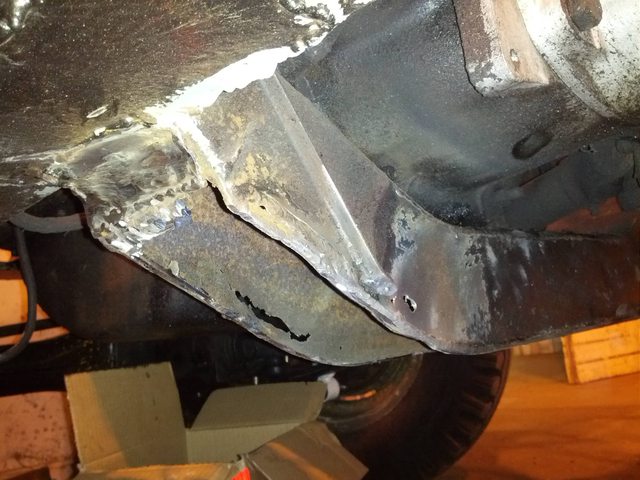
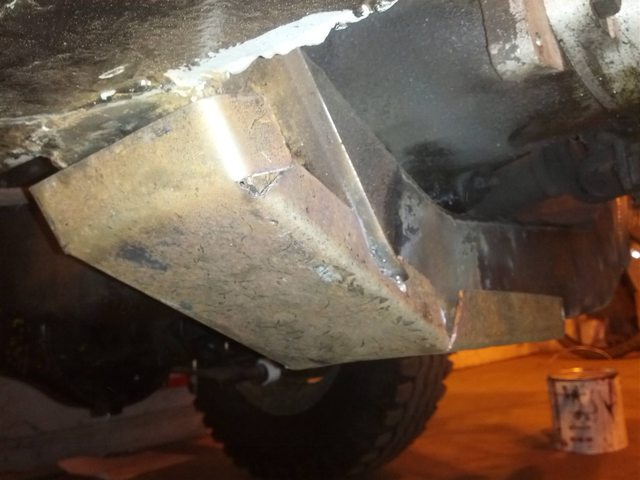
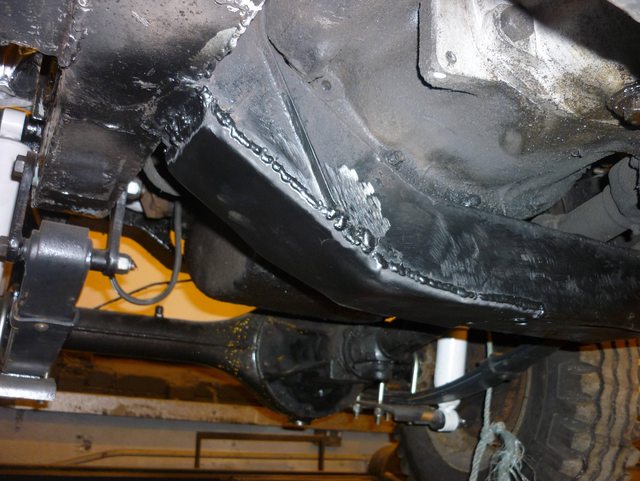
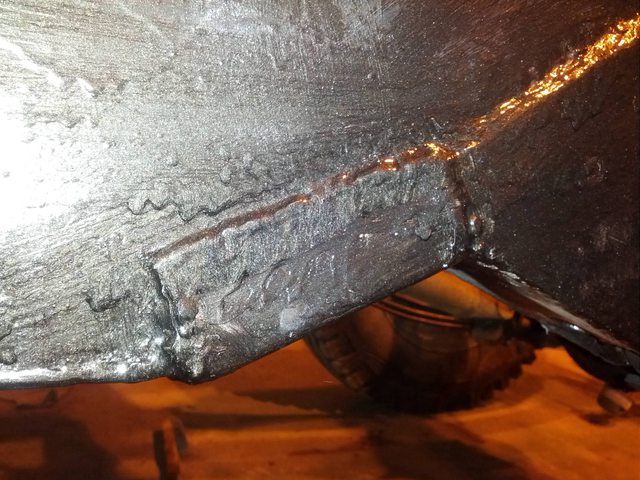
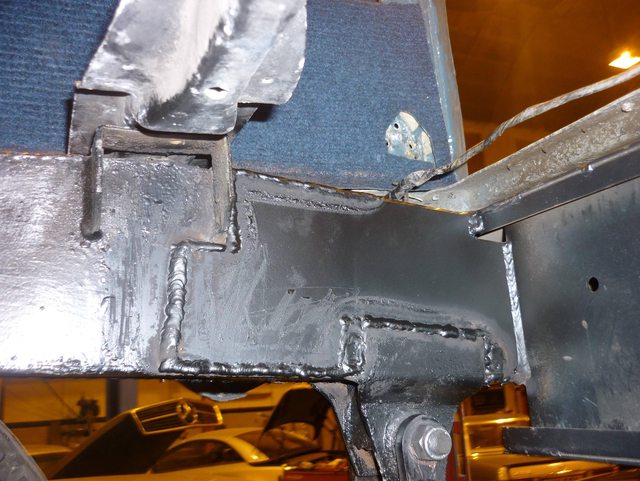
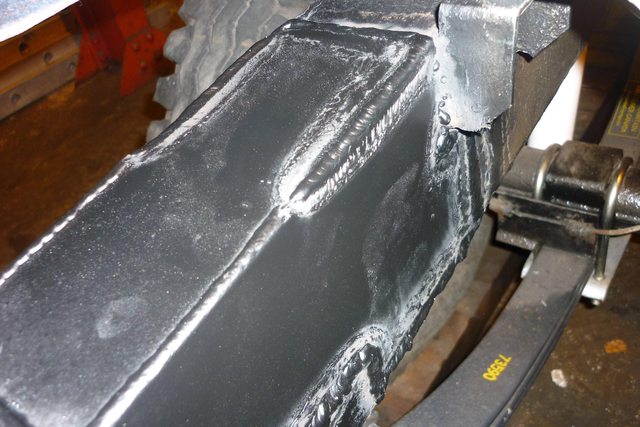
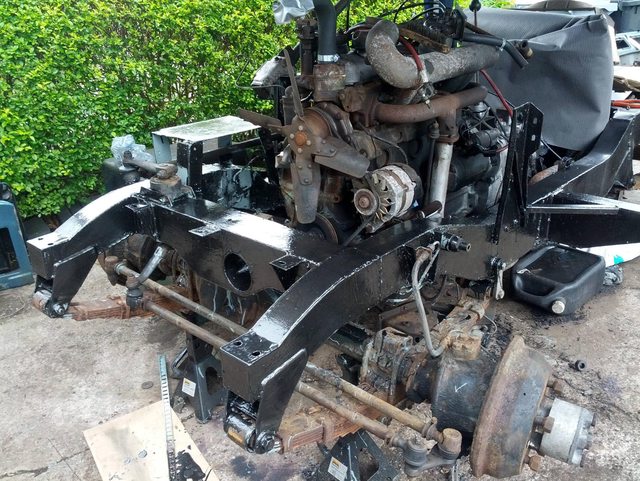
The chassis still needs some welding, but in time i've had, i ended up painting first. Will be replacing the rear xmember as someone's welded some handles on to cover some rot and they fowl the tailgate hinge
One thing is i haven't planned on painting the body yet, the original paint work is appalling and i'm adding some new bits too.
Should i stop what im doing and get them painted first or will it be easy enough to paint once it's built up?
I was very fortunate to pick up a 1975 series 3 2.25d for Free. It had been stood for around 10 years, got chatting to the owner who was moving out and needed to shift it. So took the offer.
Towed it home and tinkered about for a bit, being a diesel it went without too much effort. Took a while to free the clutch and get it moving, but it just about moved back and forth.
This was in april.
everything looked not too bad on top, but to be sure decided to go for a near complete strip down to make sure.
Am now at the point of finishing the chassis and building back up with an aim to being on the road by the end of summer.
Here's some photos
On tow
After a wash
Fairly clean inside
Dash and ignition were smashed off in a break in which is the only reason it was off the road
I wired most of the dash up to check it all out, mostly working
Getting in and out was making the rotton doortop fall off so replaced both early on.
First drive
Started the take down
rear tub off
got a tent up so i could work through this british summer
Cleaned up metal
Primer
Decided the tool box was beyond repair so got a new one
Paint on to the back
Treasure in the dash
And the front of the chassis
Front axle off, fitting rocky mountain parabolics
a little bit seized up
Started to build up a new bulkhead i picked up
front springs on
And the back
That's about where i'm up to now. I've never done this before so i'm happy about where ive got to in this time.
The chassis still needs some welding, but in time i've had, i ended up painting first. Will be replacing the rear xmember as someone's welded some handles on to cover some rot and they fowl the tailgate hinge
One thing is i haven't planned on painting the body yet, the original paint work is appalling and i'm adding some new bits too.
Should i stop what im doing and get them painted first or will it be easy enough to paint once it's built up?
Last edited: