So my relationship with Land Rover has just begun.
I was (mis?)fortunate enough to pick up an 04 Freelander TDI from a dealer fairly local to me a couple of weeks back.


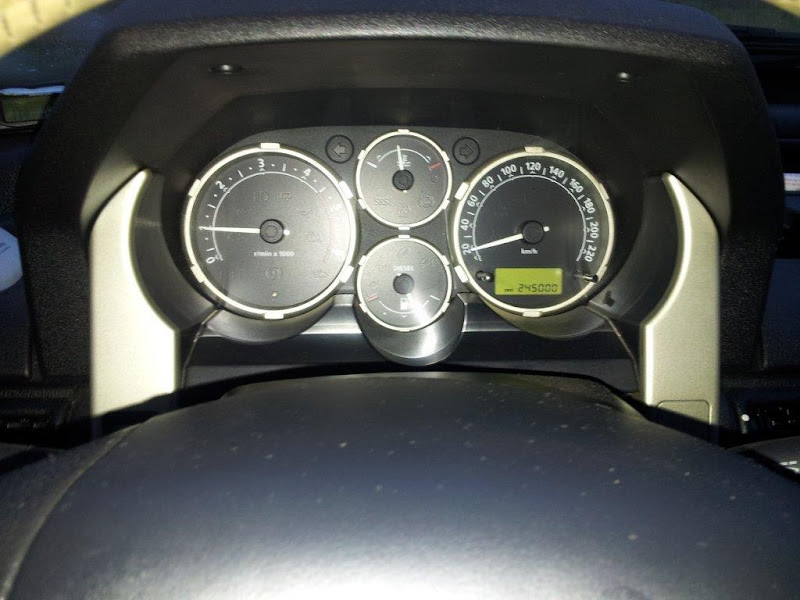
She's an S with 2 previous owners, full LR service history and 109k on the clock.
This Freelander replaces my daily driver which was a 2002 Audi A3 1.9 TDI Quattro. I also have a MINI Cooper S that I've spent far too much time and money on and which seems to have developed agoraphobia recently.
I'm not shy with a spanner as you'll see. Looking forward to getting greasy under the Hippo.
First plan is to give her a service (tomorrows task weather permitting)

I snapped the bonnet release cable, so headed out to LR and picked up a new one.

I believe in dealing with issues before they become problems. So with that in mind, new silicon hoses and T clamps.

Allisport EGR blanking kit has been ordered.

What's wrong with this picture? (Other than the questionable focus)

I've ordered a Gates Renault 5 89 degree Thermostat to push in the top hose as that's as high as the gauge gets.
She needs a good clean, and I'll be fitting a pair of front ARB bushes and drop links soon as they're knackered.
I plan to lift her 2" then fit some modular wheels with AT tyres. I'll also be looking into upgrading the speakers/headunit to keep me amused on my commute to work, along with some kind of lighting upgrade as I drive mainly on unlit B roads.
The VCU is good, but I may replace it with a reconditioned one with new GKN bearings just to give peace of mind.
I was (mis?)fortunate enough to pick up an 04 Freelander TDI from a dealer fairly local to me a couple of weeks back.


She's an S with 2 previous owners, full LR service history and 109k on the clock.
This Freelander replaces my daily driver which was a 2002 Audi A3 1.9 TDI Quattro. I also have a MINI Cooper S that I've spent far too much time and money on and which seems to have developed agoraphobia recently.
I'm not shy with a spanner as you'll see. Looking forward to getting greasy under the Hippo.
First plan is to give her a service (tomorrows task weather permitting)

I snapped the bonnet release cable, so headed out to LR and picked up a new one.

I believe in dealing with issues before they become problems. So with that in mind, new silicon hoses and T clamps.

Allisport EGR blanking kit has been ordered.
What's wrong with this picture? (Other than the questionable focus)

I've ordered a Gates Renault 5 89 degree Thermostat to push in the top hose as that's as high as the gauge gets.
She needs a good clean, and I'll be fitting a pair of front ARB bushes and drop links soon as they're knackered.
I plan to lift her 2" then fit some modular wheels with AT tyres. I'll also be looking into upgrading the speakers/headunit to keep me amused on my commute to work, along with some kind of lighting upgrade as I drive mainly on unlit B roads.
The VCU is good, but I may replace it with a reconditioned one with new GKN bearings just to give peace of mind.
")