Trillo's V8 Disco 1 Build

This site contains affiliate links for which LandyZone may be compensated if you make a purchase.

TrilloThrillo110

Active Member
Posts
157
Location
Christchurch, New Zealand
Update:

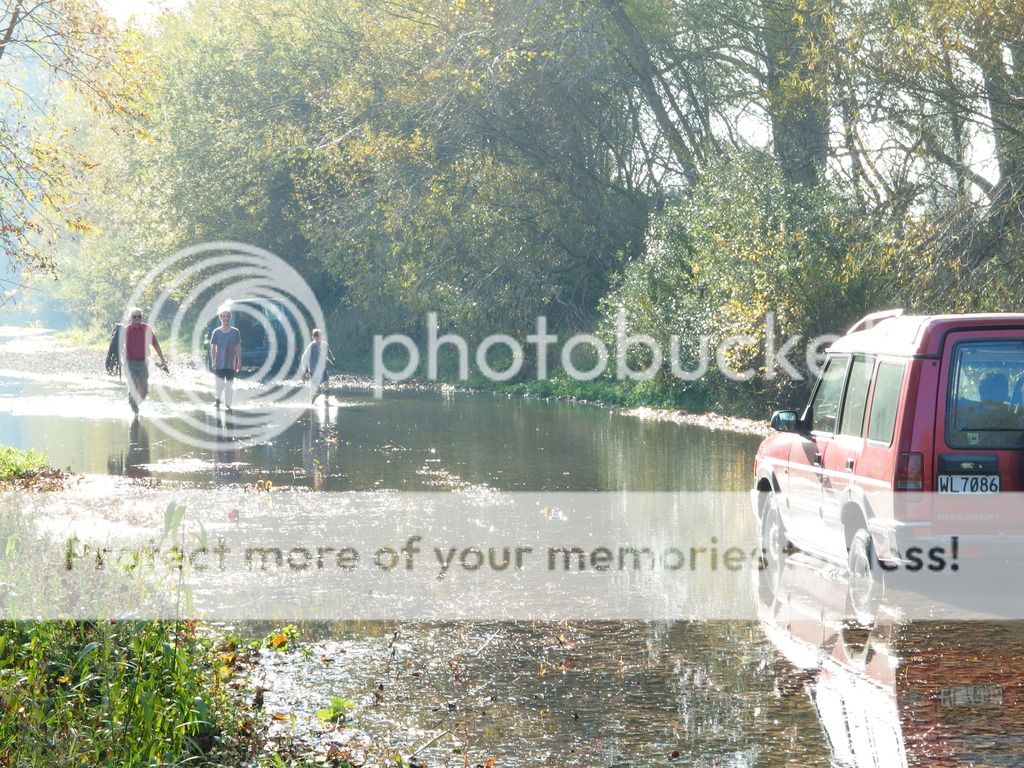
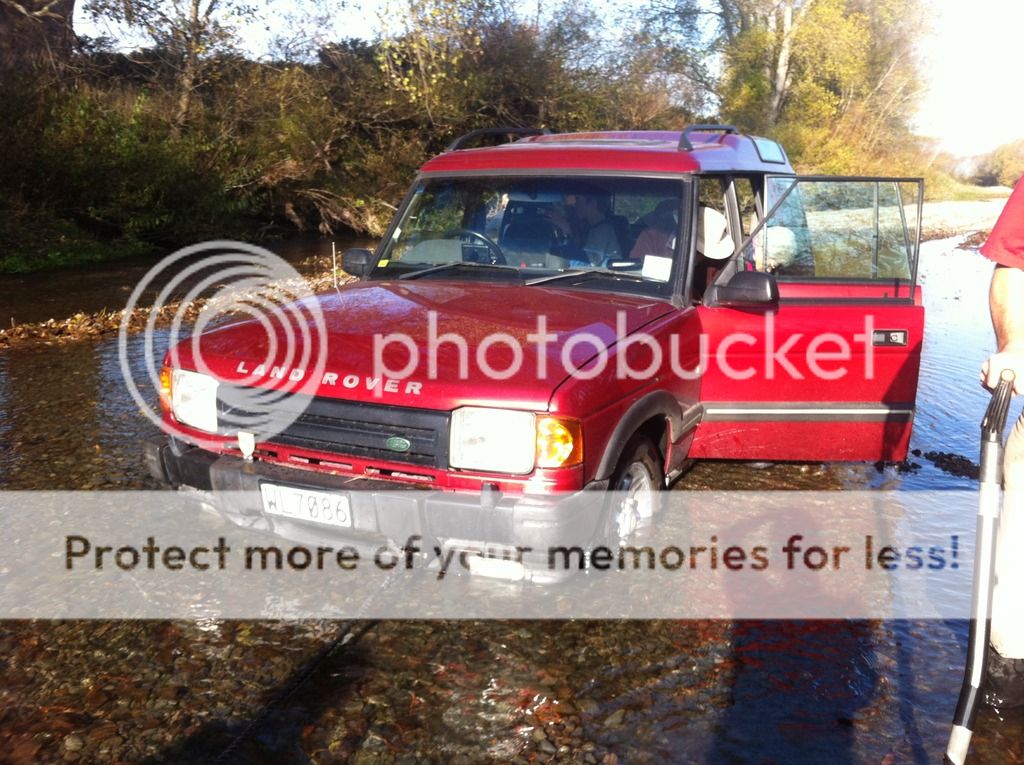
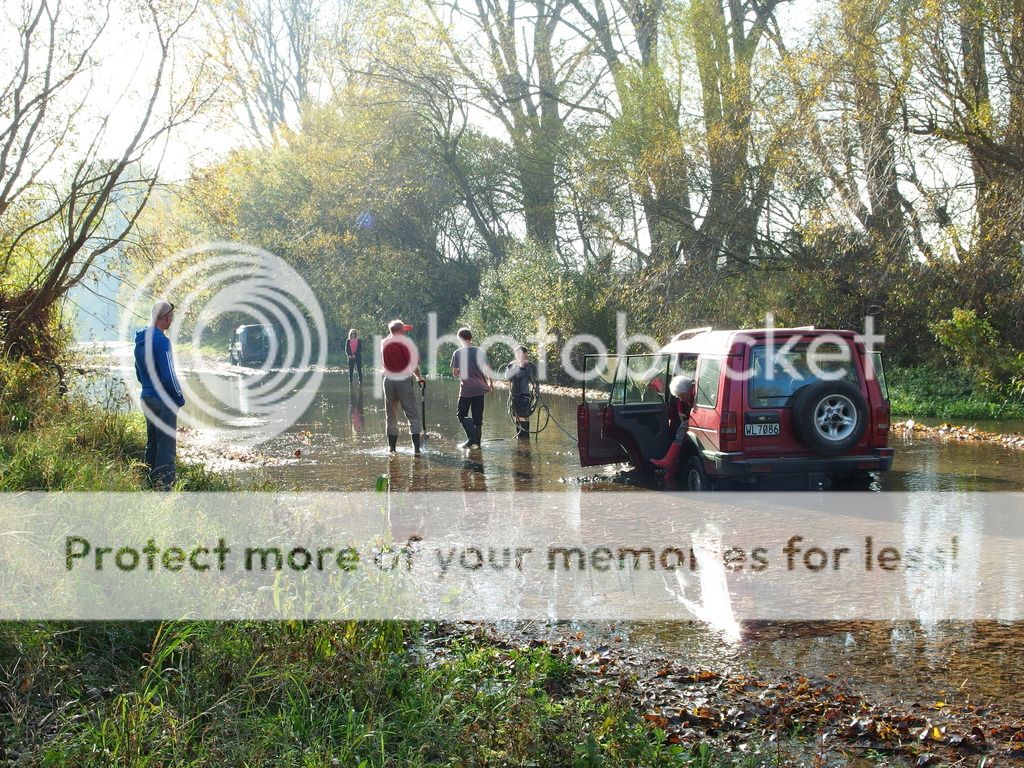
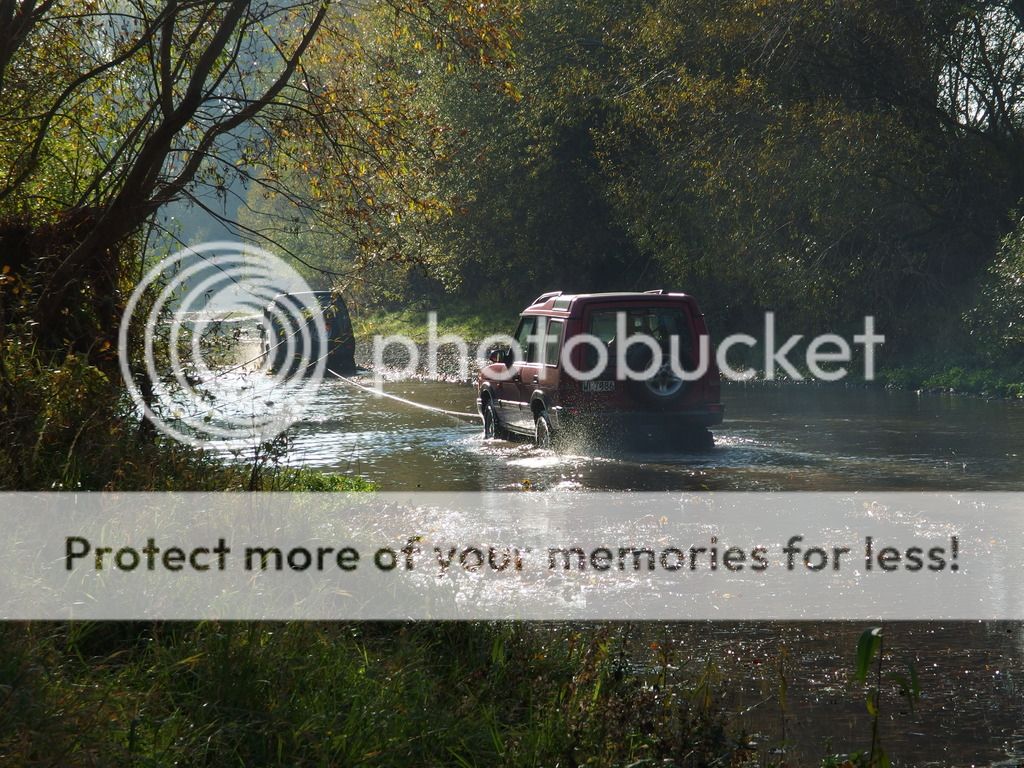
Hey guys, I'm new to this forum, but definitely not new to Landies.
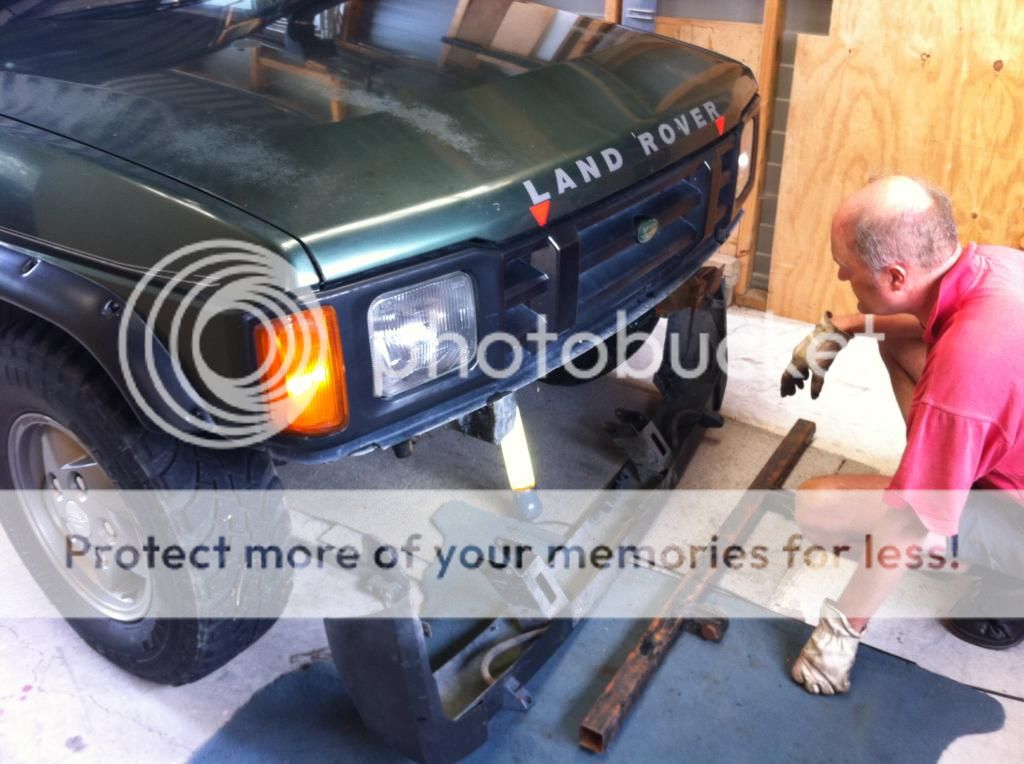
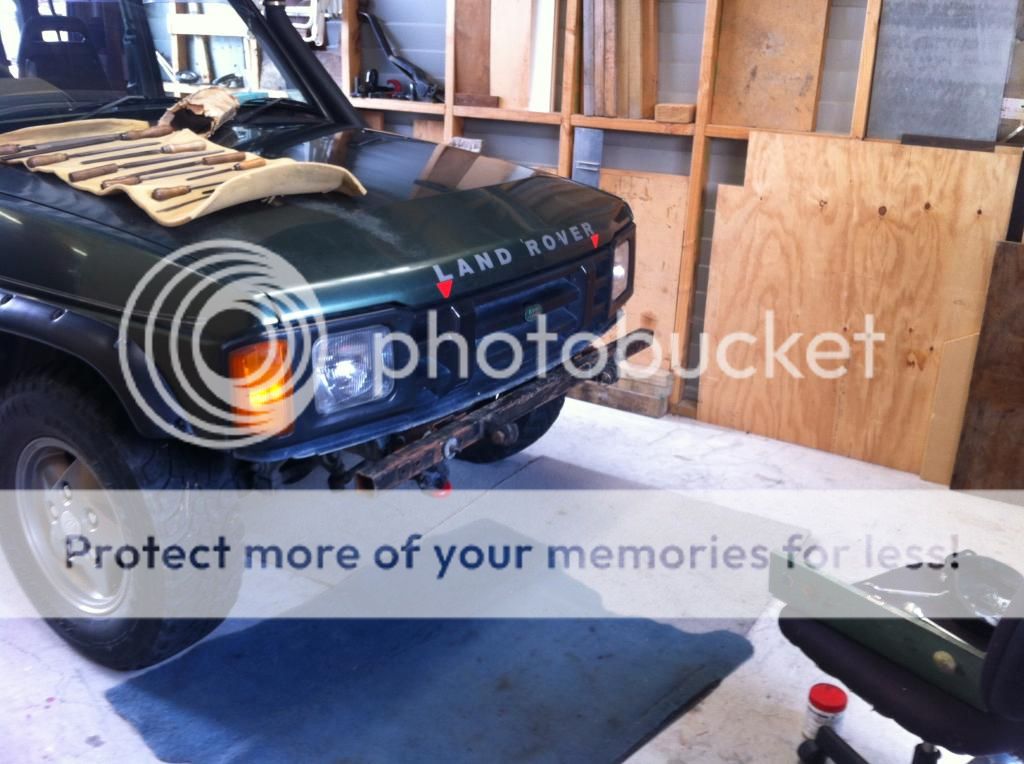
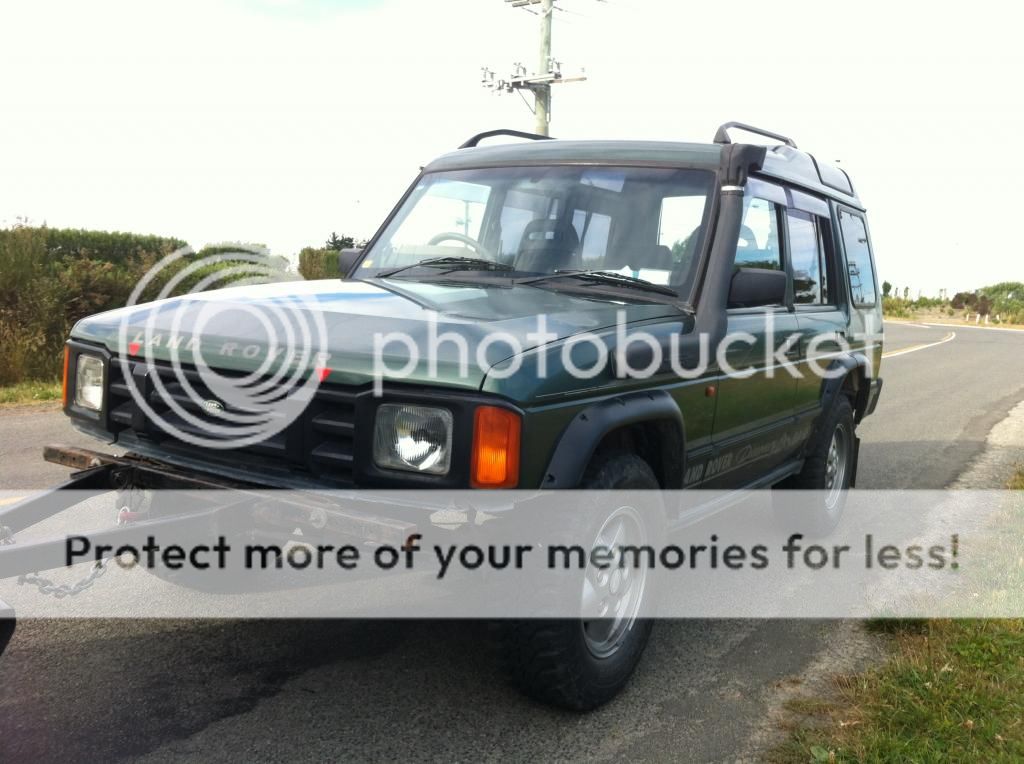
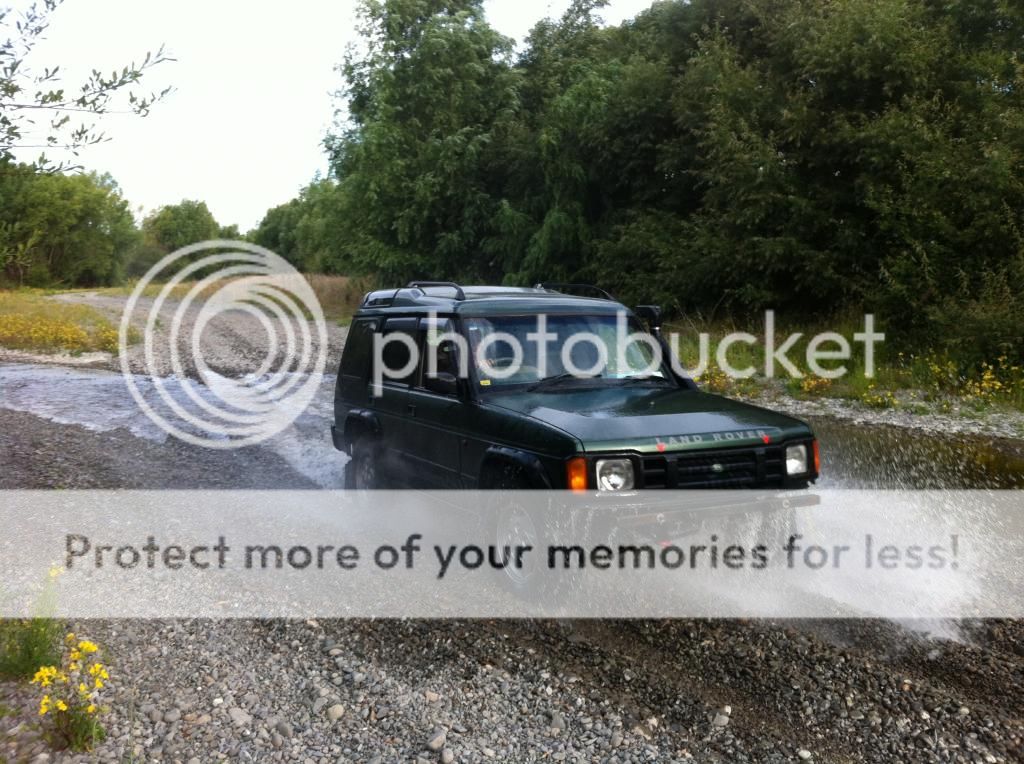
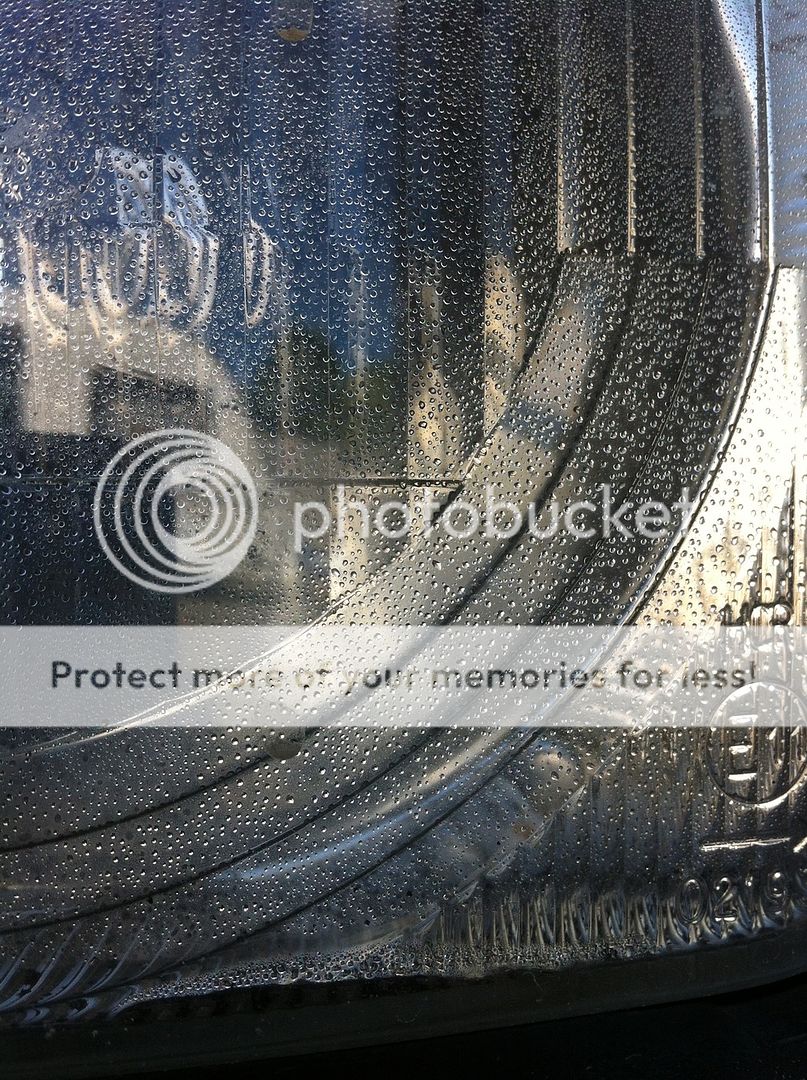
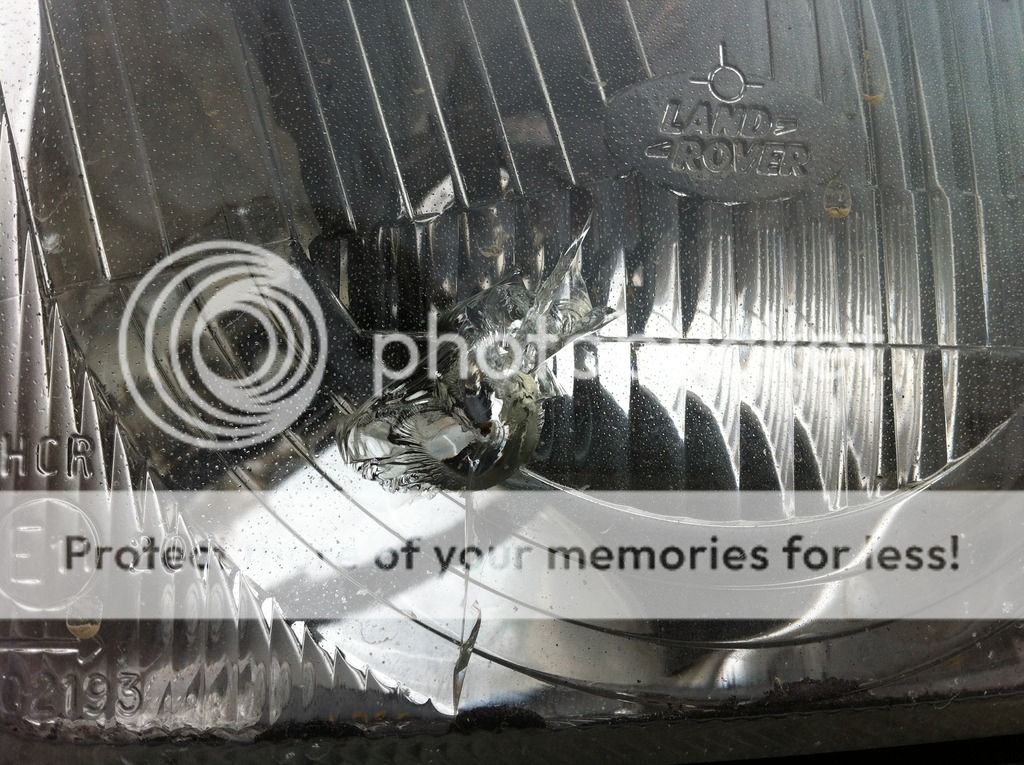
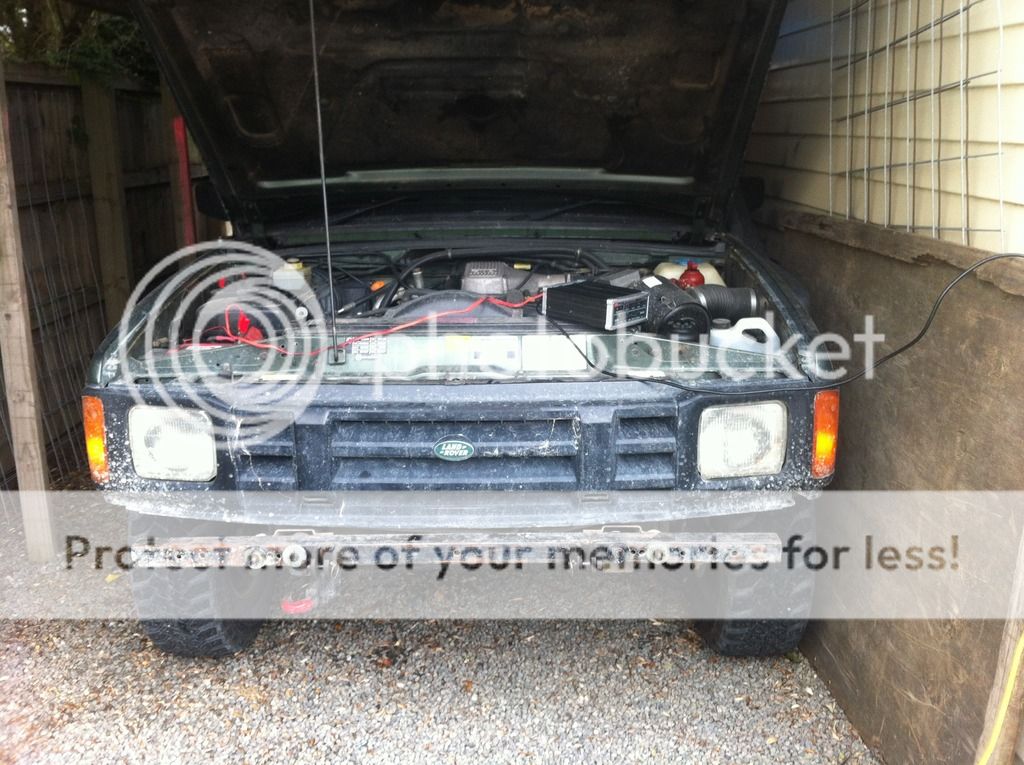
I've been into off roading and Land Rovers since I was 2 years old, and now that I'm fourteen, I've got one. I bought this 1994 Honda Crossroad (essentially a Disco 1) last October. Since buying it I've put the 'Rego' on hold and parked it up, due to not having the time or funds to run it. So here it is....


IMG_0560_zpsfa3b1359.jpg


IMG_0556_zpse776d27a.jpg


IMG_0550_zps23884d7b.jpg


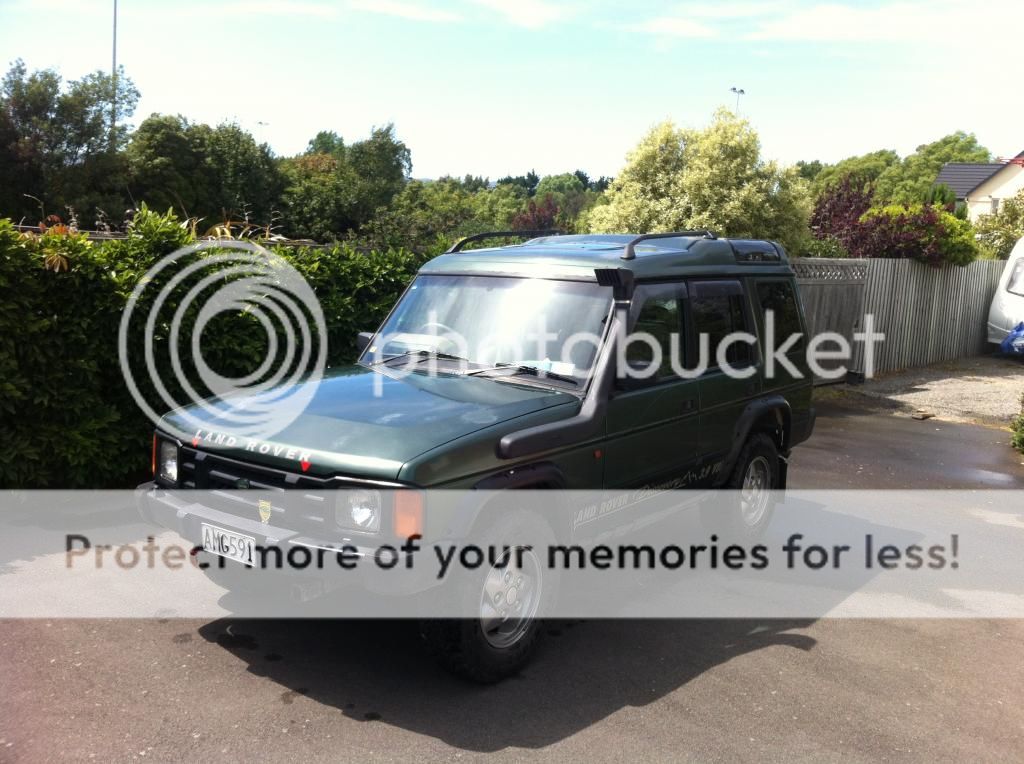
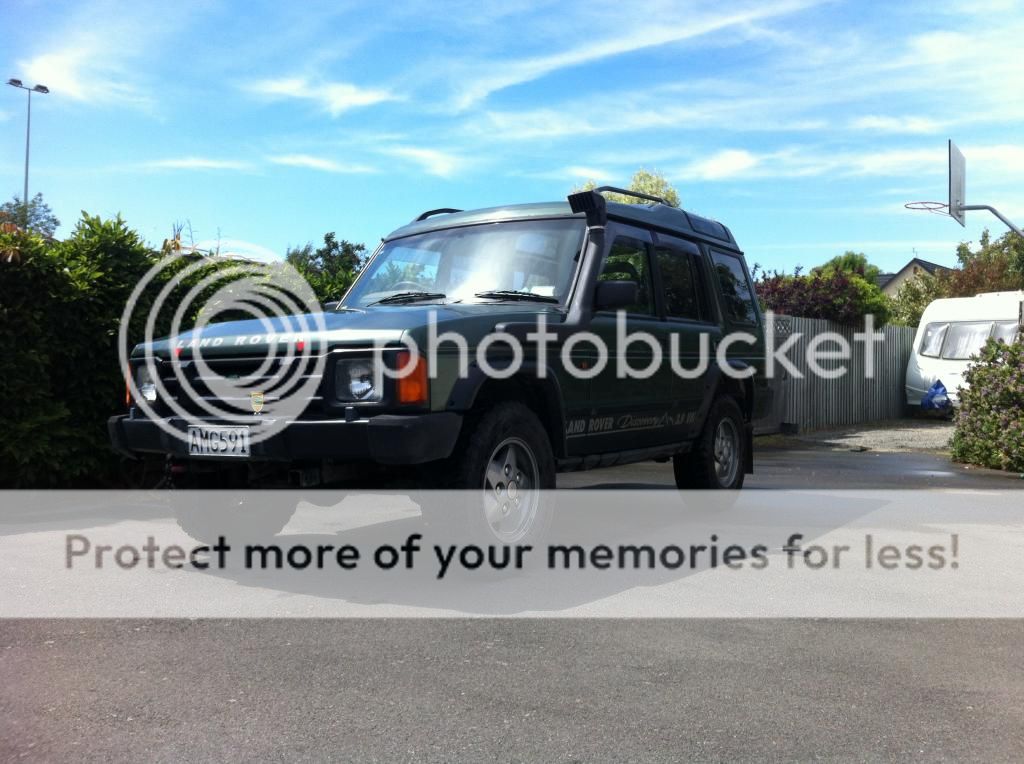
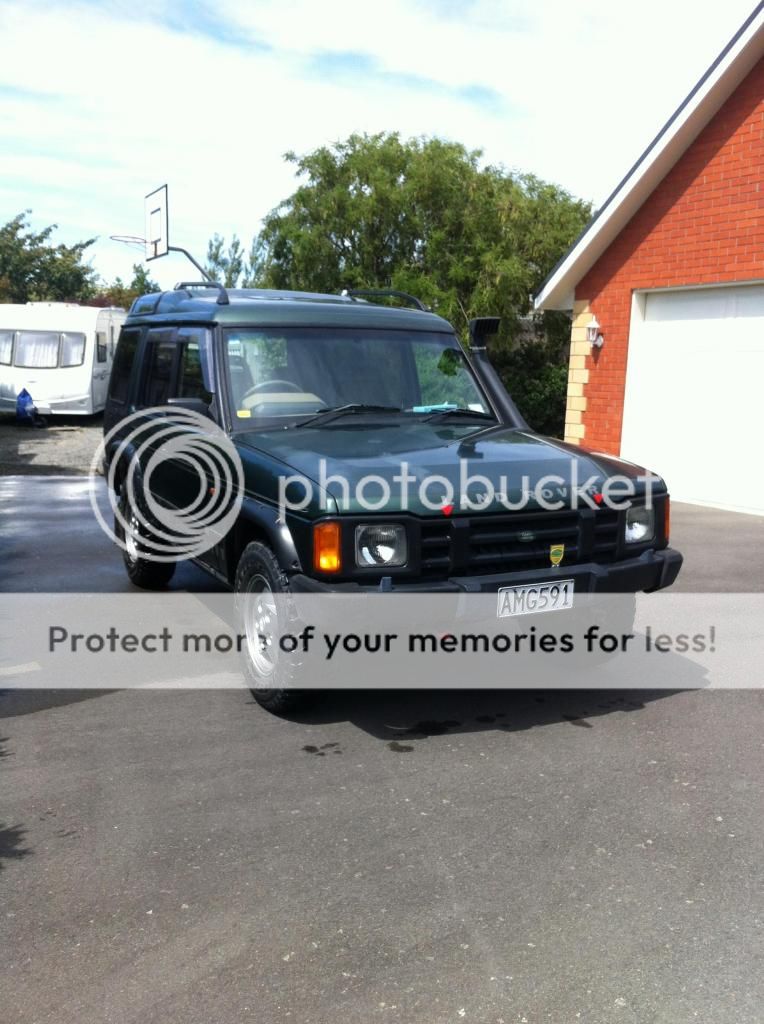
Not bad for $2000 (£1000)!!!!
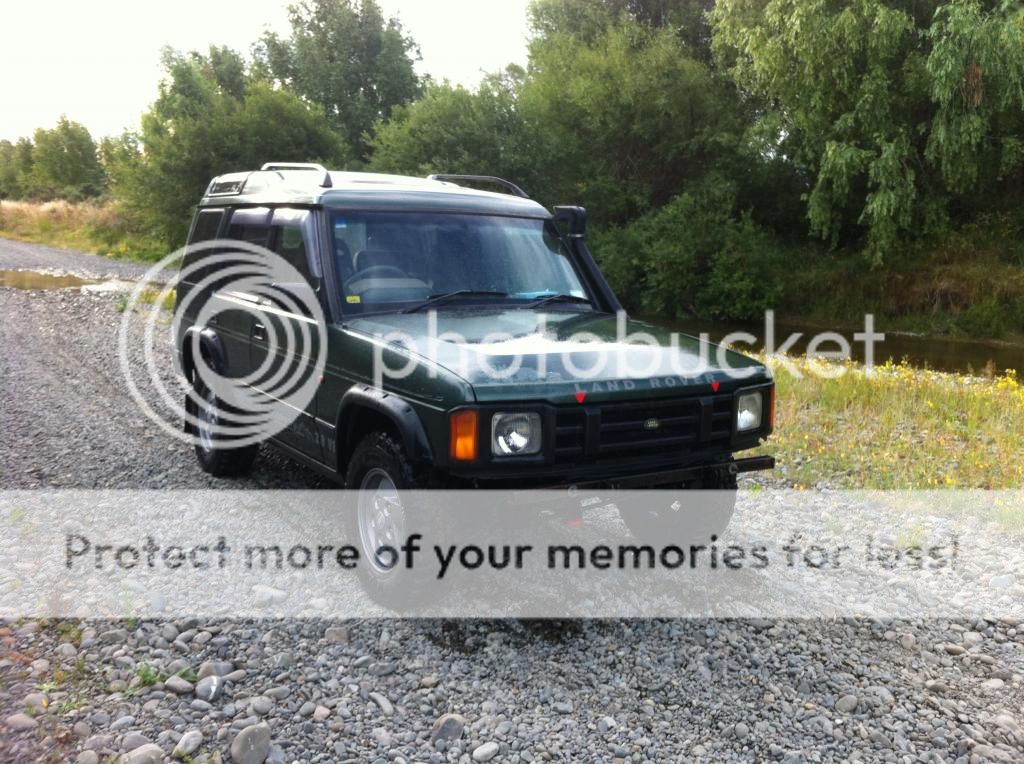
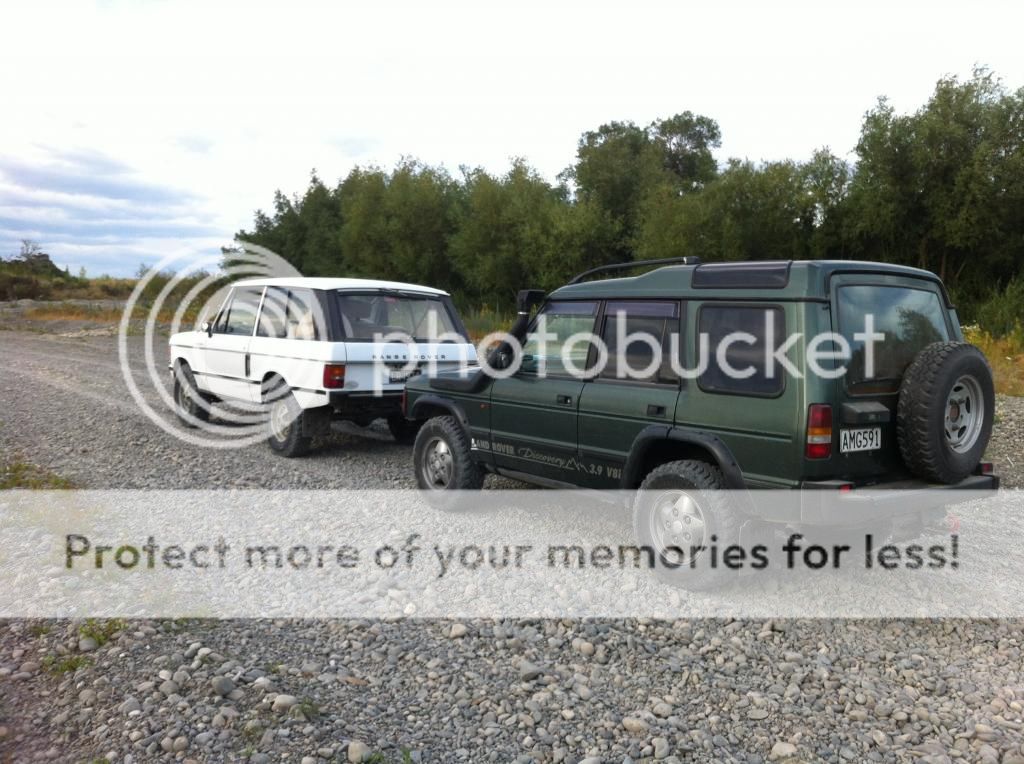
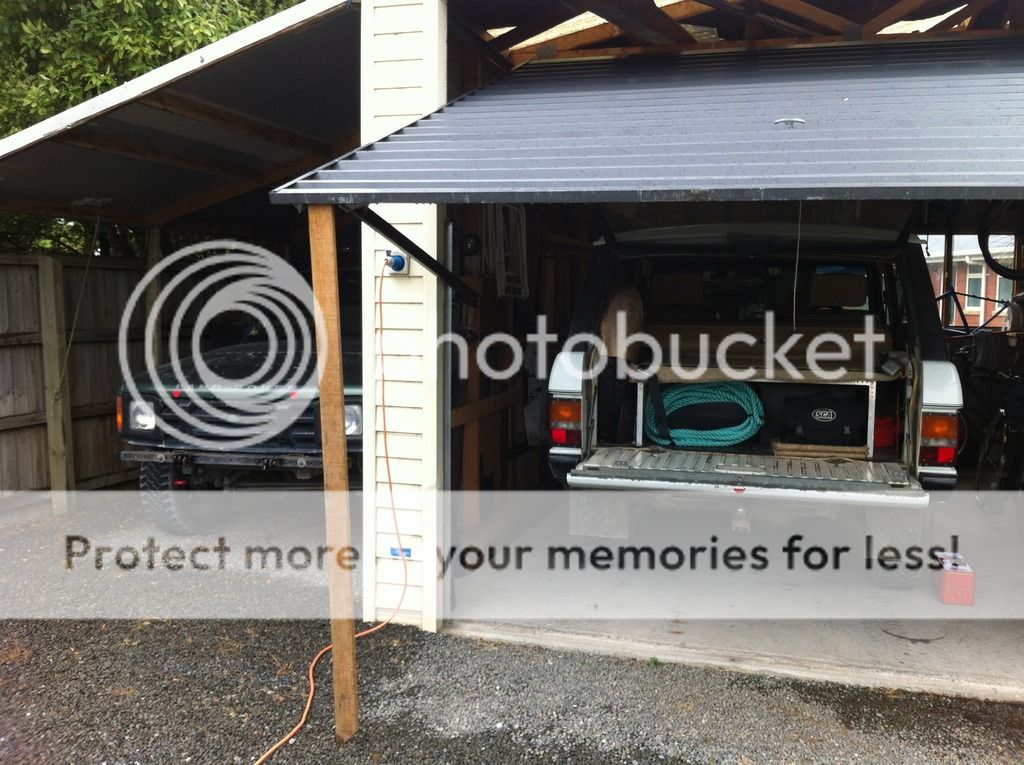
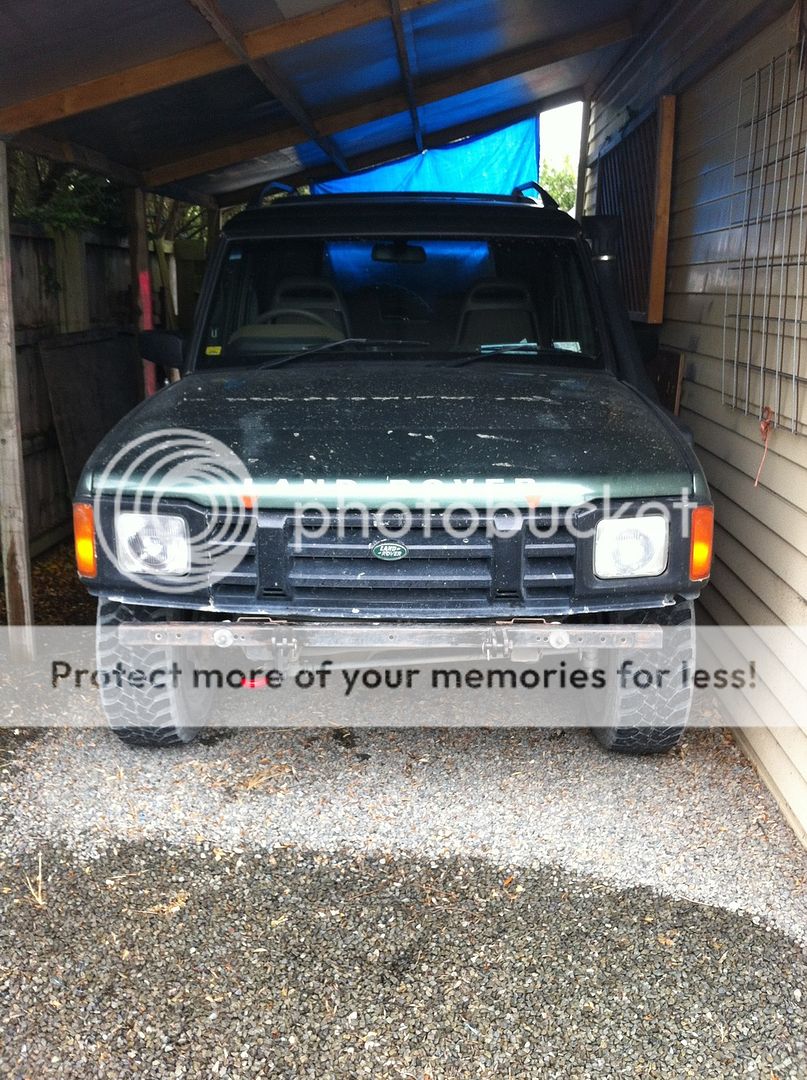
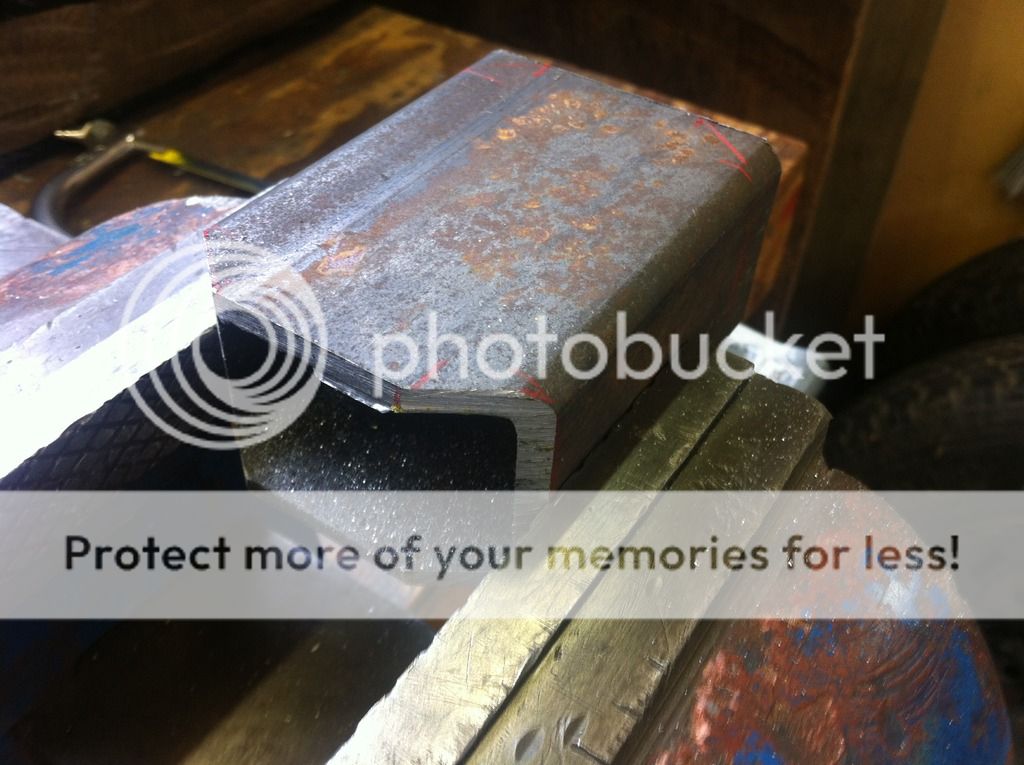
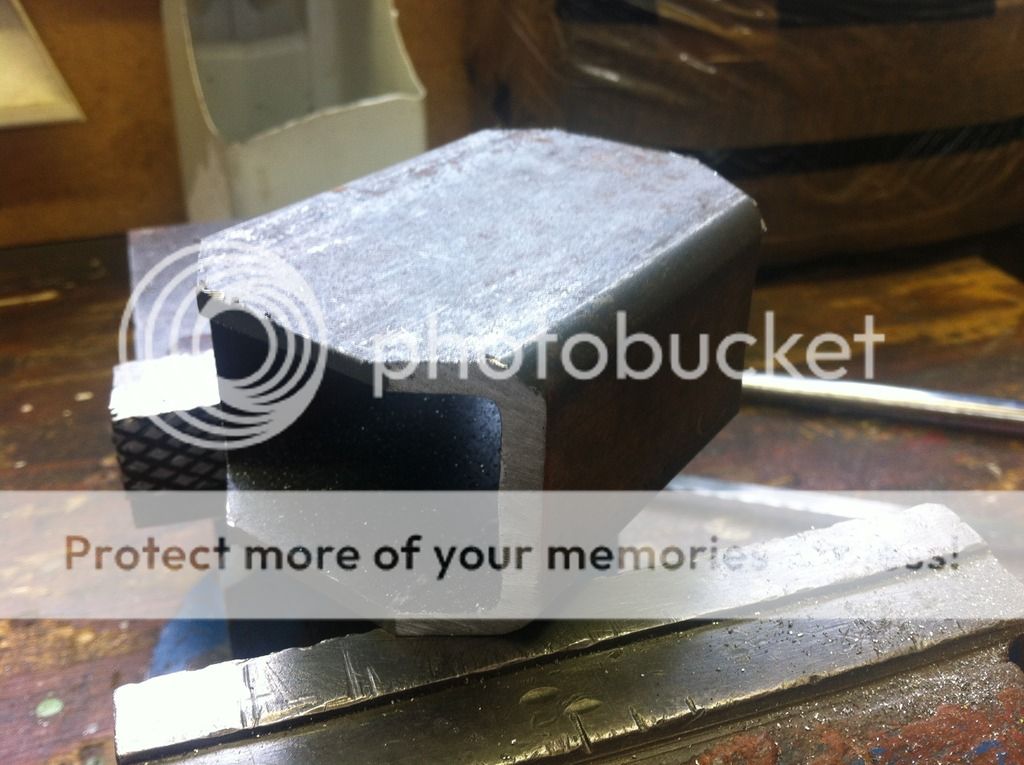
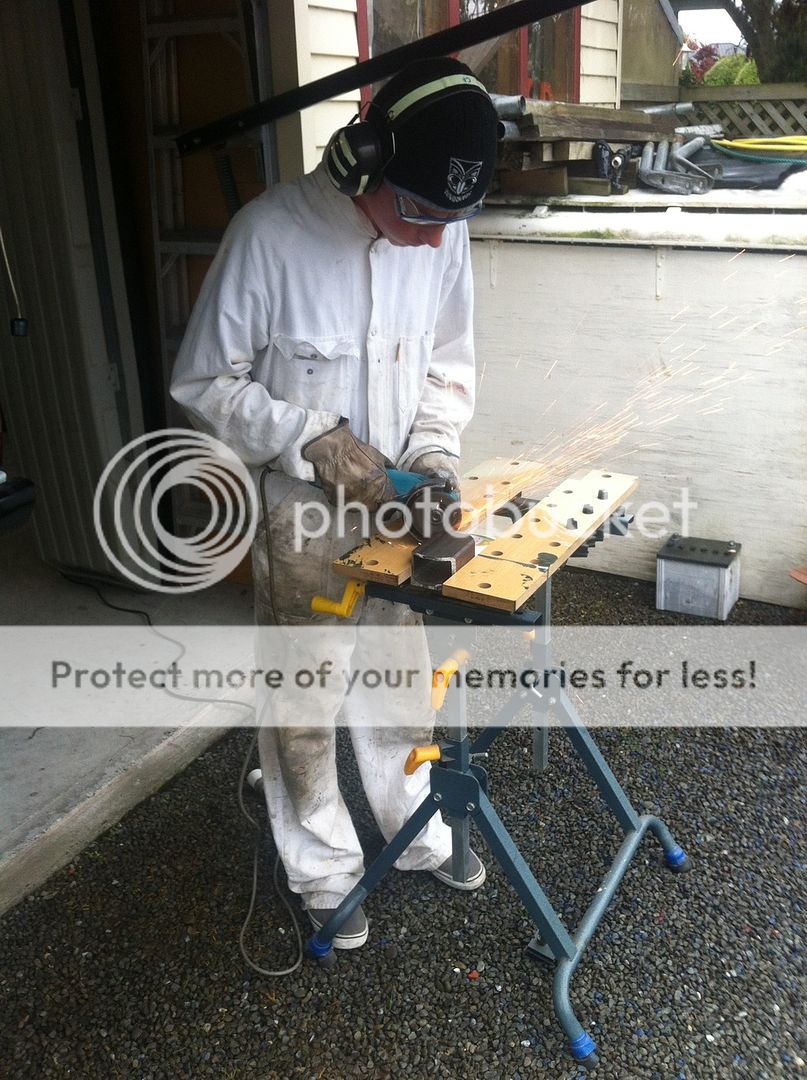
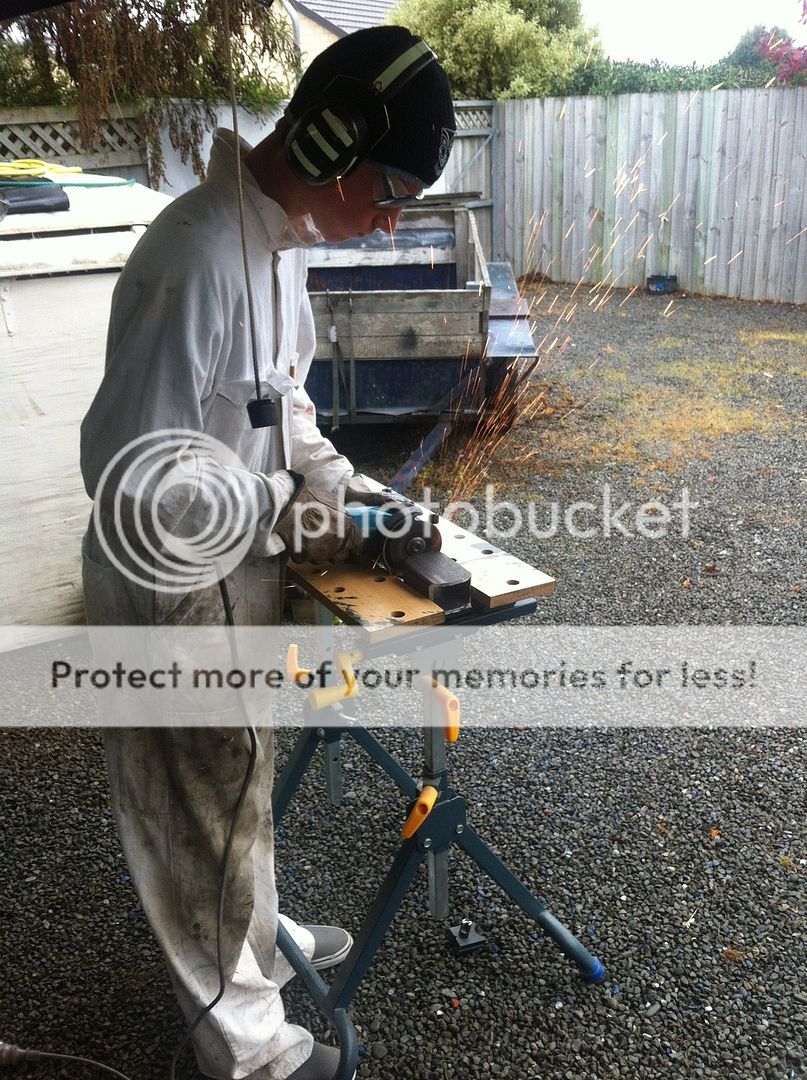
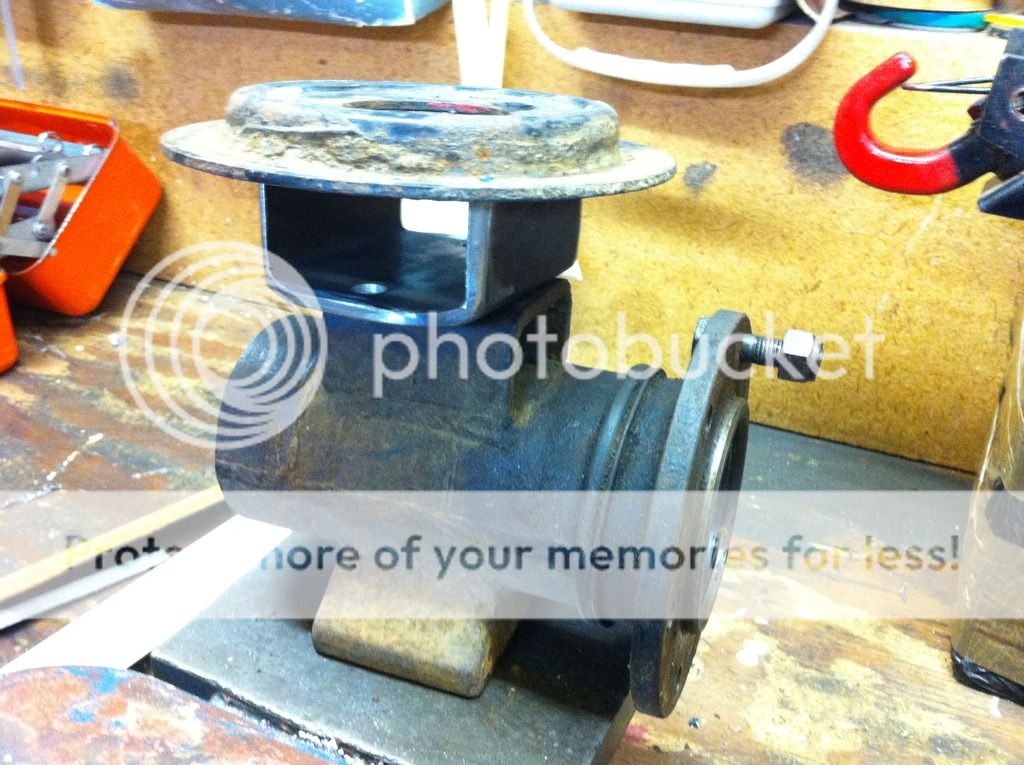
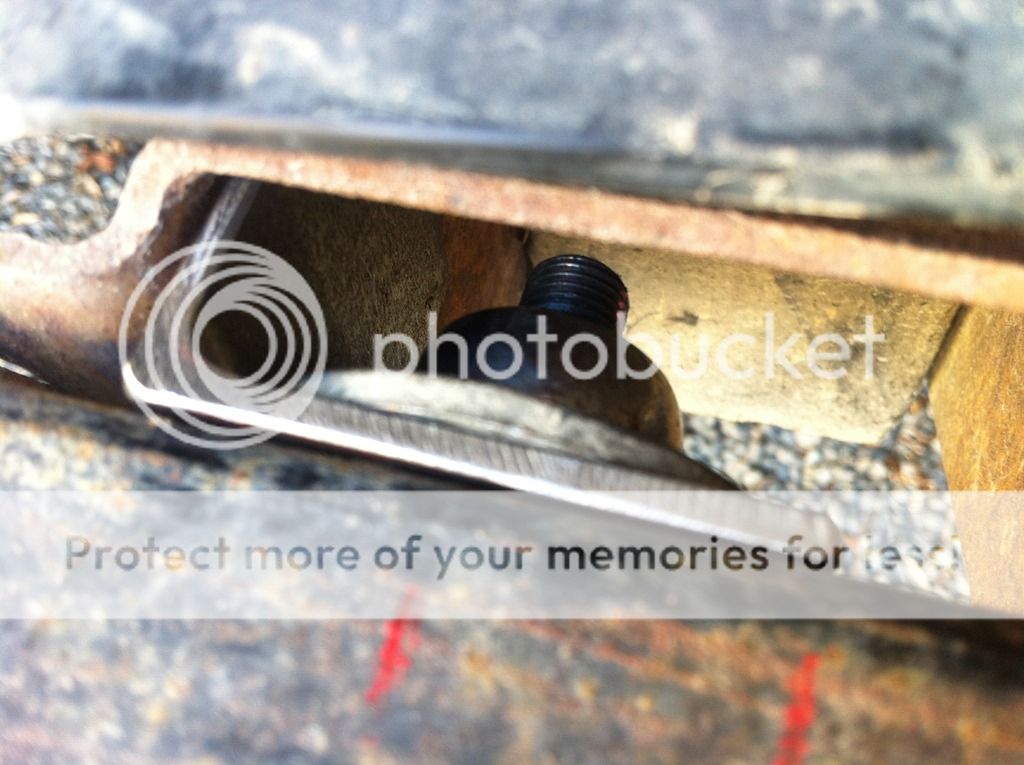
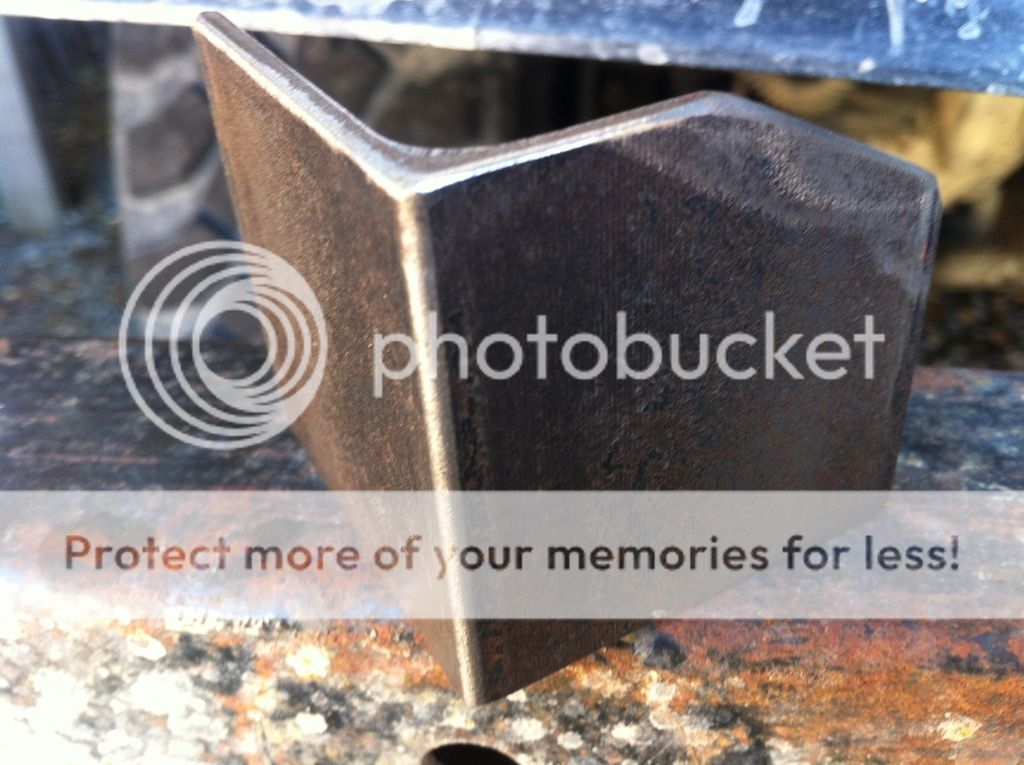
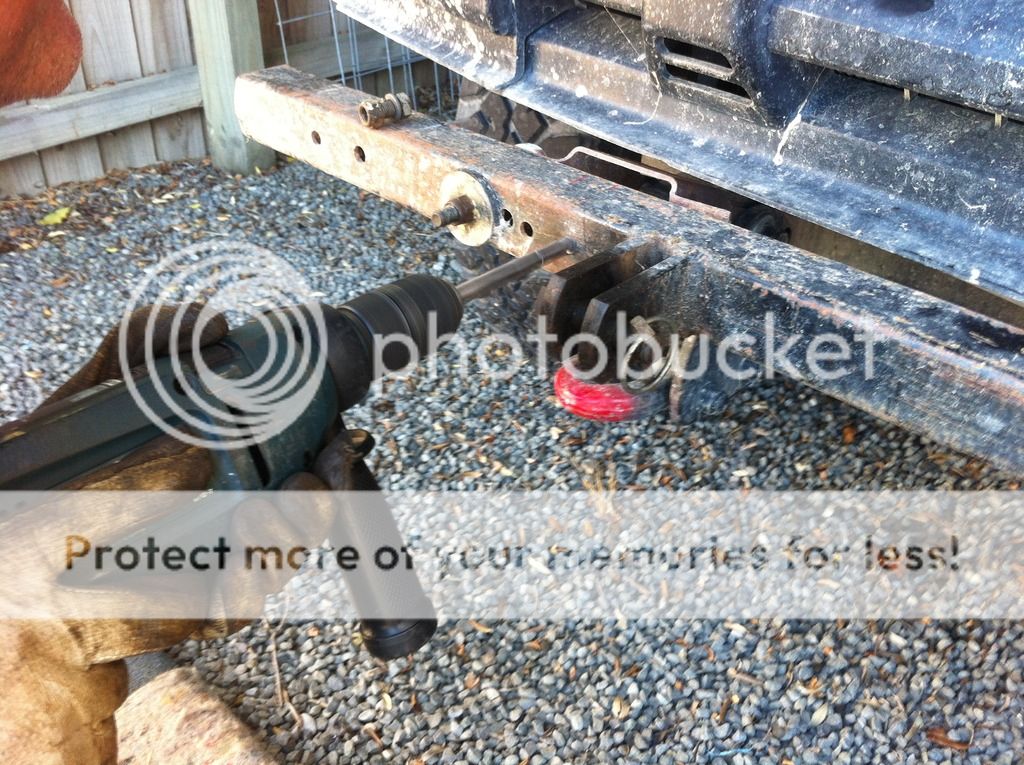
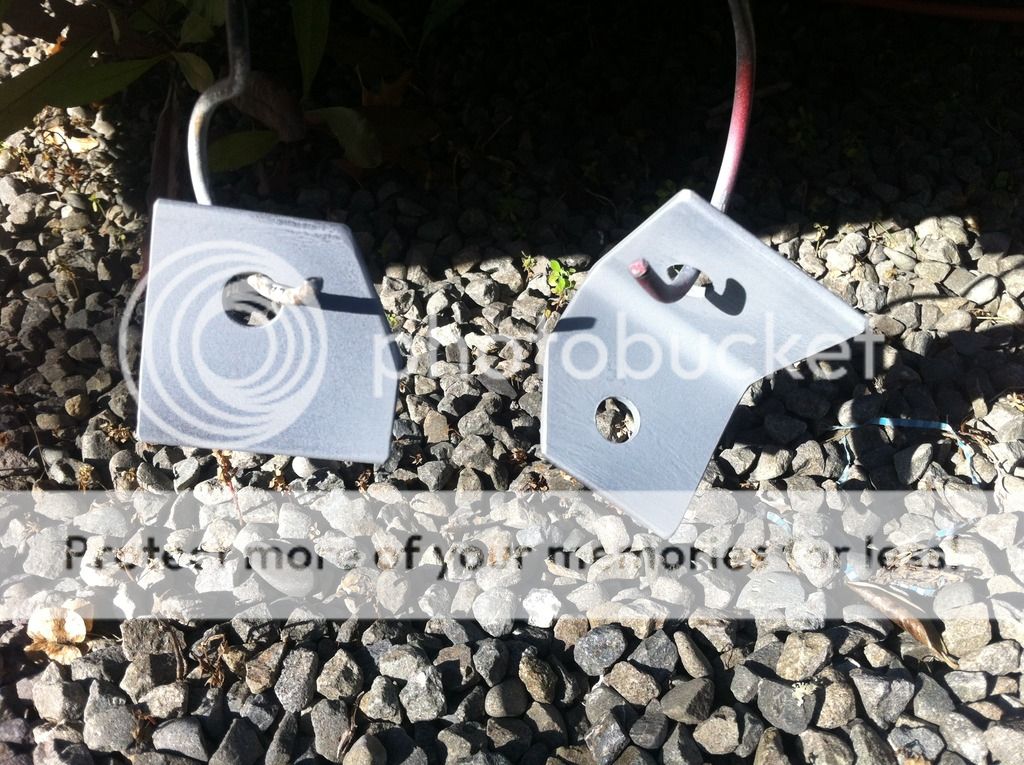
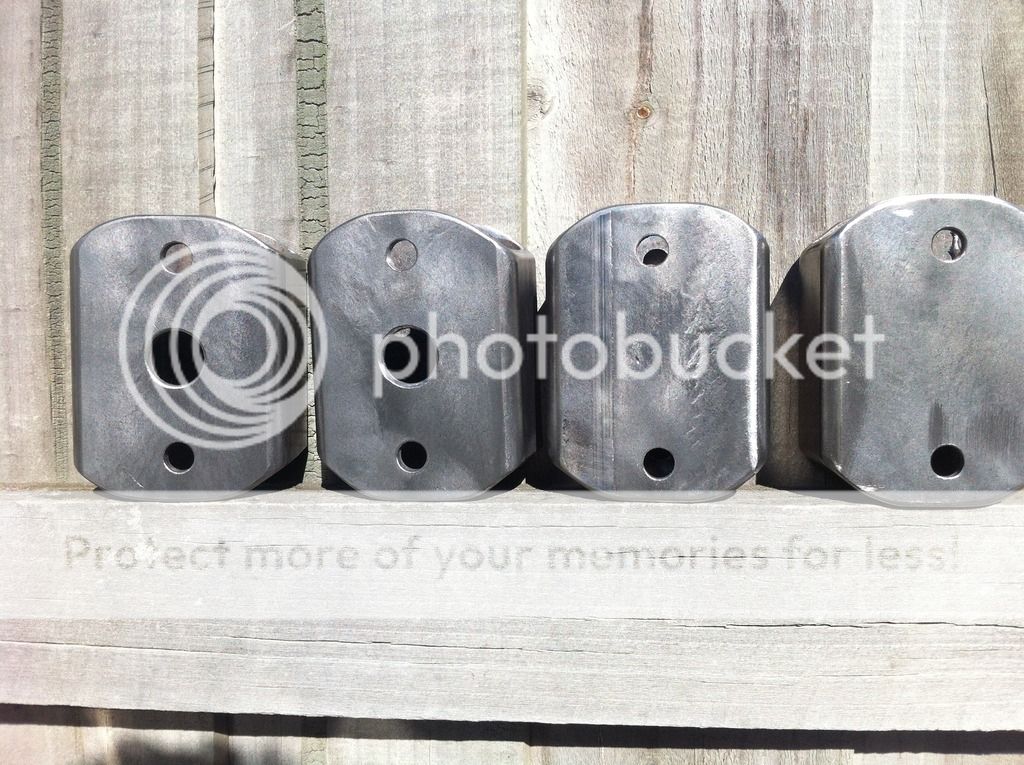
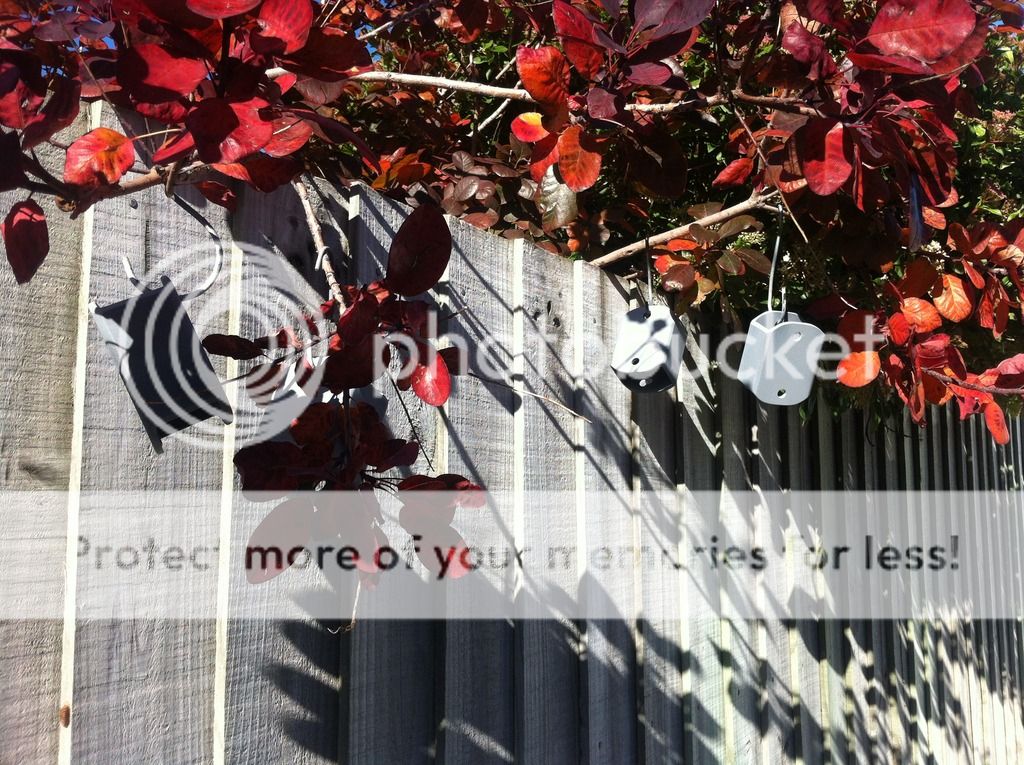
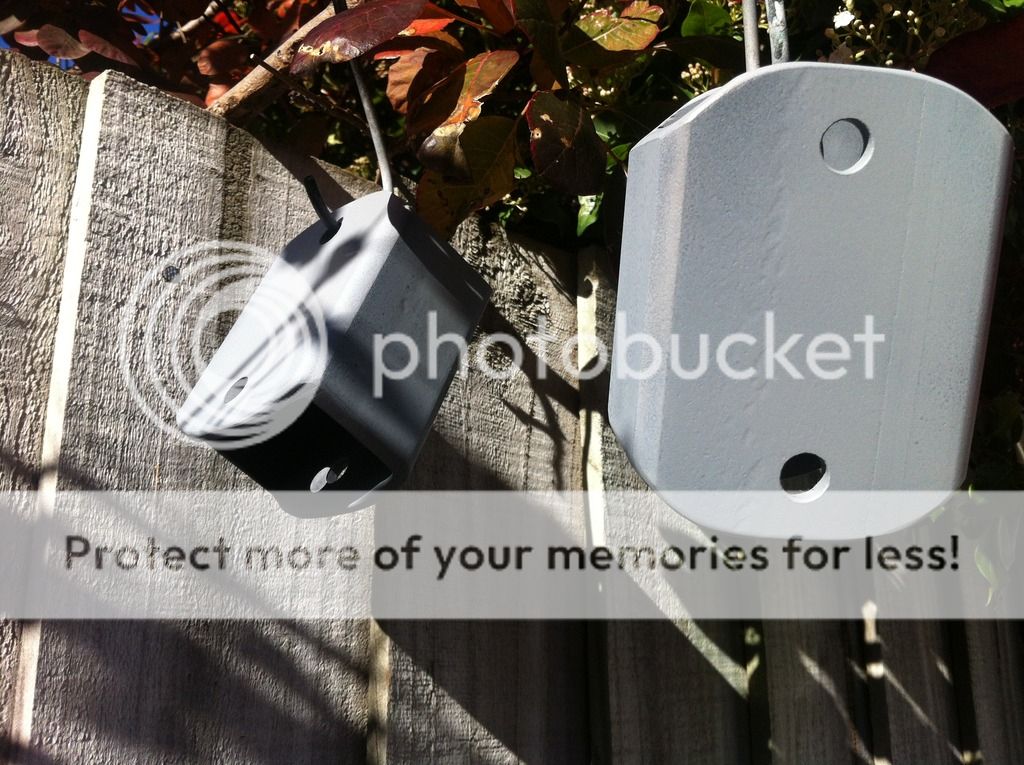
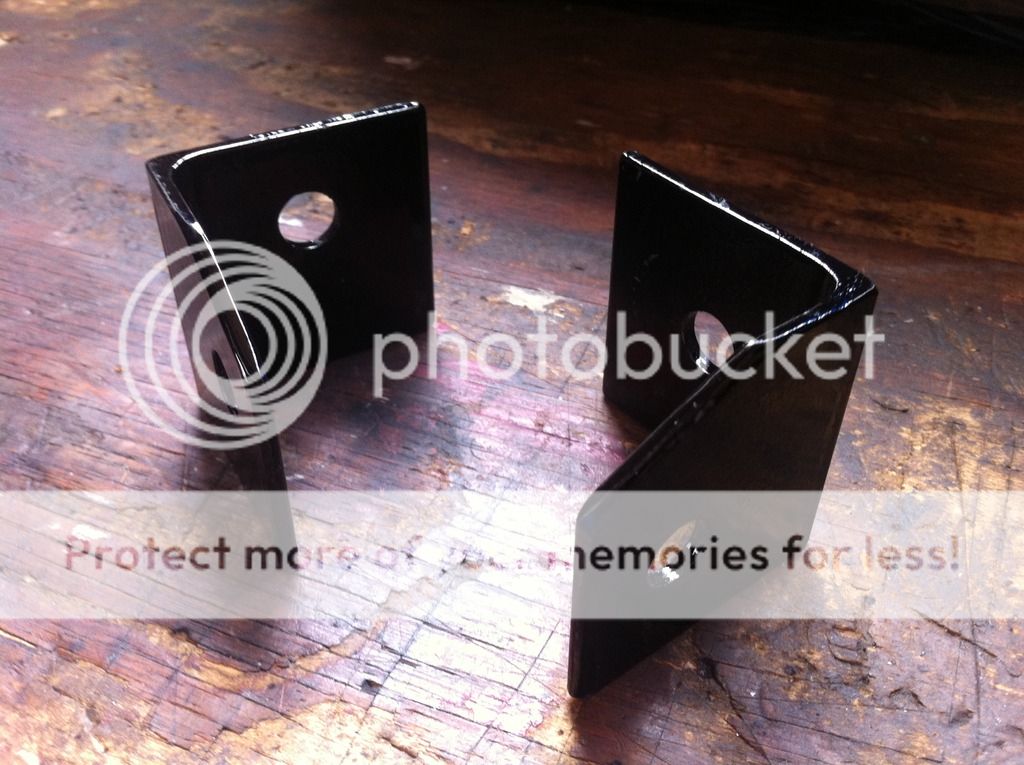
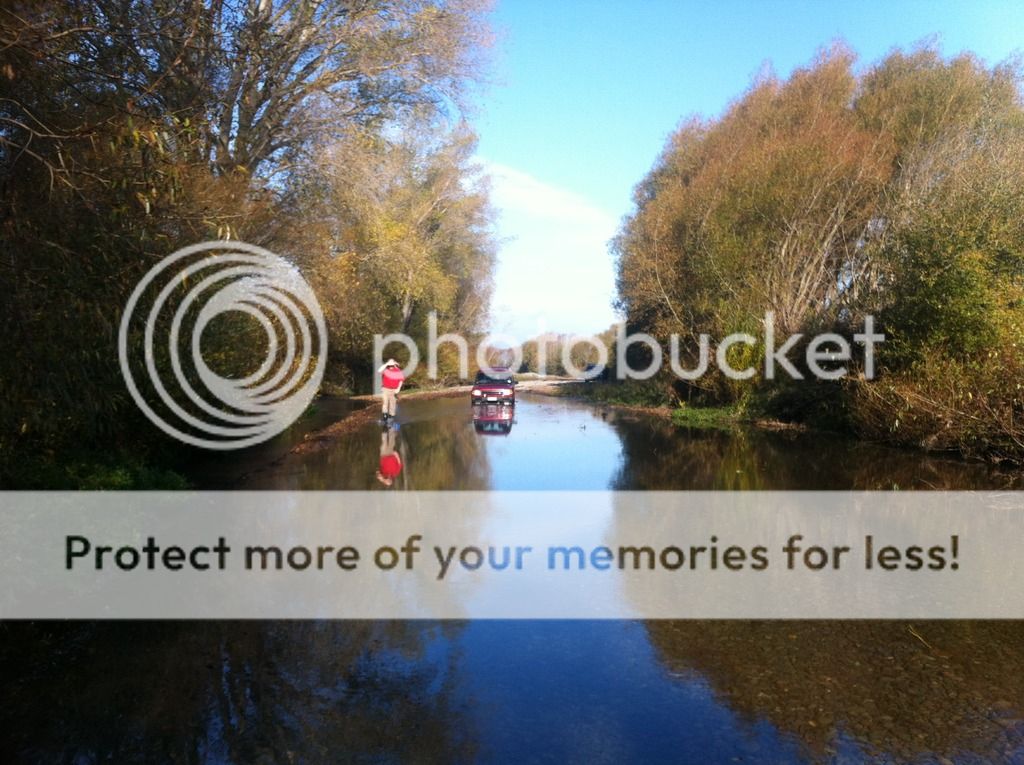
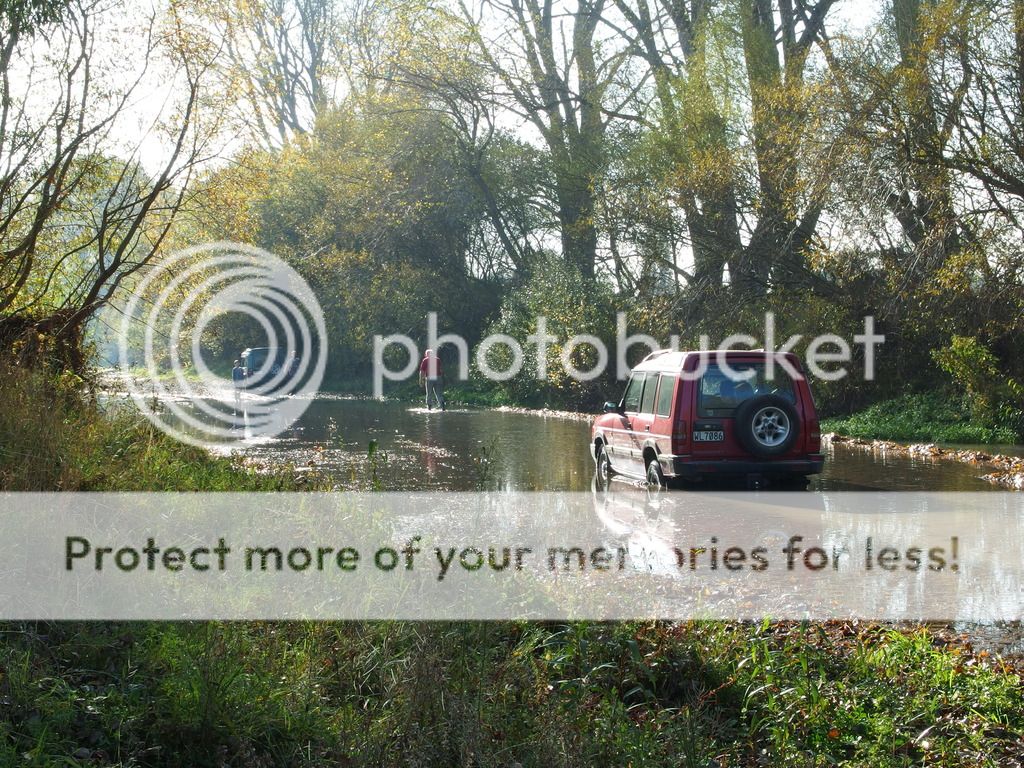
It has the 3.9 V8 and 183,000 kms on the clock. A previous owner (who I actually know) fitted most the mods to it so I know everythings been done right. The flares cost him around $1200 (they're the best you can buy Aussie built ones) which he fitted while doing the 'Camel Cut.' He used to run this truck on 32x11.50x15s but when he sold it on he took out the +2" springs and tyres, but left the +2" shocks and put on some 245/75/16 Bridgedstone Duelers on factory alloys. It has an Airflow snorkel fitted and has had diff breathers fitted. I regularly go on 4WD trips with my Dad in our Rangie, with our club and privately in the local river. This build will probably take time to get to the big $$$ stage with fabrication and all that good stuff as I'm only 14, and money doesn't grow on trees. It will be getting a +2" lift soon along with 32"s so it won't be all boring! Until I can drive it on the road (legally), I'll run it on an A-Frame so that Dad can tow me down to the river where I can muck around.
Cheers,
Trillo

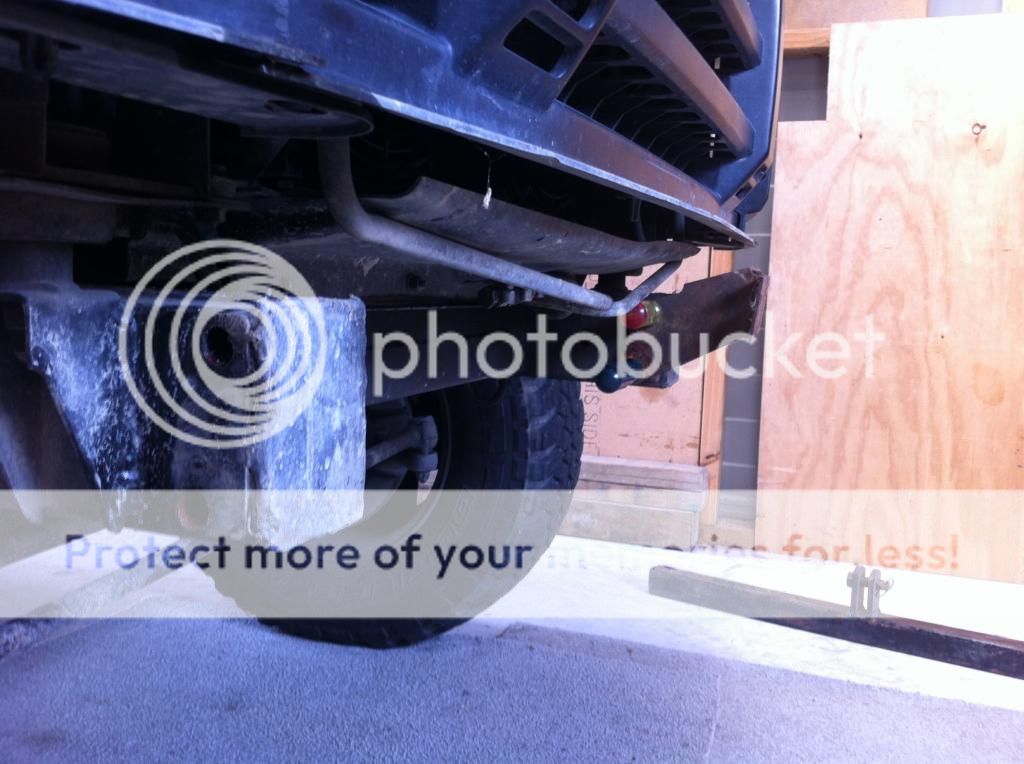
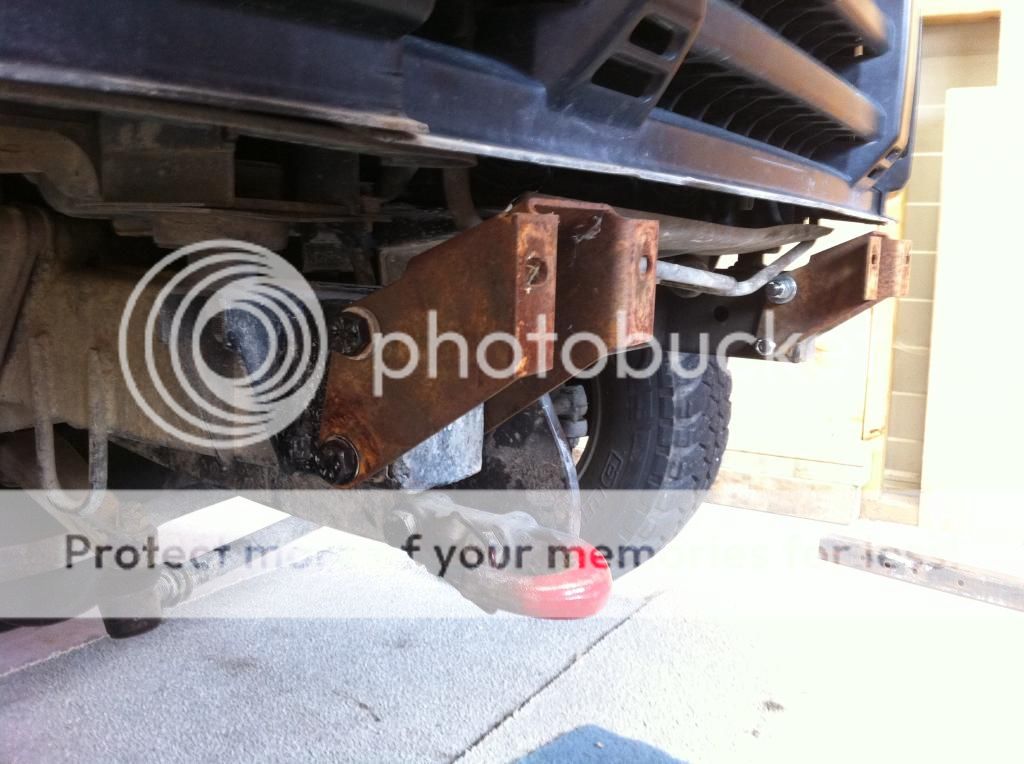
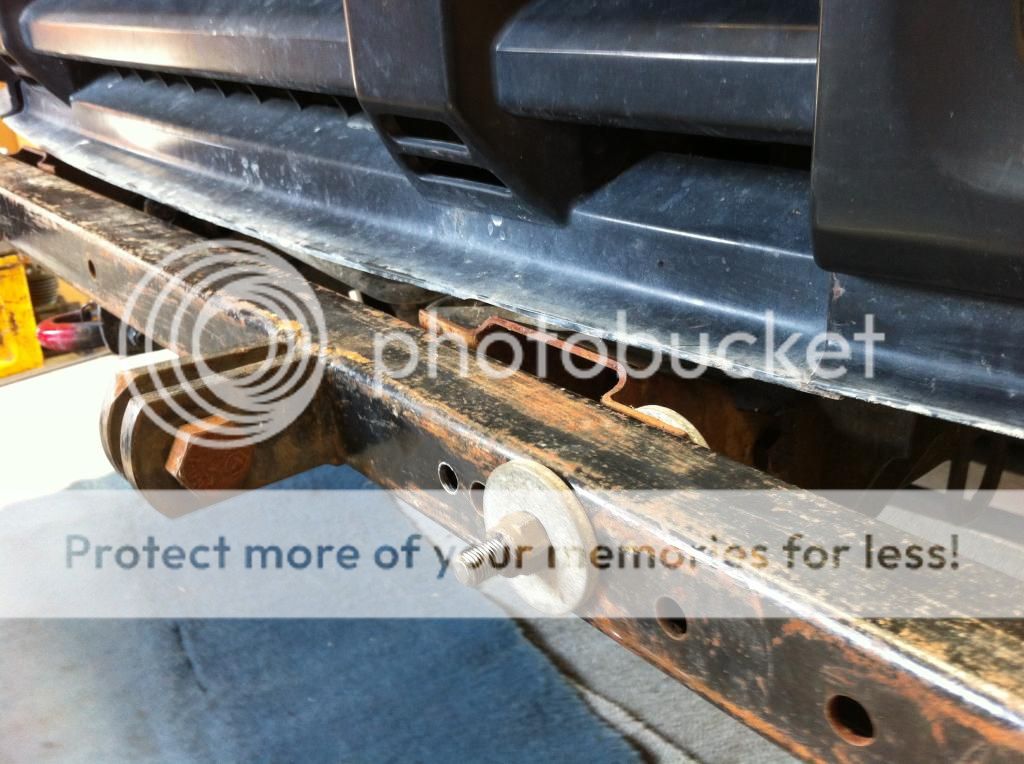
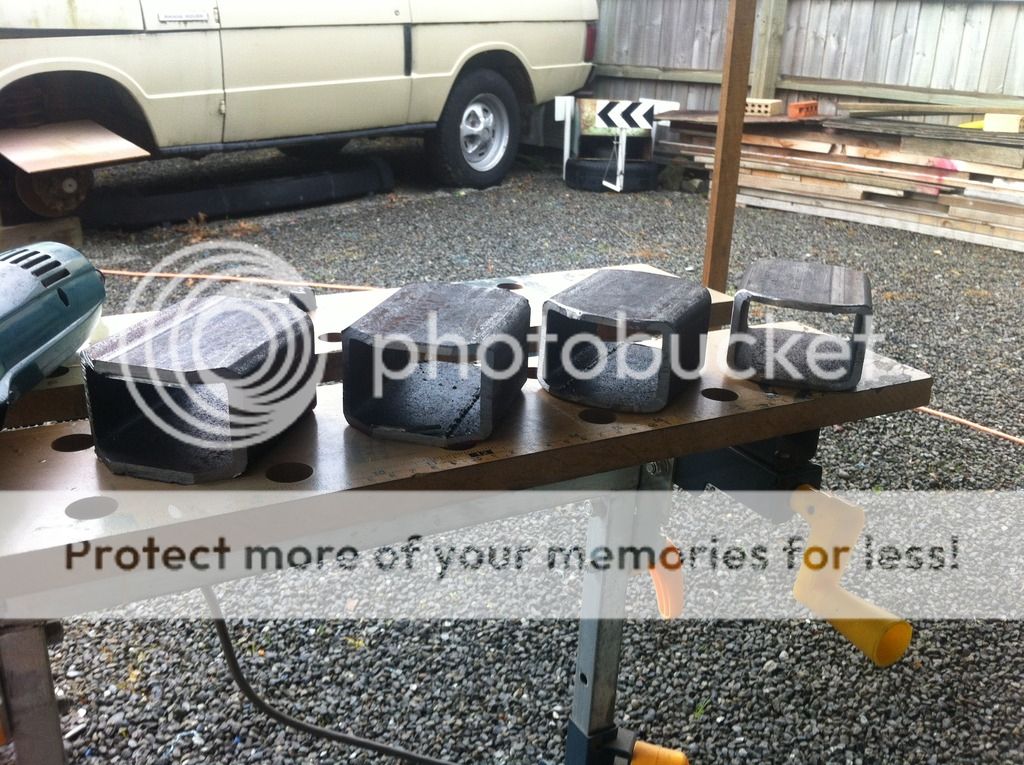
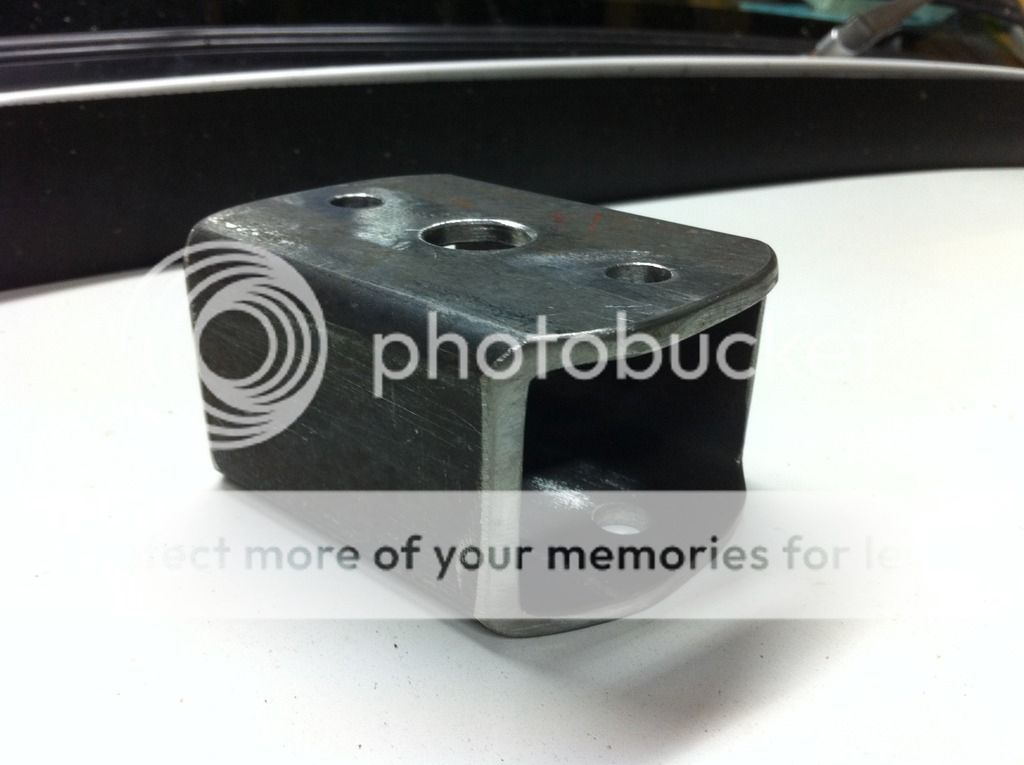
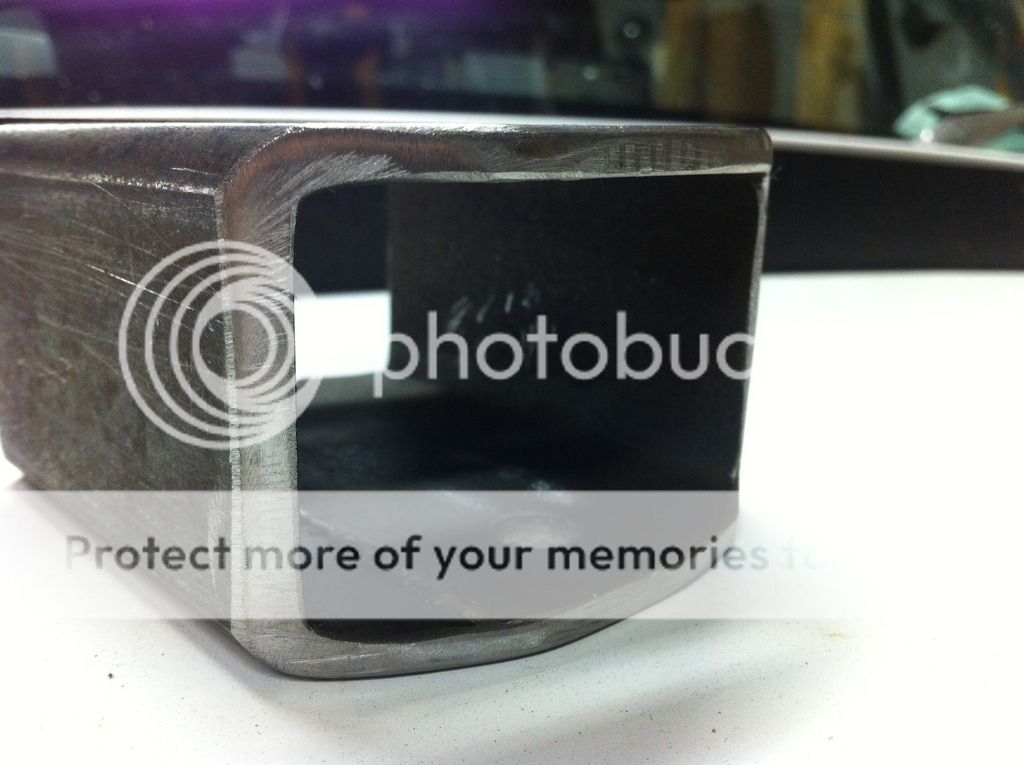
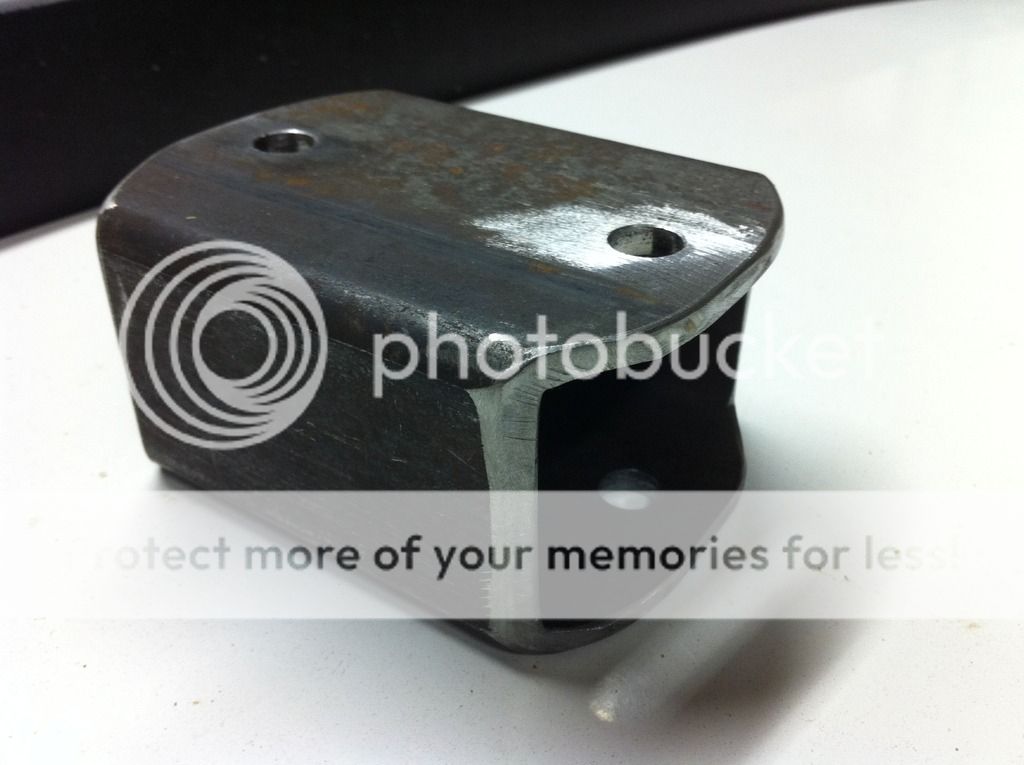
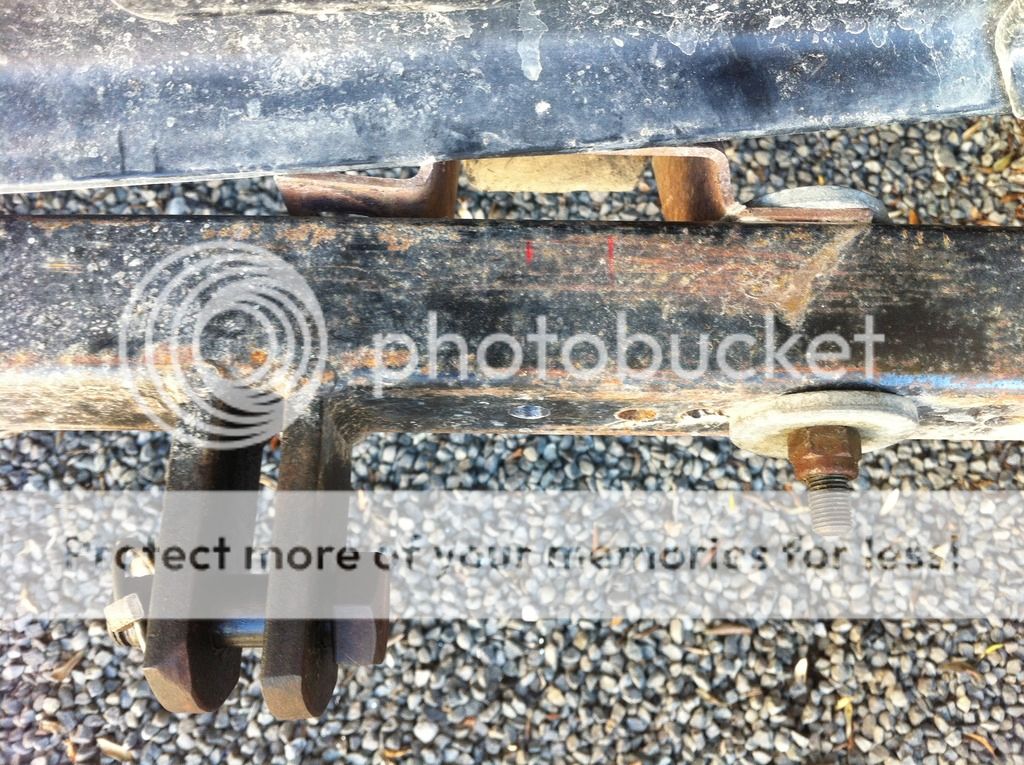
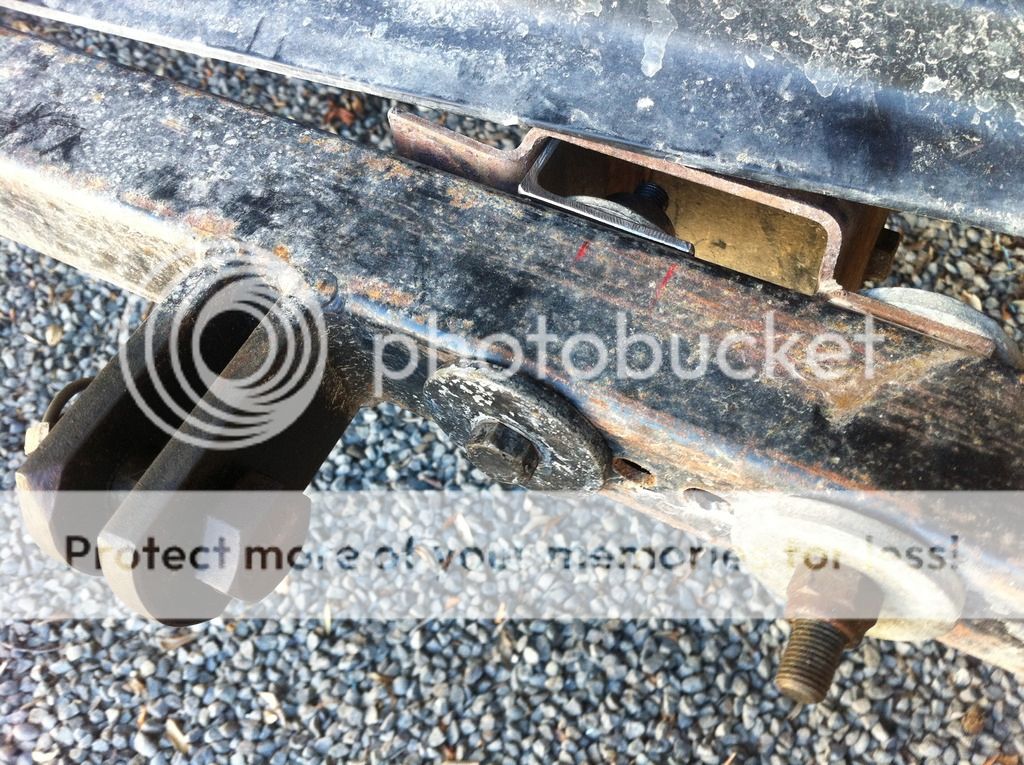
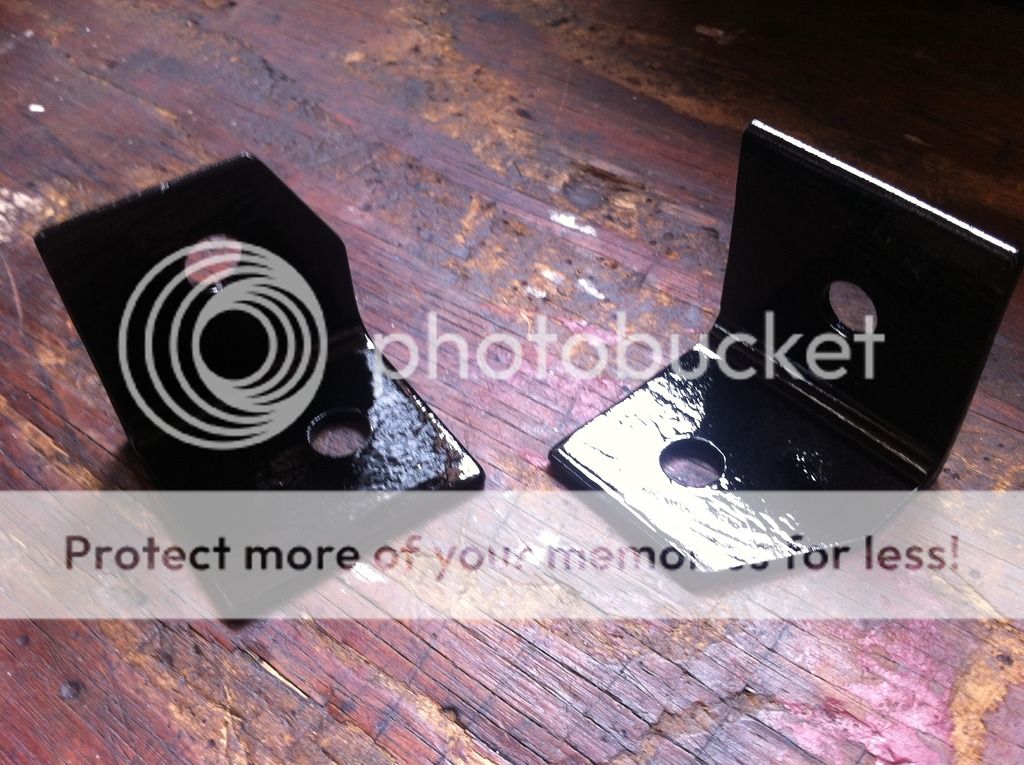
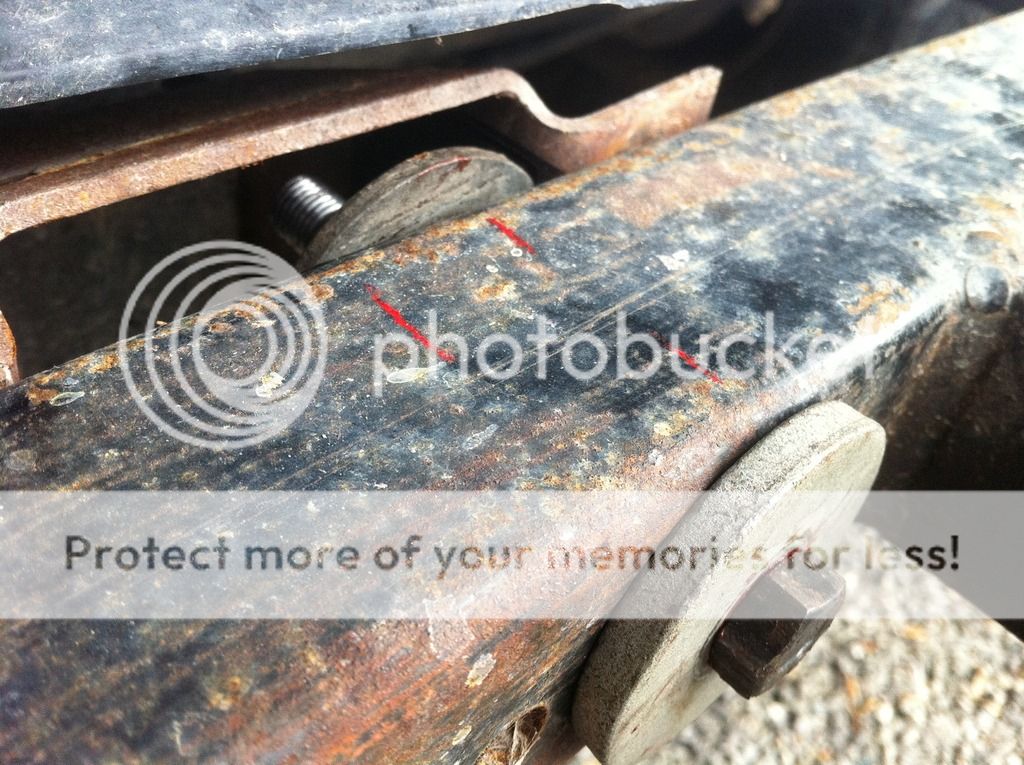
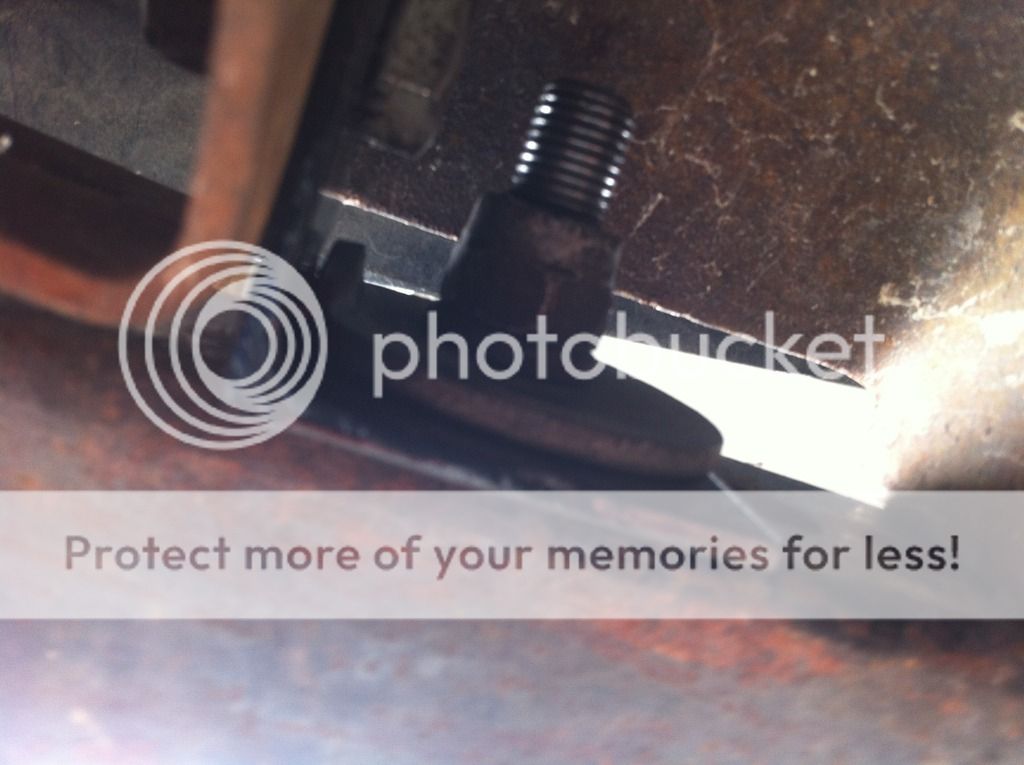
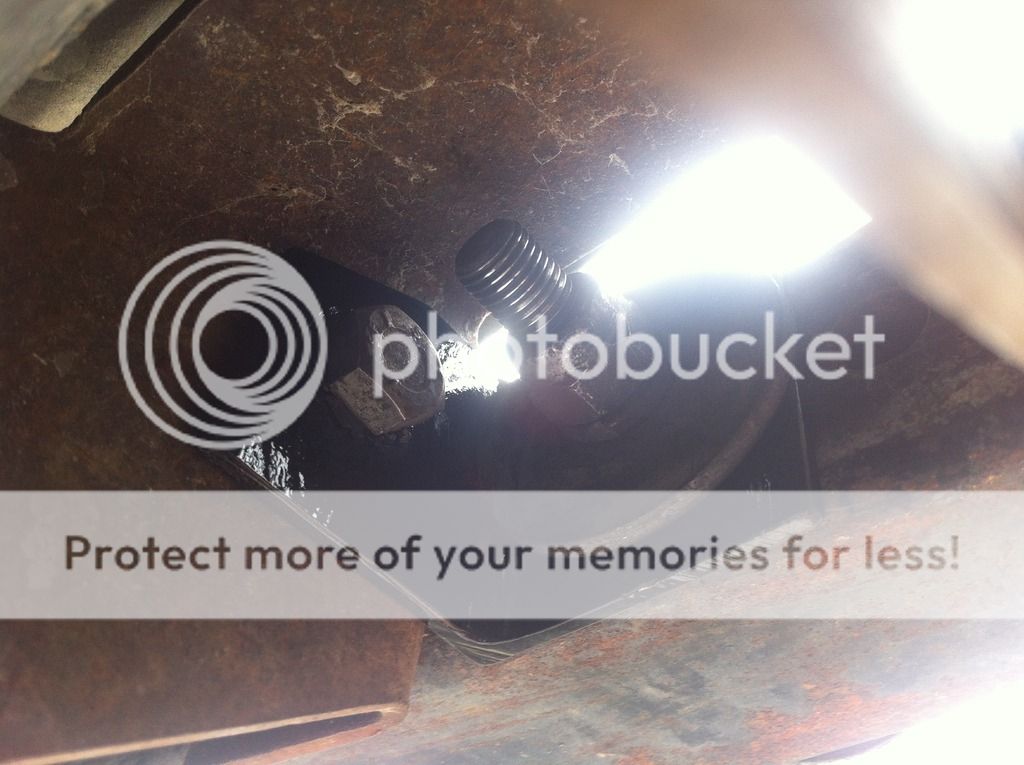
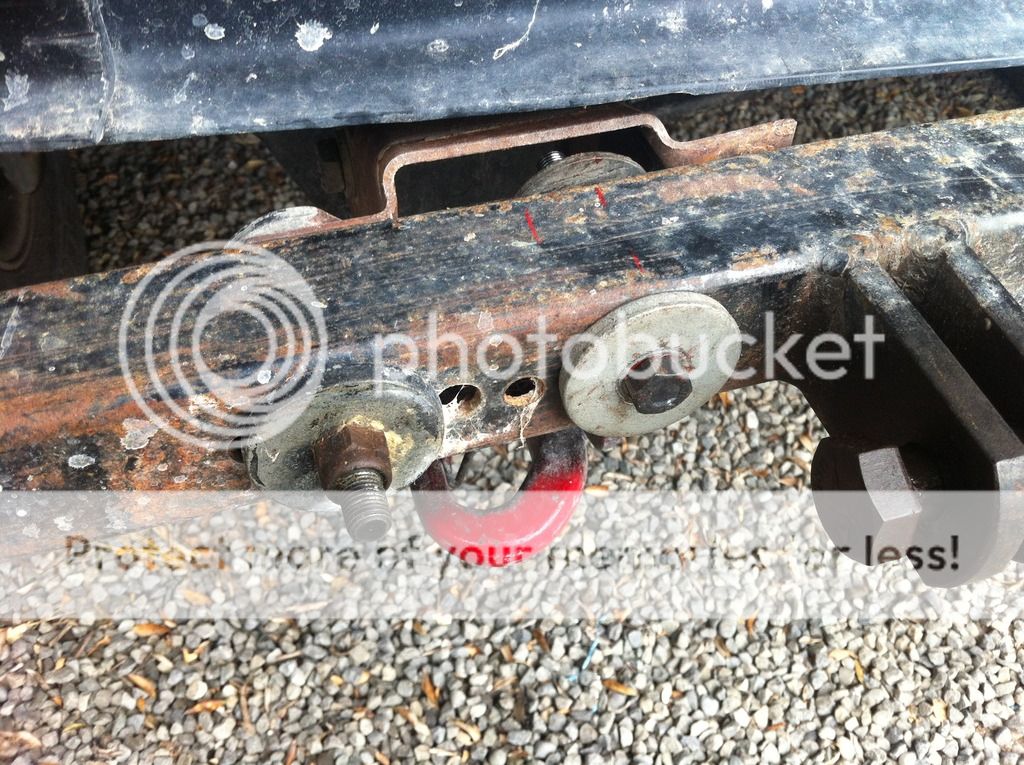
NB: The 2 inch receiver on the front isn't mine, it's Dad's
 
Last edited:
Alright guys, got some updates on it's way, but just did and exhaust sound video :)

It has a sports exhaust with the muffler bypassed. It has a resonator into a midbox, followed by a straight pipe. And I love it!

 
Last edited:
You're 14 and you have a V8 Disco ??? Envious? Me? Absolutely! Wow, great start kid I'm impressed - and wondering what you'll be driving when you're 30 lol
 
You're 14 and you have a V8 Disco ??? Envious? Me? Absolutely! Wow, great start kid I'm impressed - and wondering what you'll be driving when you're 30 lol

Thanks! Been saving for one for way too long tho! But it's so worth it. I used to have a photo of this exact truck when I was little, cause our family friend owned it. I always dreamed of owning that exact one, but never thought it would actually happen. It then passed through another owners hands before I bought it!
 
It's good to start young, I am 16 and I have just finished rebuilding my 90 which will be my first car;)
By the way that v8 sounds awesome:D
 
It's good to start young, I am 16 and I have just finished rebuilding my 90 which will be my first car;)
By the way that v8 sounds awesome:D

I'd love a 90 but they're so expensive here :mad:

Update:

Here's a post that I typed up a while back and never got round to posting (whoops) but here it is :)

---------------

Today Dad and I fitted the A-Frame.
First things to do was take off the bumper.
After undoing the bolts off the mounting plate and disconnecting (and bunging) the headlight washer jets the bumper dropped right off.

IMG_0563_zps16f084c9.jpg


The bumper mounts for the Discovery's bumpers go parallel with the chassis rails, where the Range Rover's mounting face goes right angles to the chassis rails. Seeing as I'll be using Dad's A-Frame which has been designed to go right angles with the chassis rails, (like the Rangies) it meant that we had to use Range Rover Classic Bumper mounts instead of the Disco's.

A mock up of the Range Rover Classic mount

IMG_0569_zps9cef2dd7.jpg


Fortunately Dad's spares Range rover still had the mounts, so we were able to fit then until it I put the original bumper back on. The 2 holes that are in the dumb irons bolting in the bumper mount have been drilled out from 7/16" to 1/2", so that this can pass the clubs safety inspection. After drilling out the Range Rover's mounts to 1/2" a finding some suitable bolts, we got the bumper mounts bolted on, along with the tow hook bracket.

IMG_0572_zpsd23b5543.jpg


All bolted up!

IMG_0573_zps25a2b05b.jpg


Then we drilled mounting holes in the bar section of the A-Frame, and bolted it all up using large washers to distribute the weight better.

All done!

IMG_0574_zps2e78f453.jpg


Washers

IMG_0577_zps1e75f214.jpg


From below.

IMG_0575_zps35950cb6.jpg


This isn't the final product as Dad reckons the mounts need beefing up a bit and also need the bumper to wrap around a bit more to provide protection from river banks and other things that jump out at trucks.

But, seeing as we had spent most of the afternoon fitting this, Dad suggested we took it for a test. In the river :D

Hooked up

IMG_0579_zpsff6776f3.jpg


At the river

IMG_0582_zps89fab5b3.jpg


After the first crossing

IMG_0585_zpsb808819d.jpg


Seeing as it was quite late we had to turn around, but not before some action shots (these are my favourites)

IMG_0587_zps3f4aa3f2.jpg


IMG_0588_zps462fbf38.jpg


IMG_0589_zps3c507553.jpg


And heading back home :)

IMG_0594_zps80f541c1.jpg
 
Last edited:
Update:

Well, today Dad and I got some work done on the truck
We got to work on building some +2” spring spacers to put into my truck.
But, before I go into detail, I found some photos on my camera. These are from when we got back from the first trip (since then I have been on a couple of trips that I haven't mentioned, mainly cause both times it was raining, so Dad wasn't too keen to jump out and photograph me!). Anyways, here they are.

When we got back.

IMG_0599_zpsdmnyucyf.jpg


You should be able to see a colour difference between the headlights.

IMG_0600_zpsrn2zdd2f.jpg


And here's why.... :(

IMG_0604_zpsbqqybz4q.jpg


And to cap it off, the other headlight got damaged driving home and now has water sitting in it from the drive home :mad:

IMG_0602_zps66bl7e1k.jpg


Anyway, before we went on the next trip Dad put some clear tape over them to stop the headlight from cracking anymore, to stop new cracks and to keep water out. (Yes I know, it will also hold water in, but I don't plan on keeping these headlights so I'm not too worried)

Now, back to what we did today.

We started off with four lengths of 2”x3”x 3/16” RHS box section100mm long before cutting off a triangle of each corner (1/2”x3/4”)

As it started

IMG_0827_zpsrxsav1vr.jpg


Dad had an old axle which we pulled the spring mount off to use for a template

IMG_0828_zpstvxlkpbn.jpg


Half done

IMG_0829_zpsdqcyj2au.jpg


One down, three to go

IMG_0835_zpsty1z89ej.jpg


Once Dad and I finished cutting them between us (it was pretty hard work!) we took them outside and I ground them down into a nice shape.

IMG_0844_zpsr7xe38zj.jpg


IMG_0845_zpsmfiqor9a.jpg


Two down, two to go

IMG_0847_zpsdcziifsx.jpg


The finished product

IMG_0850_zps7nfbrvt7.jpg


Unfortunately the weather here got worse so I had to stop photographing because it was getting too dark and the photos weren't showing much. But, I can still explain... :D

After I ground the down with the grinding wheel on the angle grinder, on went the sanding disc and I cleaned up the sharp edges and got it really smooth. Dad then showed me how to mark out where the holes needed to be drilled so that the bolts could run through it from the spring mount to the axle mount. After drilling out one side of the box section using a drill and many guides that we made up on the spot, we finished them all off. The second side wasn't so easy. More guides were set up but and the first hole went okay, but the second one didn't. It was out enough that the bolts would go through properly, so, seeing as Dad was going to be taking them in to his work to use a drill press to drill out the shock mounts in it, we decided it'd be best to drill the mounting bolt holes there as well.

We still need to get the hole drilled, mounting bolts bought and it painted up, let alone try and fit them. So there's still plenty of work needing doing and I'm taking it 4WDing next weekend so it'll still be a bit before I have room for 32s!

I'll get some more photos up soon :)
 
Last edited:
Good write up and good pics

Thanks!

Update:

Well, today I didn't get any work done, but Dad did!
At his work he was able to finish the drilling of the spacers.
The spacers all have a 13/32" hole bored in them, spacer evenly from each end.
The front ones also have a 3/4" hole in them for the shocks to mount to. Dad already has this set up in his Rangie so it's well proven. You can also see the sanding I did to them that I didn't get a photograph of yesterday. Today the workshop was still blimin cold but Dad still had the angle grinder out and cleaned up the burrs before filing a chamfer to the front shock mounting holes (I'll explain some other time) just so that I could photograph it for you guys once I finished my homework!

Anyways, now for the photos :D

Front spacer w/ shock mount

IMG_0855_zpsv5rdwz4d.jpg


IMG_0856_zpsor0losza.jpg


All cleaned up!

IMG_0858_zpsn9bpjwp8.jpg


Rear Spacer

IMG_0861_zpsx5wyvloe.jpg


Dad also had a old section of a S11A axle which we stacked up to show how it looks completed (except it's missing the bolts!)

IMG_0863_zpsn512vt2z.jpg


While we still need to clean up the other spacers, get the bolts and paint them, they're looking good and are far closer to being complete than at the start of the day. Thanks Dad!
 
Last edited:
Update:

Alright guys, big update from the weekend. I was hoping to get it done in 2 parts, a Saturday update and a Sunday one, but I ran out of time and didn't do either! So here I go.

The bumper that's on the front of my truck is only held on with 2 bolts, and considering that when we're on the road, and that it's the only thing that stops it from driving away on us, they're quite important. They've been fine til now, but Dad wanted to upgrade it a bit. The reason there is a gap on the left on the mount (below) is because it's of a curved RRC, so to get it to work, they were swapped right to left and left to right.

IMG_0865_zpsk9vmymdg.jpg


So this is what Dad came up with while I was working on the spring spacers.

Half done

IMG_0868_zpse9n67e43.jpg


IMG_0869_zpsxi3pewqu.jpg


The other mount waiting to be drilled

IMG_0872_zpshf0x0wsq.jpg


Drilling....

IMG_0873_zpssalggadx.jpg


Drilled and primed

IMG_0885_zpsfxsfwunx.jpg


While Dad was putting them together I was busy with the Angle Grinder and Wire Wheel cleaning up the light surface rust and pencil marks before painting.

The difference

IMG_0878_zps0bdrktyk.jpg


All done heating up in the sun waiting for some primer

IMG_0882_zpsdfzra4x3.jpg


Primed and hanging off a tree :D

IMG_0883_zps1kpjz3gv.jpg


IMG_0884_zps81ery5e7.jpg


Dad was also able to pick up the bolts for the spacers last week....

IMG_0887_zpshrdgjknv.jpg


Sunday

The secondary bumper mounts after a top coat

IMG_0892_zpsjqrxahbr.jpg


IMG_0893_zps5l2iu8jr.jpg


Installed

IMG_0894_zpselr0rggg.jpg


From below

IMG_0895_zpsibnhquyb.jpg


IMG_0896_zps3v42glpp.jpg


All done!

IMG_0899_zpsim2nleo4.jpg


I hope this is a good enough explaination!

We were planning to do a trip with Mum's side of the family for my birthday, but when we went to fire it up, it wouldn't start.

On the charger

IMG_0897_zps1vbakteu.jpg


Even after charging it, it didn't have enough juice. So we jump started it and it only fired up fourth key turn. It would appear that either the battery or starter motor is on it's way out. After getting it out of the yard, we went to hook it up only to find that the A-Frame wouldn't latch onto the towball on Dad's Discovery (normally we'd take the Rangie but we needed the extra seats). We figured that it must be because the tow point on Dad's Disco is lower than the Rangies, and it was catching on the neck of the towball. Dad then thought to measure the neck of the Rangie's towball and dispite it being rated 2T rather than 1.5T, it had a narrower neck! After swapping them over, it went on fine which was a huge relief! We eventually were ready and after an early lunch, our two Disco and one intruder (in the form of a Nissan Terrano) got going. After unhooking at the riverbed, I finally got driving! After a short drive I headed up a riverbank I'd eyed up previously. After my truck (and the others) walked up it, I lined up a different bank (which I'd also eyed up) to go down. It look plenty easy and not very steep at all. Now that I look back at it, I realise it was because people had been trying to go up it, and been unsuccessful, and slowly made it into more of a ramp. There was still a hard lip at the top though. As the front of my truck went down there was a huge BANG! I collected the stony lip, and then hard hard down on the front wheels. Despite the fact I was idling when I went over, there was enough of a shock to do a bit of damage. After driving off I immediately noticed that the steering was bent, but worse, the engine sounded awful. After jumping out and assessing the truck, I realised that I'd cracked the exhaust up near the motor. Fortunately it was far enough down that the fumes didn't fill the truck but the lack of backpressure meant the motor always nearly died when I put it into gear, but fortunately, we were able to continue! Phew. We carried on and got to a nice picnic spot. On the way we went through some very soft crossings but had a great trip down.

The picnic spot (with beautiful weather I might add :D)

IMG_0914_zpsceruqeye.jpg


On the way back though, all those soft crossings that were now already churned up was too much for Dad truck. It has no snorkel so Dad really didn't want to risk taking in water, but the key is to carry as much momentium through as possible, meaning you get a huge splash. Dad got bogged to the axles and after a lot of digging and a snatch from me with the 30 metre rope, Dad was out.

Right in the middle!

IMG_0919_zpsx6jyaomb.jpg


P5030081_zpslkvwk6e4.jpg


The Crew!

P5030083_zpsayrlq4zz.jpg


Bogged

IMG_0920_zps8n1flt8i.jpg


You really can't tell how far down it is, but it was well and truly stuck!

IMG_0921_zpsvl07qtmb.jpg


Lightening the load while I line up for the tow

P5030086_zpsoohcwlq1.jpg


V8 pulls Diesel!!!!

P5030093_zps8aluxfcb.jpg


Free

P5030097_zpsj10prqib.jpg


Gone....

P5030103_zpsva9irirm.jpg


P5030104_zpsxmlbvqpi.jpg


Dad then got stuck about 10 minutes later! After another snatch I got him out and we headed back for home. I had a great day and despite now having more jobs for next weekend, was very happy with how my truck went. However, this is probably the last time you'll see it offroading with the 245s on it, as next weekend (if everything goes to plan), it should end up with a 2” lift and 32s!

Big thanks to Mum for some great photos!
 
Last edited:
Very nice!

how odd to see a genuine 3.9 in there, the 200 series grille and lamps scream 3.5 ;)

Cool pix BTW.

Yeah! There's not a huge amount around. Before Land Rover converted to the 300 series Disco, they ran out of 3.5 motors for the last of the 200s. So they just put the new (well back then it was) 3.9 V8 in. Most of these ones were bought by Honda but I believe a few were kept.
 
What a great read :)

Thanks!

The rear is now lifted using the spacers I've built so I'm half way lifted! I have the photos but no time for the right up, however I managed to upload a quick Youtube video of the exhaust (now that it's broken): https://www.youtube.com/watch?v=ODvBc10x54E

If you compare it to the video I previously uploaded of it you can hear how much 'lumpier' the idle is :(
 
Still no update, too much going on, however I've been thinking a lot about my headlights. When I put it back on the road next year for when I get my licence, it'll have to be legal, and it won't pass the test (WOF) with water in the headlights. Earlier I said that these lights won't be staying, and I still plan on taking them out. I've been juggling the idea of a 7" sealed beam halogen headlight from a Ford Escort (what Dad runs in the Rangie after breaking too many H4s). This will mean blanking off the headlight surround before boring a 7" hole in the blanked surround. This would be easier to do if it were metal, as I could just weld some sheet steel into the gap and then make the hole, rather than trying to work with the all ready cracked plastic headlight surrounds (yes, I cracked one last trip :frown: ). What do you all think about this idea? Good or bad? I know people have fitted RRC surrounds into a D1 grille, but it looks messy in my opinion, so does anyone know of metal D1 surrounds? I suppose they wouldn't be made as it's another thing to rust away, but are exactly what I need!

I also have a second idea. Take the headlights out, leaving a gap the shape of a 200 series headlight. I feel this would keep it's 200ness, rather than being confused with a 300 series. I'd then make a frame out on tubing maybe 40 or 50mm round that runs right around the surround, but is mounted off the headlight mounts. Then some 1" square tubing would run horizontally through the frame and on it would be mounted 1 spot and 1 flood LED light like these Rigid Industries Part 20211 - Dually Series Flood LED Light - Set of Two - 4 Wheel Parts I'd definitely go with Rigid Industries, as they seem to be the choice on most Ultra4 and Rock Bouncers in the US, so must be pretty good! I've checked the law around headlight mods, and over here anyway, my truck is old enough that it would appear I can mod it myself without needing certification. So that's where I'm at. What do you think? I think option 2 would perform better, but it'll cost more and considering I'll probably end up with a LED light bar later on, is it worth it? What'll look better? Tell me your opinions, cause I'm on the fence!!!!
 
Last edited:
Prefer the sound of the second as like to see an nice/interesting bit of fabrication. Personally though I wouldn't go just led maybe one led one halogen per light or two small halogens or one big halogen/sealed beam but still with the home fab.
 
Back
Top