- Posts
- 14,902
- Location
- Doncaster
... then the rain came and stopped play. So a few pics of what I did.
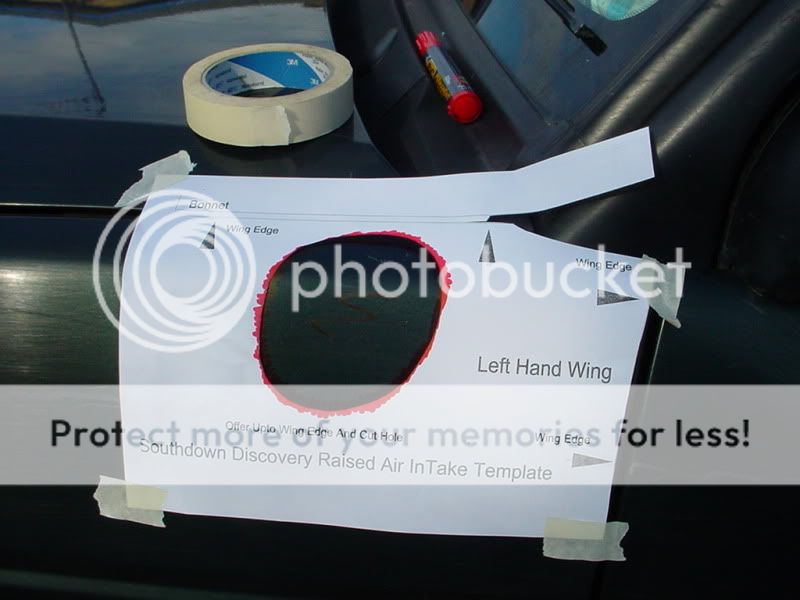
Couldn't be bothered to remove the wing ..
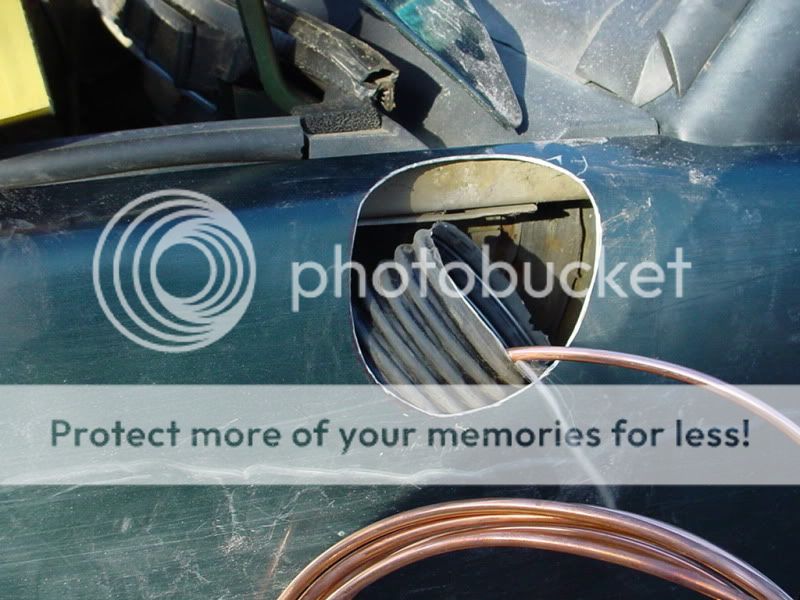
So, started by cutting the template out and marking the wing ...
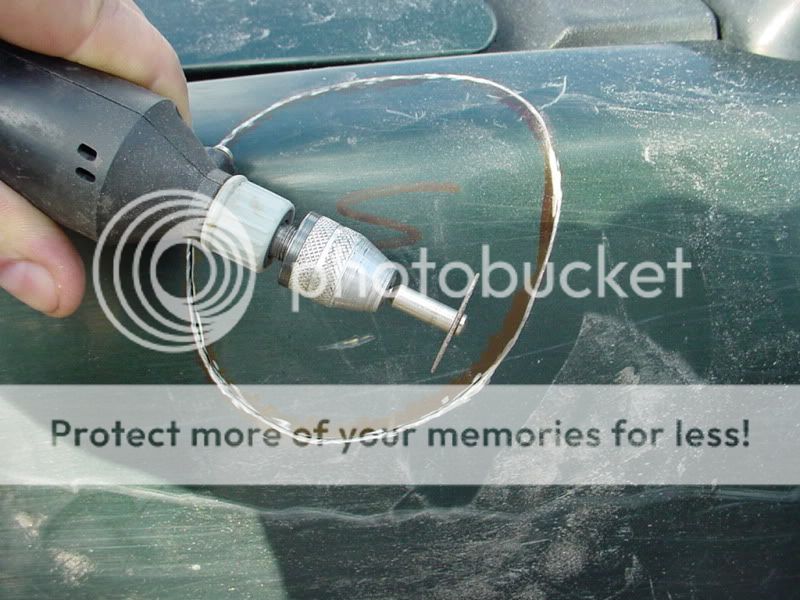
cutting with a 'dremel' type thing ... cleaned the hole afterwards with a sanding disc.
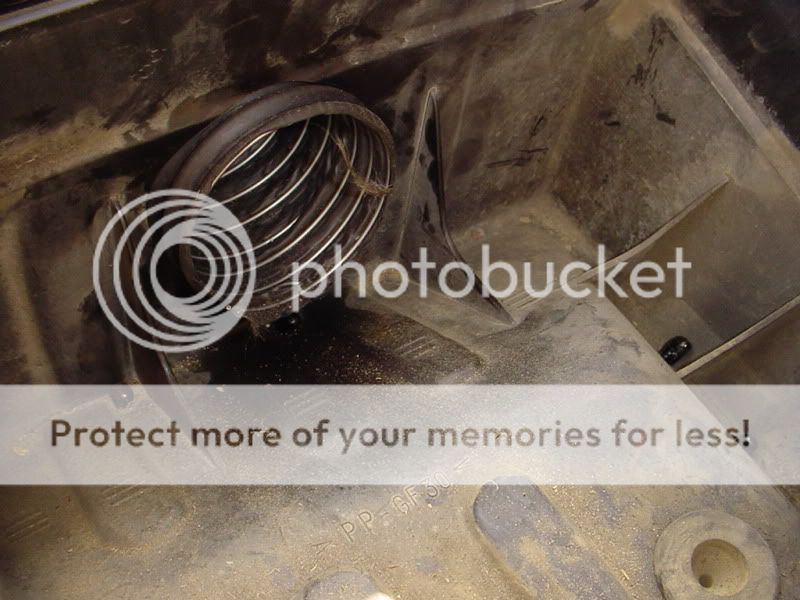
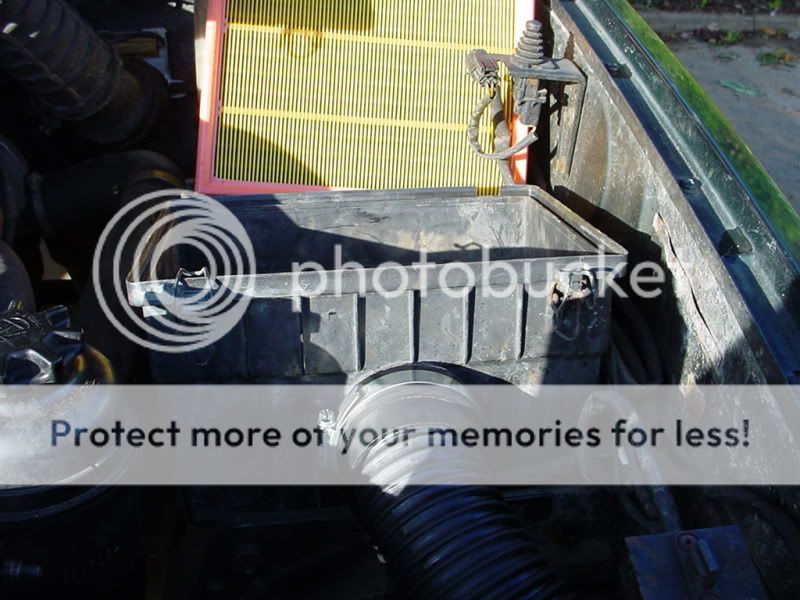
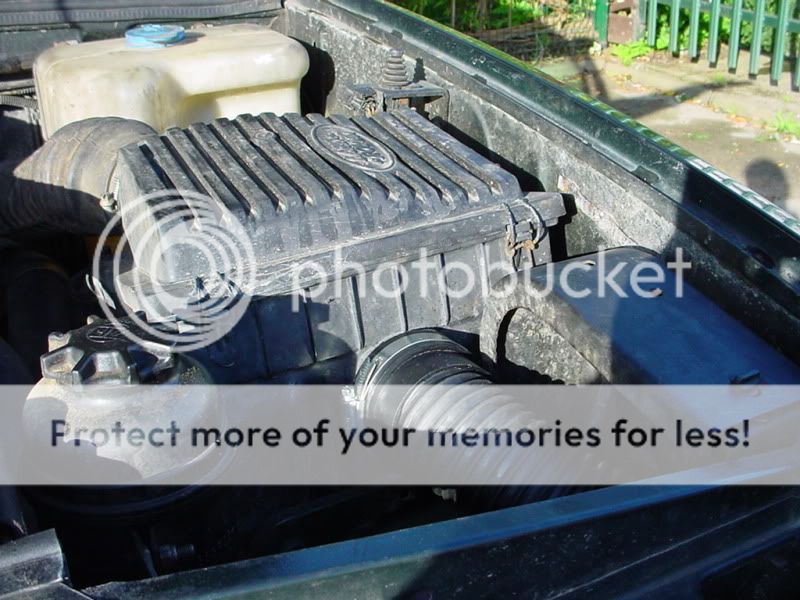
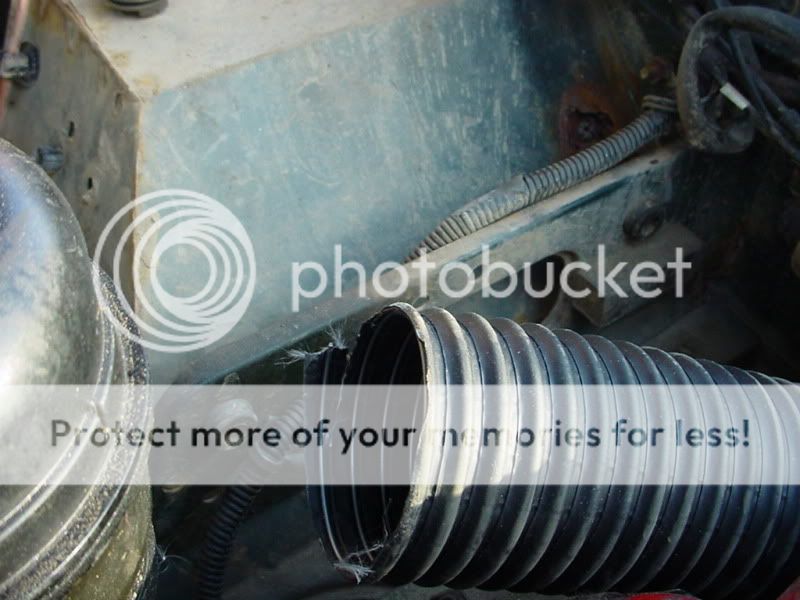
Then removed the airbox and air inlet tube from the wing and routed some brake pipe through.
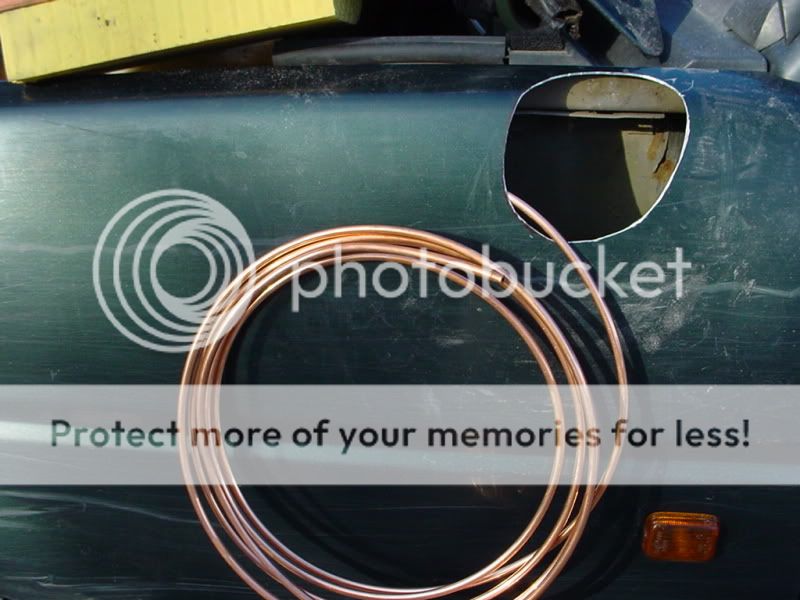
Slotted the new air inlet tubing along the brake pipe, job's a good 'un ...")
Measured and marked up the A post and fitted the tube loosely so it could
be checked.


Then the rain came and stopped play for wetness and bad light!!
Doesn't look it in the pics, but there was a black cloud behind me although I was in sunlight, the rain came down like a monsoon!
Rest of this to follow tomorrow .. maybe ..
Couldn't be bothered to remove the wing ..
So, started by cutting the template out and marking the wing ...
cutting with a 'dremel' type thing ... cleaned the hole afterwards with a sanding disc.
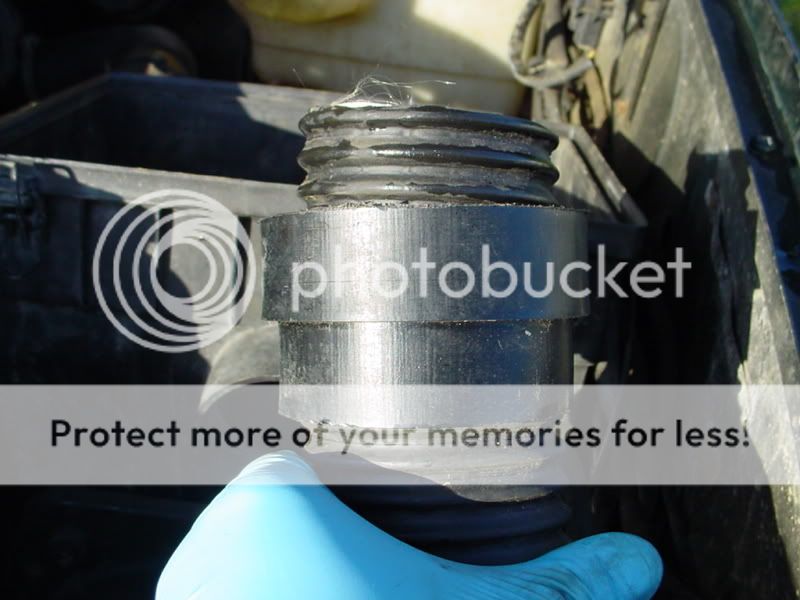
Then removed the airbox and air inlet tube from the wing and routed some brake pipe through.
Slotted the new air inlet tubing along the brake pipe, job's a good 'un ...
Measured and marked up the A post and fitted the tube loosely so it could
be checked.
Then the rain came and stopped play for wetness and bad light!!
Doesn't look it in the pics, but there was a black cloud behind me although I was in sunlight, the rain came down like a monsoon!
Rest of this to follow tomorrow .. maybe ..