Outer Sill repair- as opposed to replacement - help

This site contains affiliate links for which LandyZone may be compensated if you make a purchase.

southpoint

New Member
Posts
7
Hi Folks,
My disco 96 300tdi has just failed MOT on sills and posts [ A & B ].

So I thought - get myself a couple of sill repair covers - A & B post base replacements from yrm - clean it up to good metal - tack it all in and get a decent welder to come along and seam weld it all in [ I am just not good enough for the seam welds ].

BUT - I am looking at what I have to do to get the sill repair plates on and I have a problem with what I can and can't do to got both the MOT passed and to get a good job done.

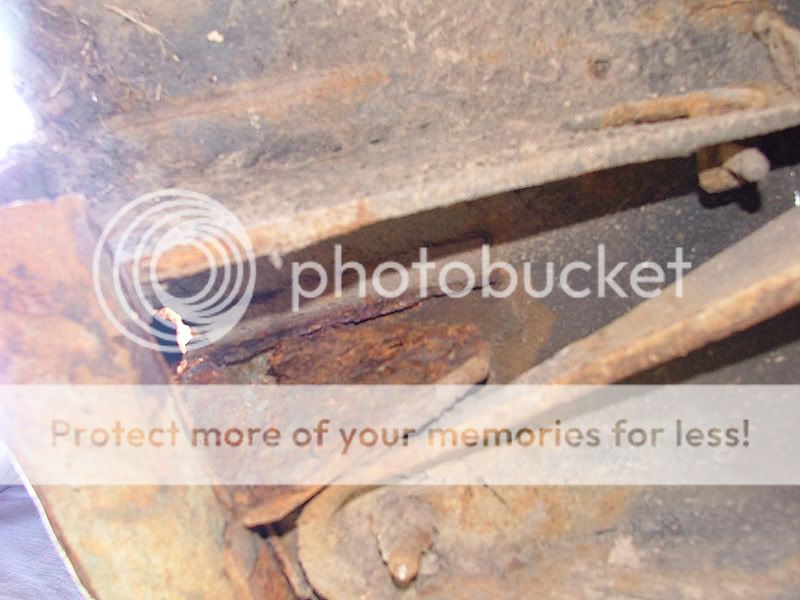
Here is a pic of the sill and a bit of floor - as it is now - not too bad plenty of clean steel at the top with only the lower sill shot.
old-sill.jpg


Here is a pic of the sill repair offered up to the same side:
new-sill-offered.jpg


The BIG question here - well the 1st anyway - is that the replacement sill repair has a big flange that seems to have to go over the existing floor [ underneath the front door weather seal ] and it will fit.

Well the bolts for getting the seats out are corroded to hell so I cannot get the out without cutting the bolts so I am keen to leave the seats in place if I can - I will look at this later on.

SO - the big question - it's been bugging me big time : If I cut the flange off the replacement sill repair part [ the one that is suppose to go over the floor ] and get it seam welded on the outside of the existing sill just below the rail that holds the door seals - is that OK or is it a big structure/MOT problem???

To be honest I am a newbi at this type of stuff and any advice would be great - in fact I am in Shropshire so if anyone want to make a few quid on the seam welding or indeed advice - drop me a pm -well happy man I will be.

I am a p/t Gamekeeper and it's my daily wagon on the shoot so any help is welcomed big time :)

Cheers for now,

Russ
 
cut floor piece off and weld to outer sill near top ,dont weld from one end to other as it will distort tack it on and weld a couple of inches staggered seam welding just means eventually welded all round ,the other thing is they cant see that welding when plastic trim is back on,so doesnt have to be pretty
 
Thanks for the help guys.

@Johnny Curt 1 - I'm in Shrewsbury so probs a bit of a trek for you.

Will get cracking on the stripping down & cleaning up today.

Thanks again
 
Yup - loads of piccies coming soon - started taking em today.

Well - got one side ground off and back to some good metal to weld to on both the face of the sill and 'amazingly' on the lower flange where the outer sill joins with the inner sill [after a lot of grinding] - this is where my next question is - sorry!

Whilst cleaning up the lower flange - where the outer sill joins the inner I noticed that it had been originally spot welded [ or so I reckon? ] - when I look at my new sill cover which fits bang on all the way down the join I though 'How the hell do I fix that on to there'.

So I thought if I drill a series of holes down the new flange and then puddle weld the new to the old at say every 4 inches or so would this be OK or would the MOT man throw a spanner at me and fail it?

Or does this need a seam weld too?

Thanks again - sorry to ask so many dumb questions!

Cheers
 
Thanks for the help guys.

@Johnny Curt 1 - I'm in Shrewsbury so probs a bit of a trek for you.

Will get cracking on the stripping down & cleaning up today.

Thanks again
i did mine with flat 20 gauge steel sheeting cut and welded on when i cut the old sill out i leaft a 10 mm edge on the old sill as a guide for the welding also it came in handy to use a couple of pop rivvets to hold it in place while i tacked it on with the welder :D:D:D:D:D

 
forgot to mention i used a 16" by 3 foot piece of hardboard wedged behind the footwell pannel next to the door lip and the other end wedged into the plastic trim on the door post as a blanking shield to stop sparks and overspray getting into the interior and wrecking the seats n **** gave me a lot more peace of mind while welding the top edge
 
Well finally got around to actually getting something done on this project - bloody work gets in the way LOL

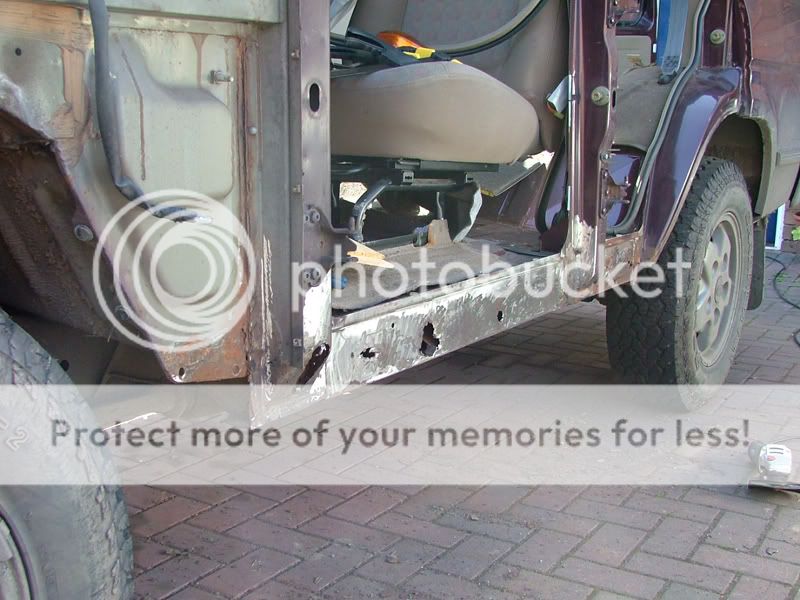
After initially grinding everything right back down - the extent of the rust worm was far bigger than I first thought, not only the sill but both A and B post bases were completely shot through and needed sorting.

nearside-first-grinding.jpg


So plenty of work there - especially for a noob.

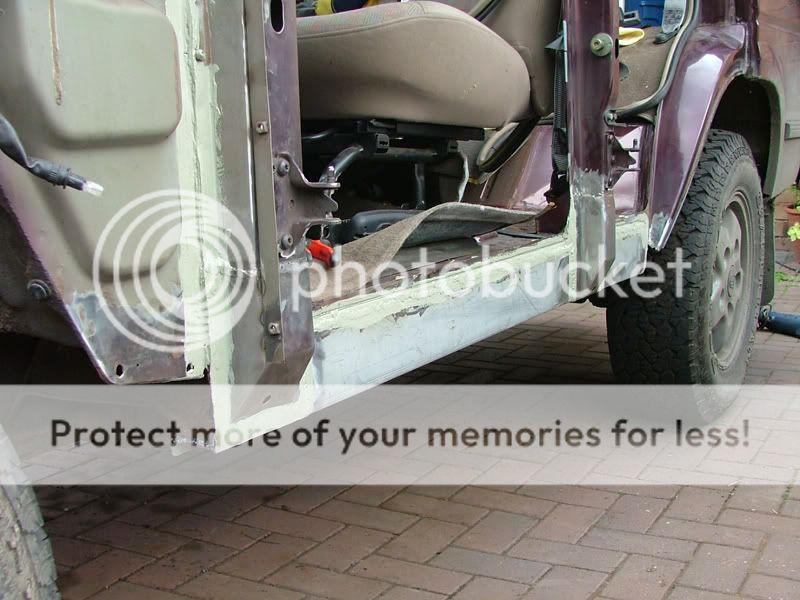
Got to grinding out all of the knackered parts, gave it a good coat of rust killer inside and got it plated up - new post bases on over the top of the new sill, learnt to plug weld LOL and got it all seam sealed up. Left a lip at the top of the new post bases so I can flush them in with some filler a bit later on.

nearside-plated-and-seam-sealed.jpg


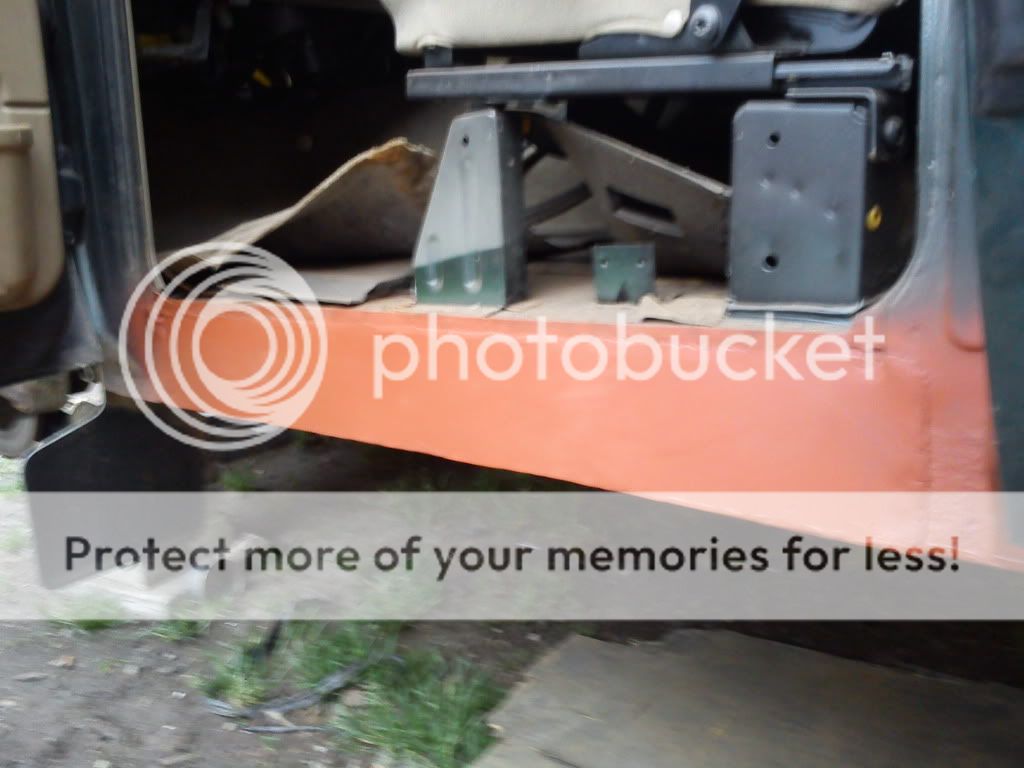
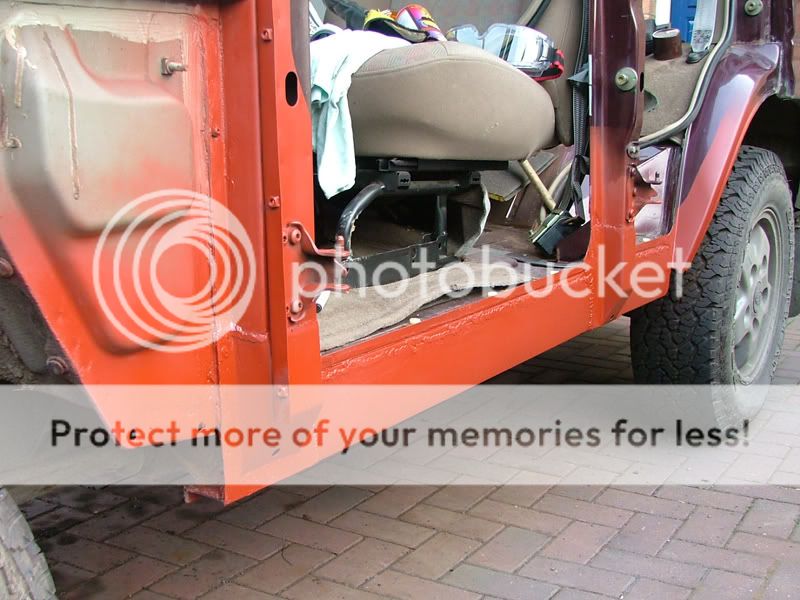
Got it all cleaned up, degreased and ready for a bit of paint - decided to sort the rear wheel arch while I was at it as it was also beginning to rust.

Here is the job with the 1st coat of red oxide on it - not the prettiest welding in the world but I reckon I got a good bond between the existing and the new + the plastic trim will hide a lot LOL.

nearside-ground-off-base-coated.jpg


I reckon once I got some decent primer on the posts, flushed them in and get a couple of top coats on it she'll be good for another few years.

Got to get the front wheel off and weld a plate on to the front end of the sill - just see in the photo - it has a hole in it and looking a bit knackered.

Going to plate the inner front wing while I am at it - below the air cleaner - totally shot, big lump fell off after I took of the outer wing - is this inner front wing structural? or can I tack weld it in - sorry if that's a stupid question.

Ohh great tip of the hardboard across the doors - made up a couple of bits to fit from some old ply and thanks for all the advice so far - makes a massive difference when your not sure what your doing LOL

I reckon that side is coming along nicely now - haven't even started on the other side yet AND that looks worse :doh:

Great fun tho !!!!

Cheers All,

Russ
 
Thats looking good buddy how about firing some waxoil into the sill and leaving the plastic sill protectors off they only trap water and crap
As for inner wing its not structual but if you patch over and just tack it on again its just going to trap water and rot thro even faster you are better of cutting the rot out and welding in new clean metal, You know you want to!!
 
Thanks lazydog - your right. I got it all stripped down so I may as well cut it all back and get some new steel in there do the job proper :doh:

Good idea with the waxoil - can see the benefit of that and I reckon it does look better without the plastic covers anyway. What would you do? drill a hole in the sill at each end and just pump it in??
 
Just stripped down the other side - thought I would get the cutting out sorted BUT I need some advice I think before getting cracking.

The chassis mount at the back of the A post seems to be right through at the top on one side but I cannot tell whether it is a plate running down the side OR the actual mount side?

The whole sill on this side is bad - outer and inner so I am thinking of maybe doing this side with a box section or something and sorting all the mounts etc.. so it is a proper job.

Here is a couple of pici's of the mount - all opinions welcome on what I need to do with it but it don't look good to me.

chassis-mount-2.jpg


And

chassis-mount-1.jpg


Cheers
 
I would be inclined to give it a blow over with a cheapy gritblast gun (if you got a compressor!) and see what viable metal there actually is.On a few welding jobs of late I have been badly caught out by areas that looked half solid when wire brushed,flap disc'd and even hammered.And before you cut anything away,measure ,measure and draw angles,photo with ruler in pic etc etc.Since you are dealing with suspension geometry a lot goes a long way....when it aint right.....

on a related point....has anyone tried weld-through paint?

I am ever more impressed by people putting box section into sills.It seems like a good upgrade to old style landy specs.I watch with interest as I have a sill job waiting and I am more and more inclined to leave the ****part panels on the shelf and get down the steel factors instead.Only probs are time and priority ......running repairs come first....and there always seems to be one ahead of the sills on the engine-out disco!
 
Really getting pushed now to finish this job this week.

Had a look at the o/s inner sill and it was totally shot including all outrigger brackets - the lot SO new inner and outer sill it is - got them delivered - new bolts and bushes from Landrover collecting in the morning so I reckon by tomorrow I will have all this in and be getting the A + B posts sorted which were sooo bad I had to chop of the bottoms.

Anyway the reason for the quick post !!!! I have a load of work to do in the front inner arches also and have cut a fair bit out last week - especially around the battery housing - I am going to do a proper job on it in the future just though I would cut back and get some plates on there for the time being.

My question is - are the repairs to the inner front arches required for the MOT ??

This may sound a dumb question BUT I am starting a new job on Monday and I need my truck to get there so I have got to get it MOT'd this week and am just looking at prioritising jobs.

I am focusing on the o/s sill tomorrow and hop to get most of it sorted by Wednesday including the posts so if I can save a bit of time in the front arches - GREAT - can sort them out proper after the MOT.

Cheers.
 
Last edited:
Back
Top