Trewey
Cockernee, Pasty munchin bastid.
- Posts
- 20,093
- Location
- Kernow - Near England
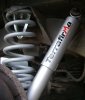
Yes, I know technically they should be called Dampers, but most people know them as Shock Absorbers.
Replacing the rear ones is a piece of cake and doesn't warrant a write-up.
The front ones are a little trickier, but still well within the scope of the average person with some basic tools.
This thread shows the nearside one being done. The only difference with the offside one is that you need to move the radiator header tank out of the way, instead of the air box and it's support bracket.
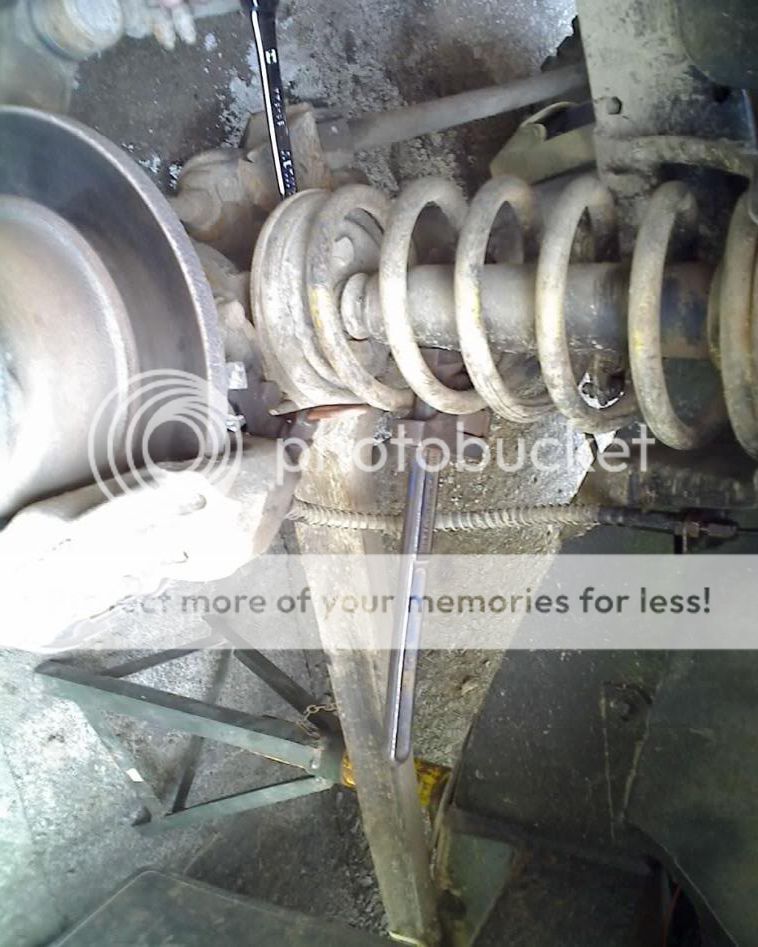
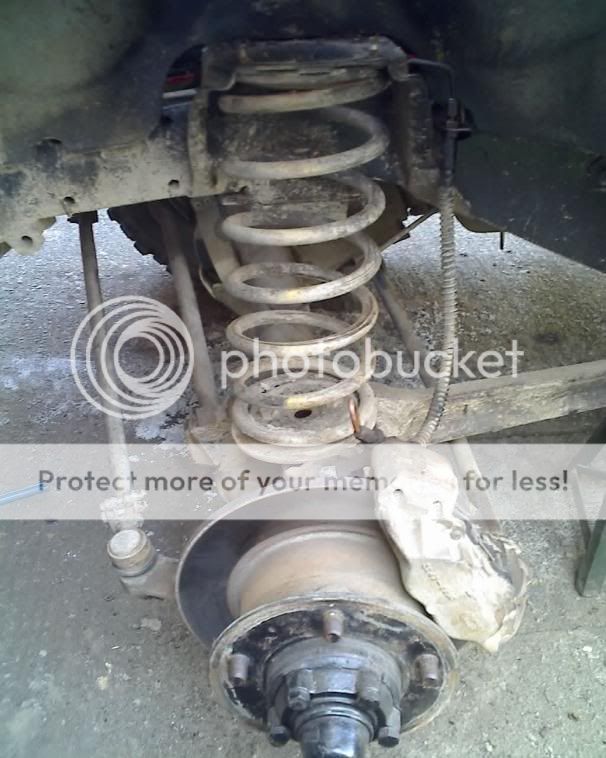
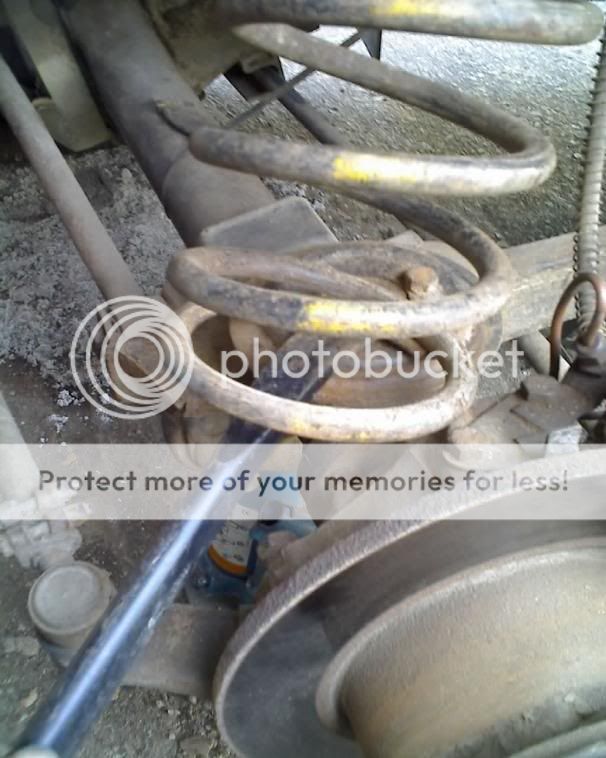
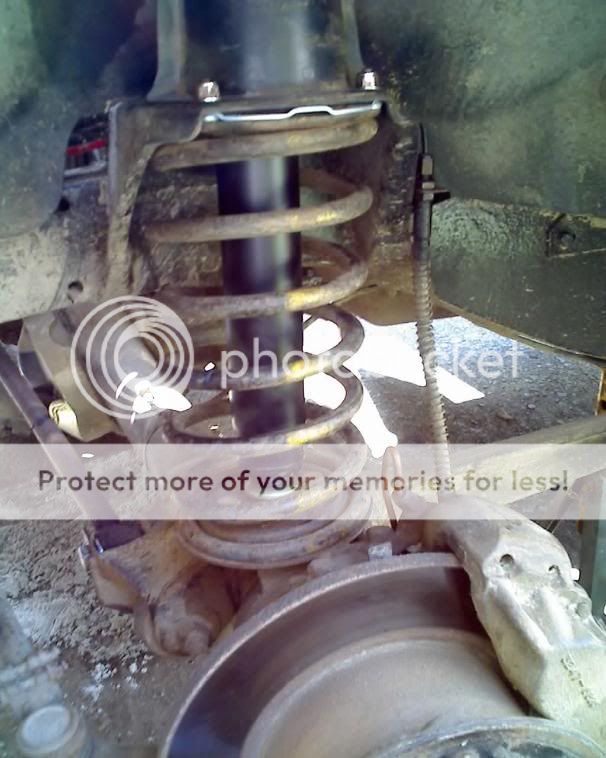
First, jack the Landy up using a trolley jack or bottle jack under the front axle. Remove the wheel and place an axle stand under the chassis rail. Then lower the Landy so that it rests on the axle stand, but there's still some weight on the trolley / bottle jack.
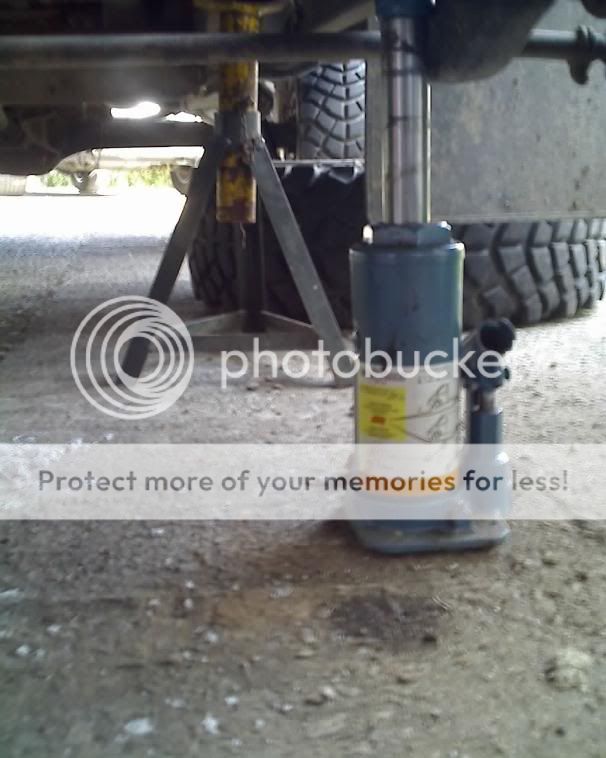
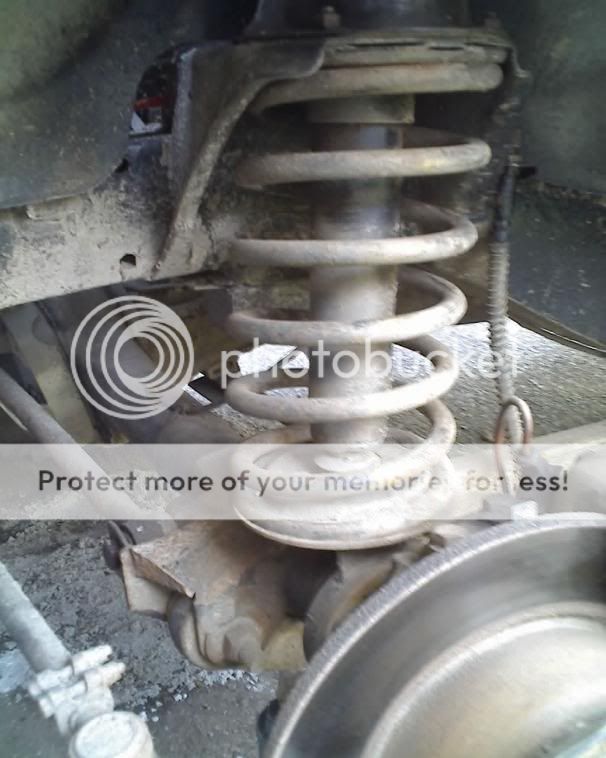
That leaves the coil spring still slightly compressed, but enough space between the coils to get a pair of stillsons in.
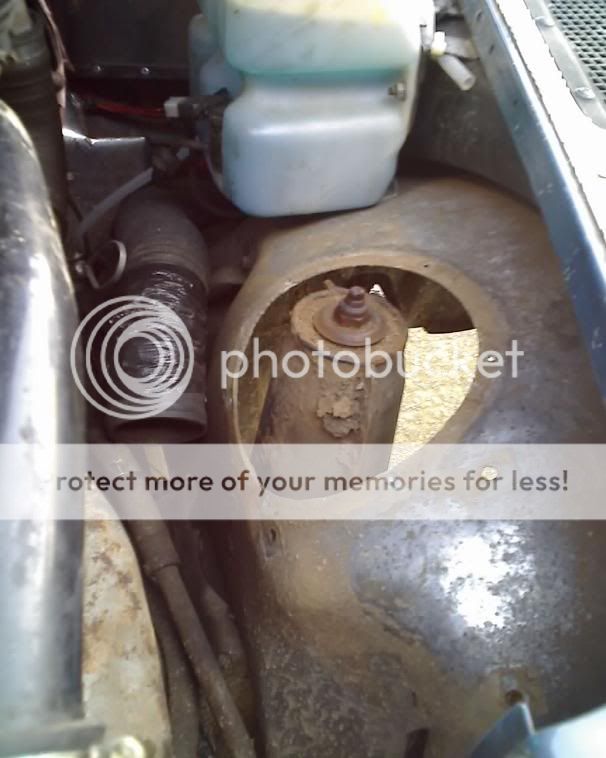
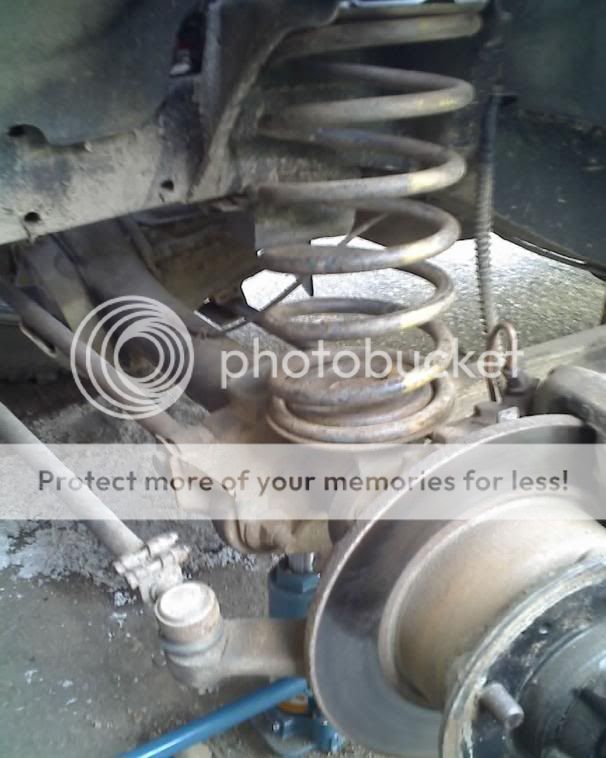
Move the air-box out of the way and remove it's support bracket. Then remove the plastic cover and expose the top of the turret.
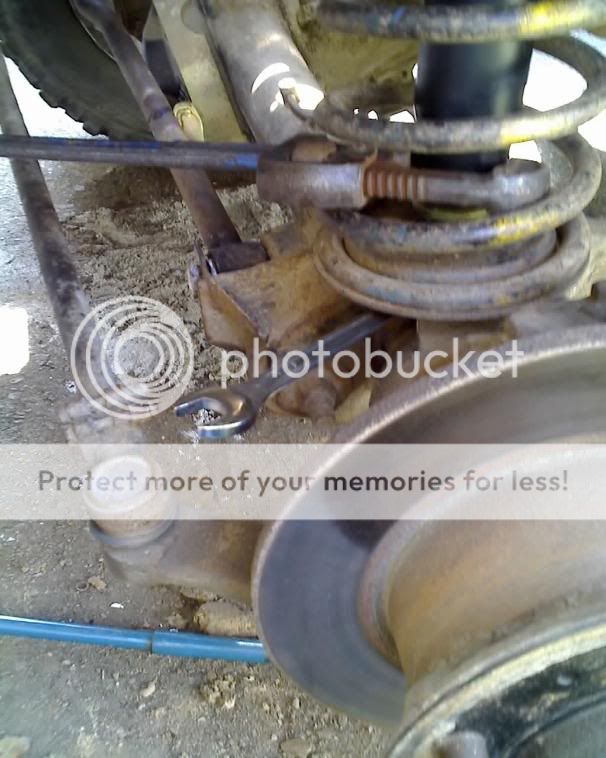
Hold the bottom of the shock absorber with a pair if stillsons and undo the bottom securing nut.
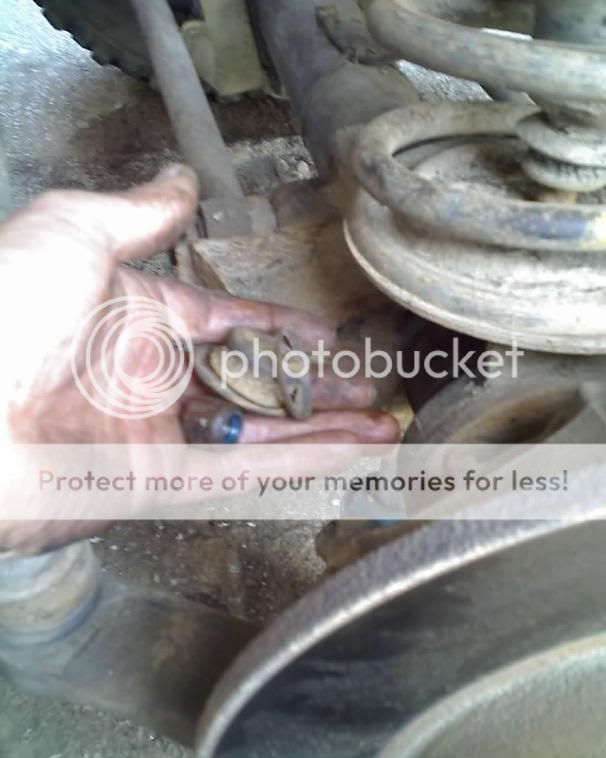
Retrieve the nut, rubber donut and washers.
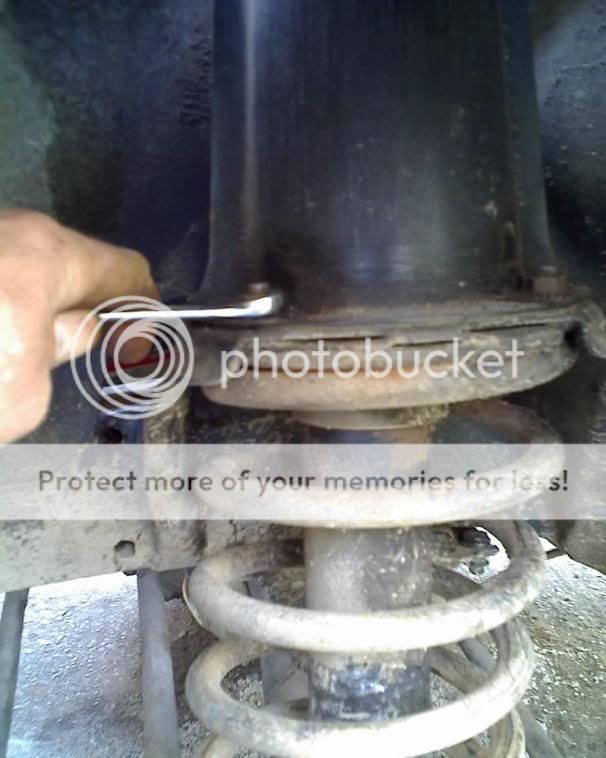
Undo the 4 nuts securing the turret to the chassis bracket. One or more of the turret-ring studs will shear off, so buy new turret-rings before you start (about 4 quid each).
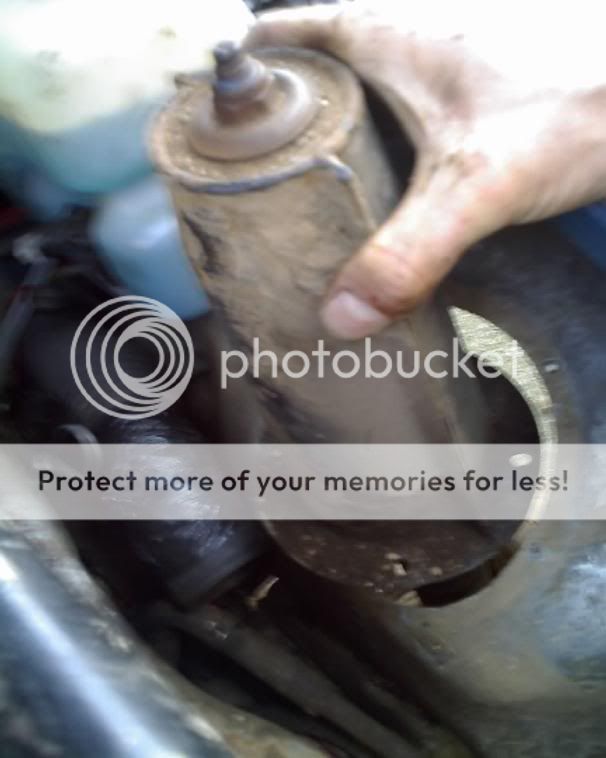
Pull the turret and shocker out through the hole in the inner wing.
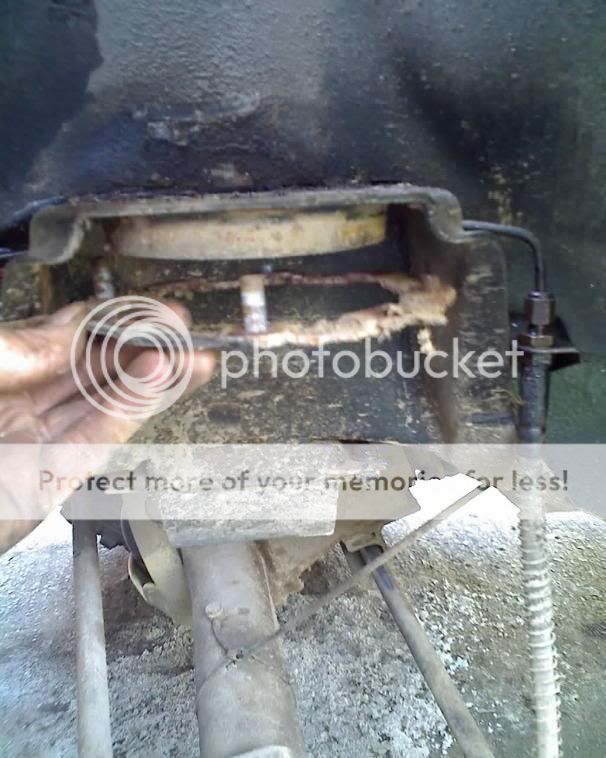
Now you need to remove the turret-ring with the broken stud(s). Lower the trolley / bottle jack as far as you can, without straining the brake hose.
You can then prise the spring out from it's seat and remove the turret-ring.
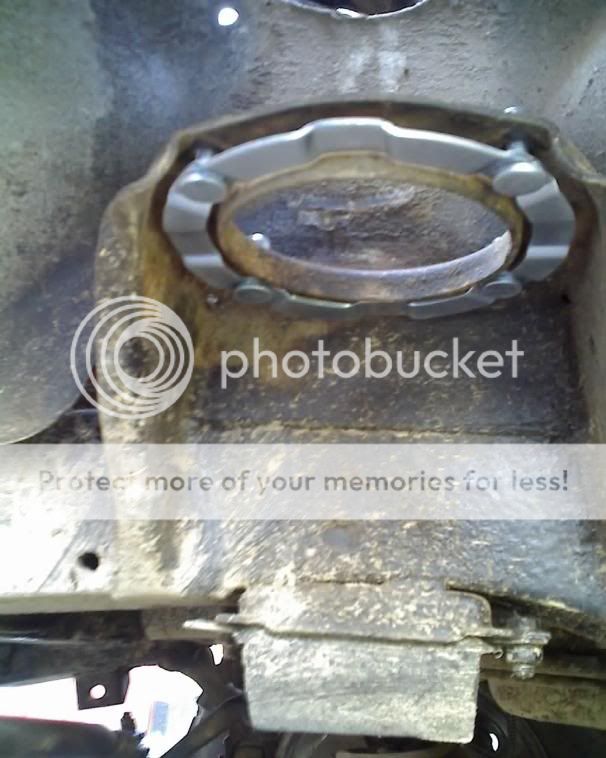
Replace it with a new turret-ring and hold it in place temporarily with a couple of the nuts.
Put the spring back in place under the turret ring.
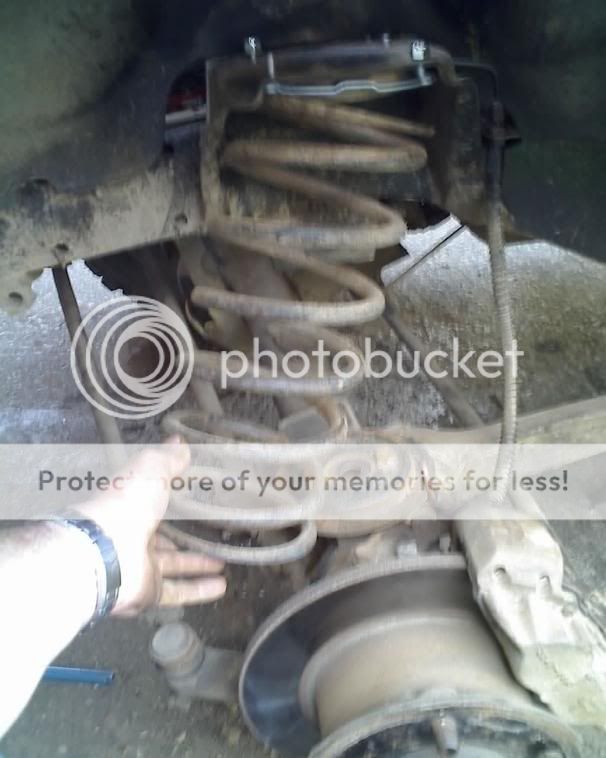
A pry-bay comes in handy to ease the spring into place.
Once the spring is back in place, jack the axle back up again (not too far) and remove the temporary nuts from the turret-ring.
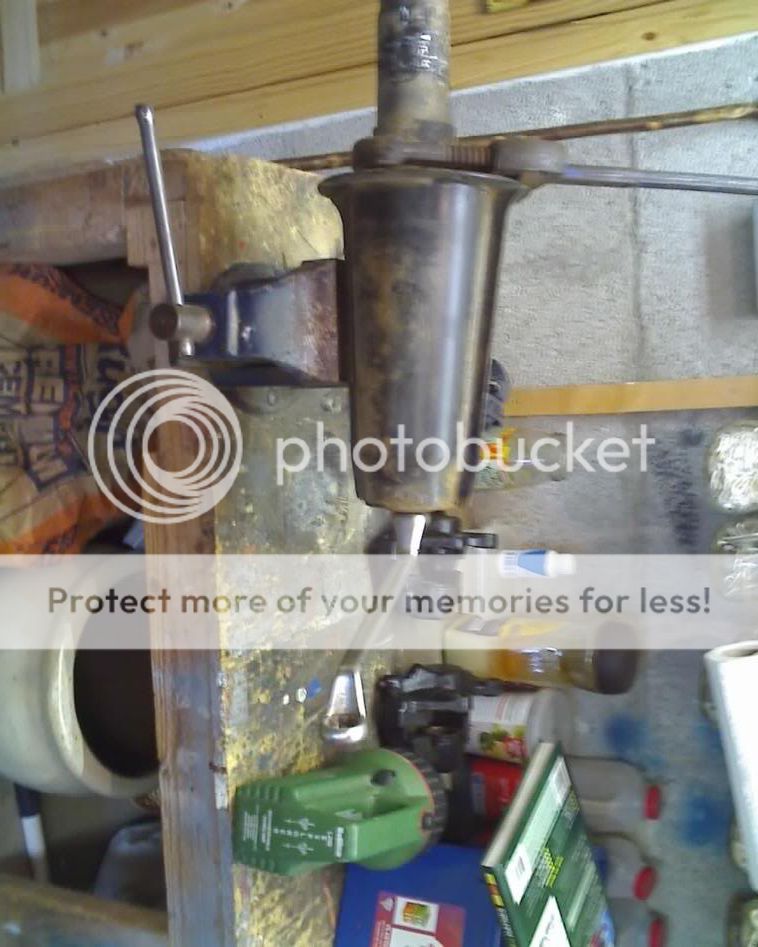
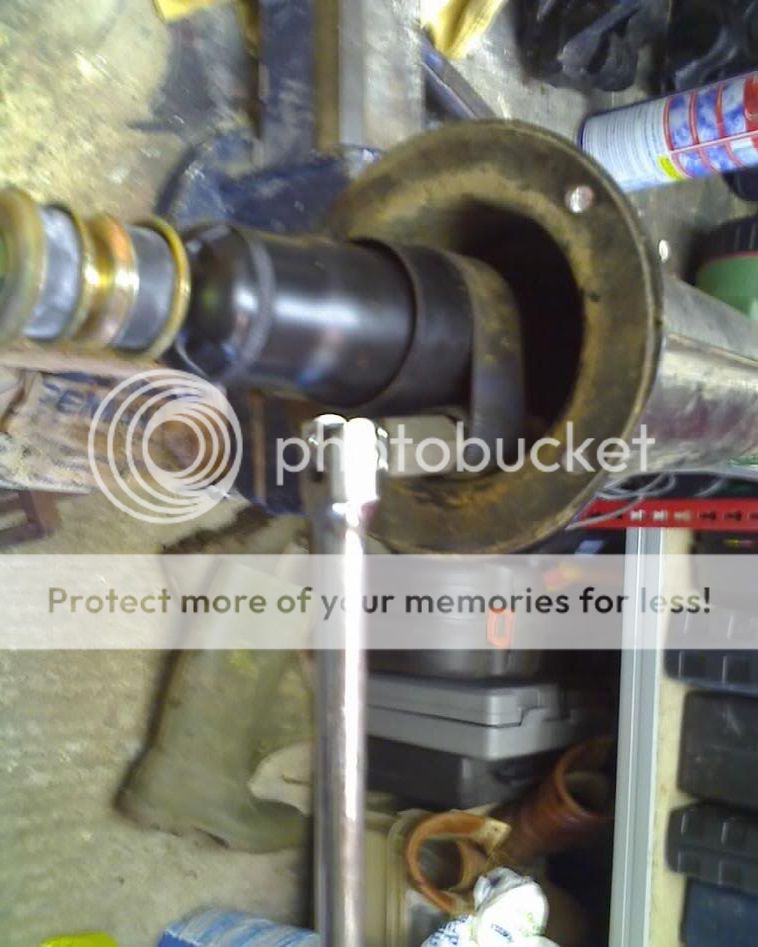
Next, get the turret in a vice and remove the top nut, using the stillsons on the upper part of the shock-absorber and a spanner on the nut. Remove the shock absorber and retrieve the washers and rubber donuts.
Fit the new shocker in through the turret, with the new washers and donuts in the correct order (i.e. as supplied).
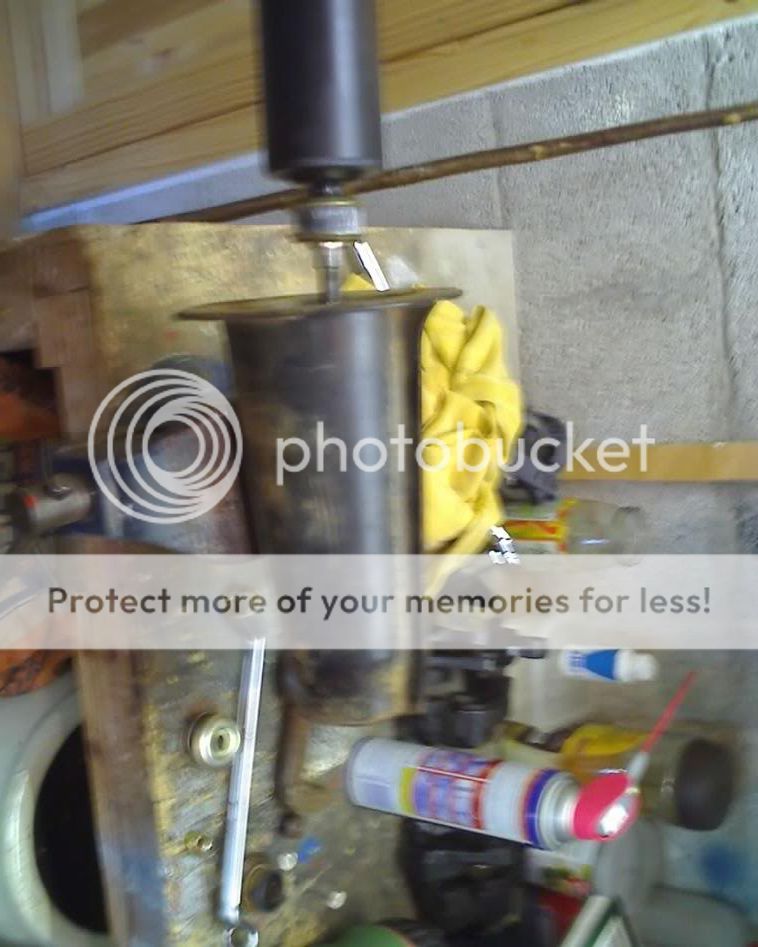
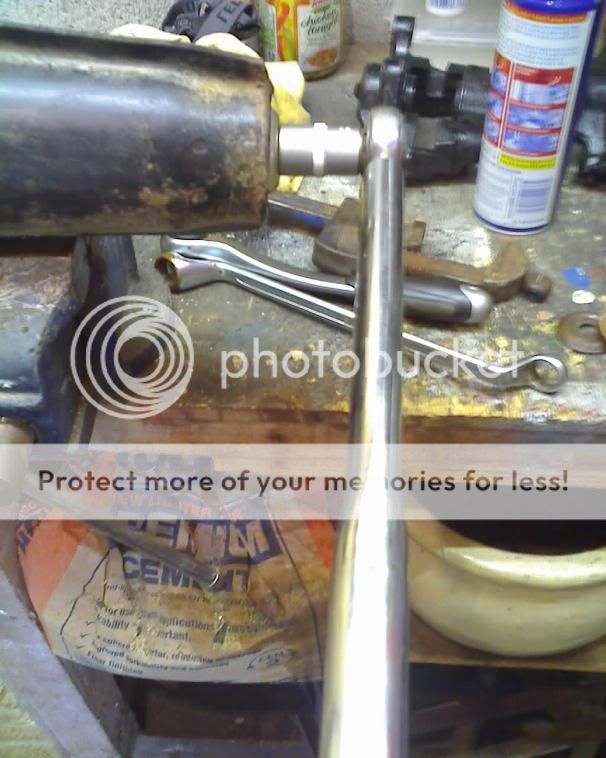
Now, you need to stop the shock absorber turning, whilst you tighten up the top nut. You can use the stillsons, but you need to be careful to avoid damaging the new shock absorber. I used an oil-filter strap-wrench to hold the shock absorber....
....while I tightened up the nut with a torque wrench.
Next, drop the turret / shock back through the hole in the inner wing, onto the new turret-ring studs...
....and fit the washers / nuts and tighten down the turret.
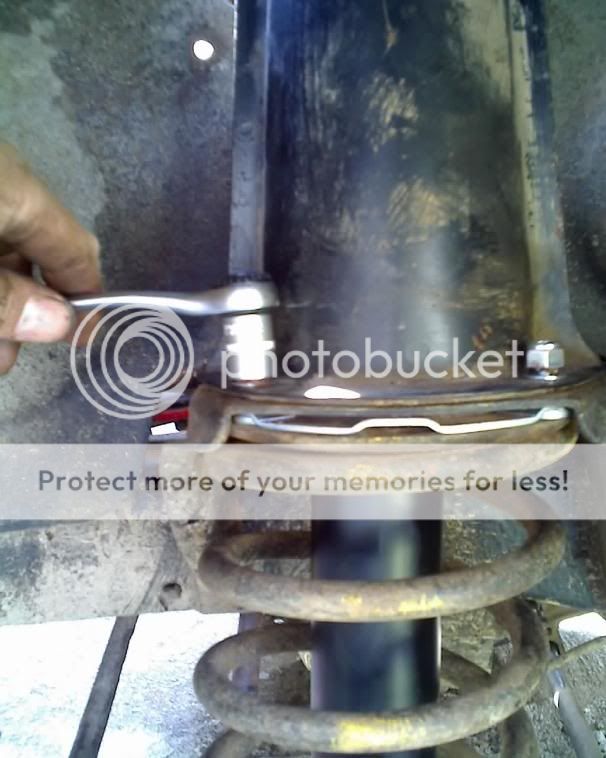
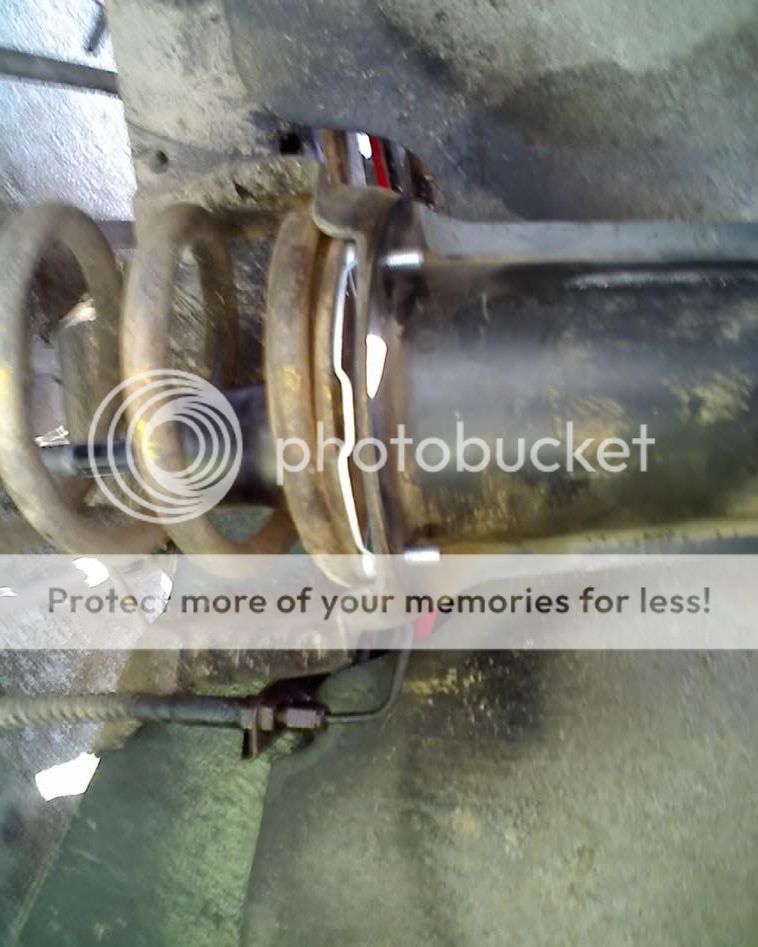
Fit the upper / bottom washers and donut, before pulling the lower part of the shock down through the spring seat. Then fit the lower / bottom washers and donut and the securing nut. Tighten the bottom securing nut whilst holding the shock absorber body with the stillsons (take care not to damage it). You can't get a socket on it, to use a torque wrench, so tighten it up till the donuts are well compressed (compare their thickness with the top ones).
That's about it!
Replace the wheel, the air-box and bracket - JOB DONE!
Replacing the rear ones is a piece of cake and doesn't warrant a write-up.
The front ones are a little trickier, but still well within the scope of the average person with some basic tools.
This thread shows the nearside one being done. The only difference with the offside one is that you need to move the radiator header tank out of the way, instead of the air box and it's support bracket.
First, jack the Landy up using a trolley jack or bottle jack under the front axle. Remove the wheel and place an axle stand under the chassis rail. Then lower the Landy so that it rests on the axle stand, but there's still some weight on the trolley / bottle jack.
That leaves the coil spring still slightly compressed, but enough space between the coils to get a pair of stillsons in.
Move the air-box out of the way and remove it's support bracket. Then remove the plastic cover and expose the top of the turret.
Hold the bottom of the shock absorber with a pair if stillsons and undo the bottom securing nut.
Retrieve the nut, rubber donut and washers.
Undo the 4 nuts securing the turret to the chassis bracket. One or more of the turret-ring studs will shear off, so buy new turret-rings before you start (about 4 quid each).
Pull the turret and shocker out through the hole in the inner wing.
Now you need to remove the turret-ring with the broken stud(s). Lower the trolley / bottle jack as far as you can, without straining the brake hose.
You can then prise the spring out from it's seat and remove the turret-ring.
Replace it with a new turret-ring and hold it in place temporarily with a couple of the nuts.
Put the spring back in place under the turret ring.
A pry-bay comes in handy to ease the spring into place.
Once the spring is back in place, jack the axle back up again (not too far) and remove the temporary nuts from the turret-ring.
Next, get the turret in a vice and remove the top nut, using the stillsons on the upper part of the shock-absorber and a spanner on the nut. Remove the shock absorber and retrieve the washers and rubber donuts.
Fit the new shocker in through the turret, with the new washers and donuts in the correct order (i.e. as supplied).
Now, you need to stop the shock absorber turning, whilst you tighten up the top nut. You can use the stillsons, but you need to be careful to avoid damaging the new shock absorber. I used an oil-filter strap-wrench to hold the shock absorber....
....while I tightened up the nut with a torque wrench.
Next, drop the turret / shock back through the hole in the inner wing, onto the new turret-ring studs...
....and fit the washers / nuts and tighten down the turret.
Fit the upper / bottom washers and donut, before pulling the lower part of the shock down through the spring seat. Then fit the lower / bottom washers and donut and the securing nut. Tighten the bottom securing nut whilst holding the shock absorber body with the stillsons (take care not to damage it). You can't get a socket on it, to use a torque wrench, so tighten it up till the donuts are well compressed (compare their thickness with the top ones).
That's about it!
Replace the wheel, the air-box and bracket - JOB DONE!