samc88
Drivels spiritual representative
- Posts
- 2,838
- Location
- Anglesey, North Wales
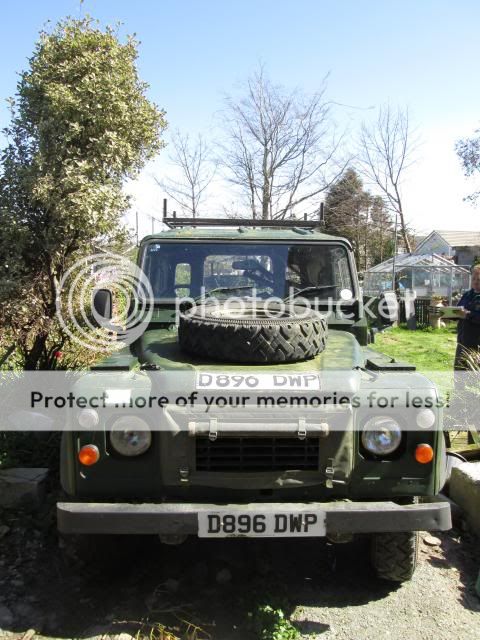
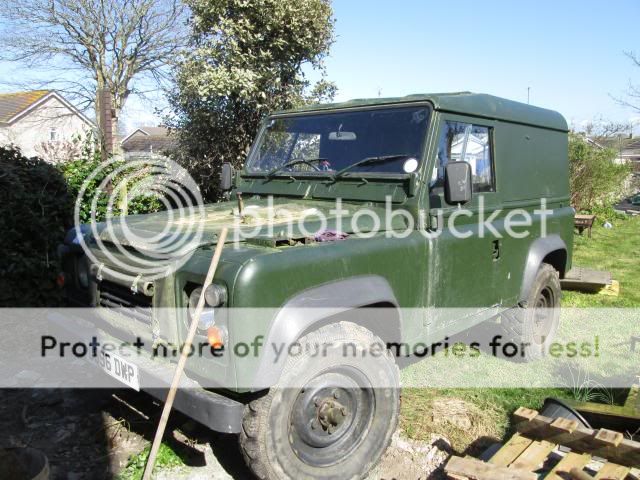
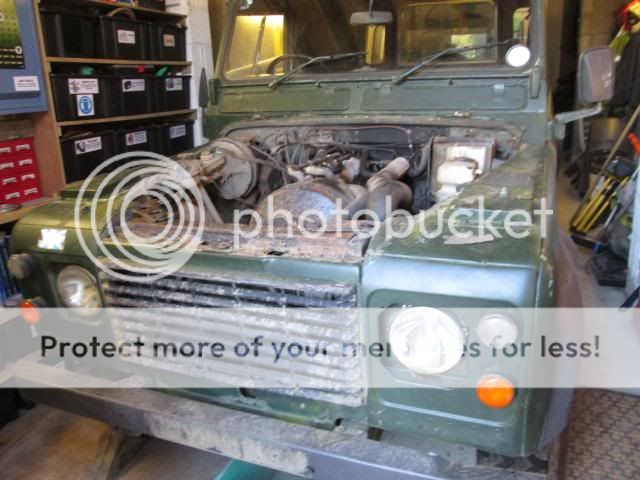
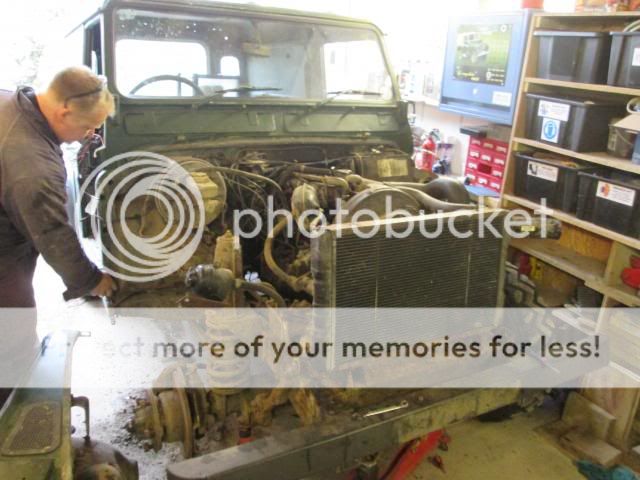
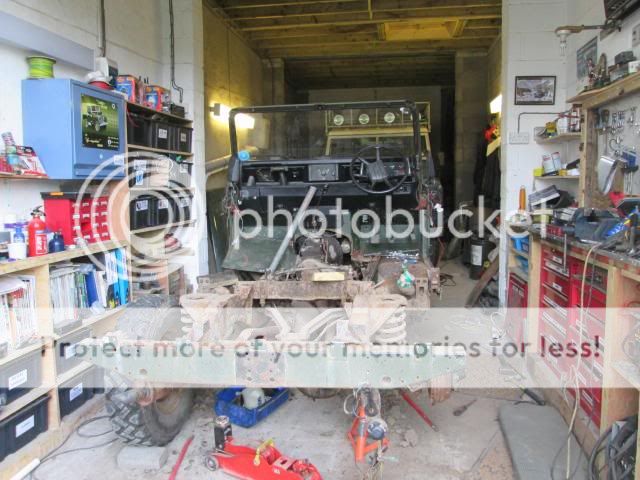
Well with the series pretty much done, its now time to be looking at my brothers 90. Its a 1986 (I think IIRC) FFR with all the gear stripped out. Has a bit of history as this went out in the first gulf war apparantly, underneath the green you can still see the sand coloured paint. Bulkhead needs some work (door pillars are pretty shot) and footwells need replacing but all in all its not too bad. Plan is to swap the rear axle to the spare discovery one we have to make it discs all round. The engine in it is a 12J 2.5N/A diesel (same as mine), no plans yet for an upgrade. Right time for some pictures
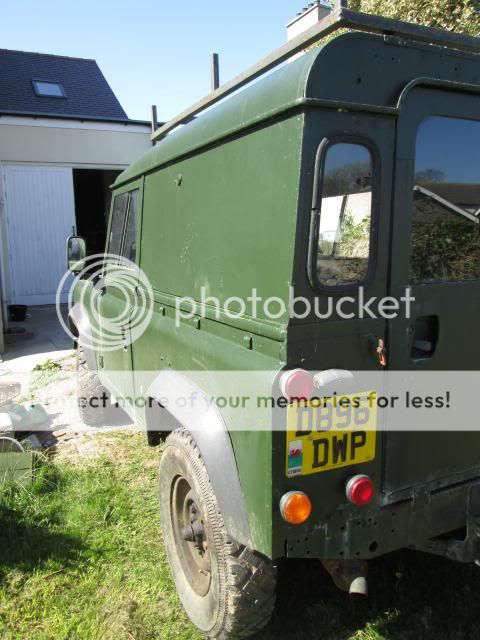
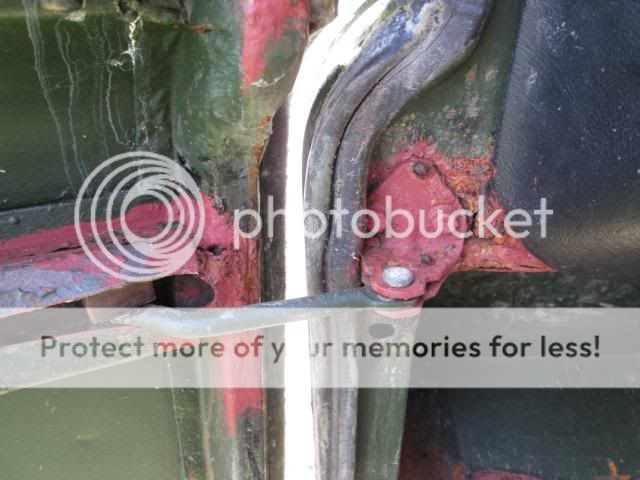
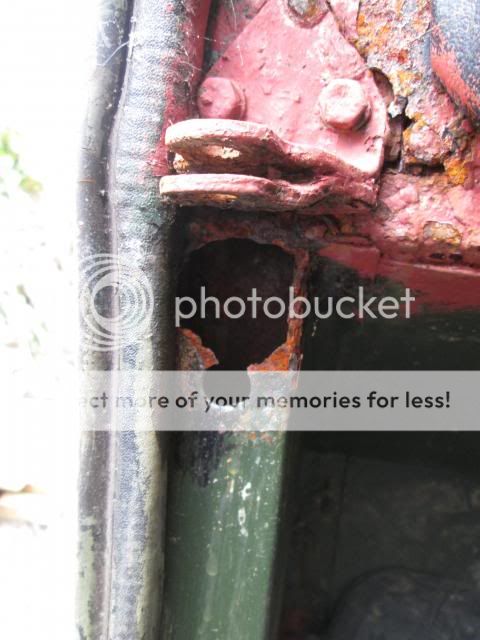
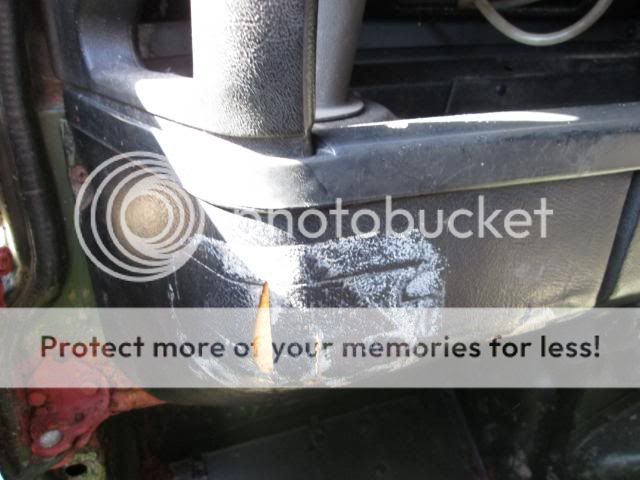
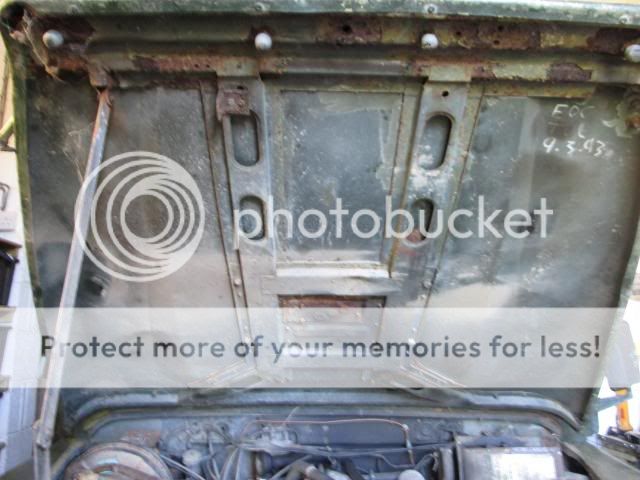
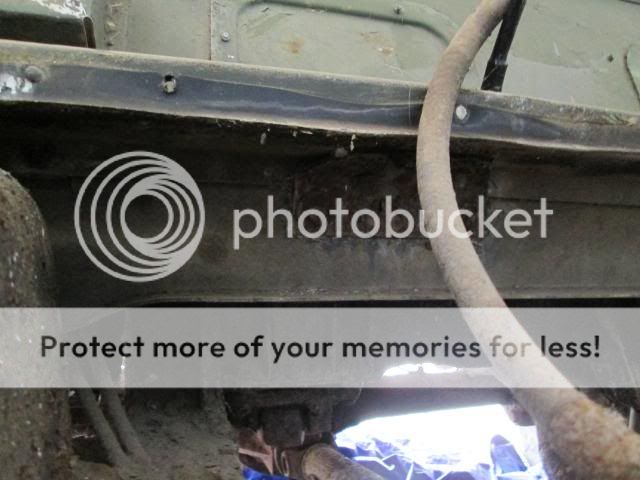
The rotten pillar
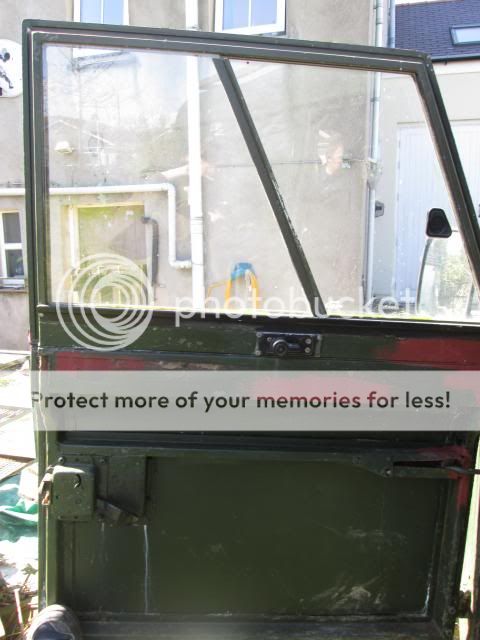
Doors also need a bit of work doing to them
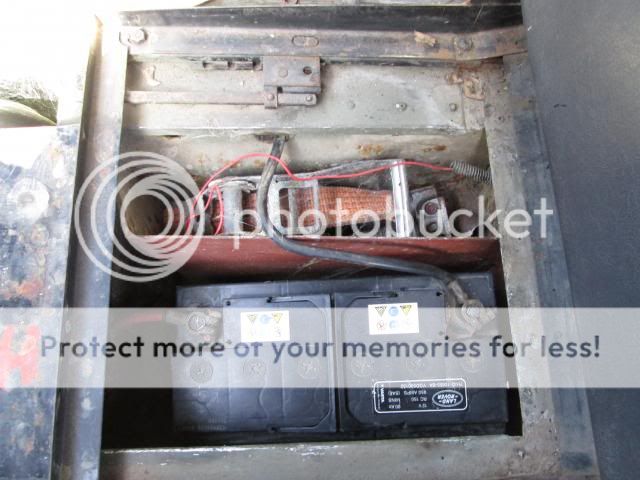
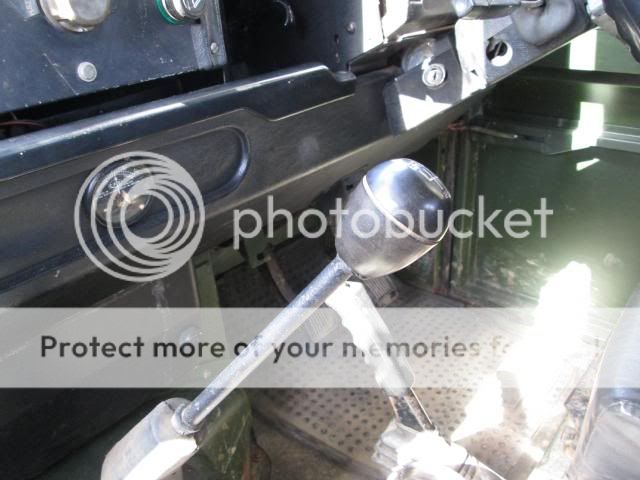
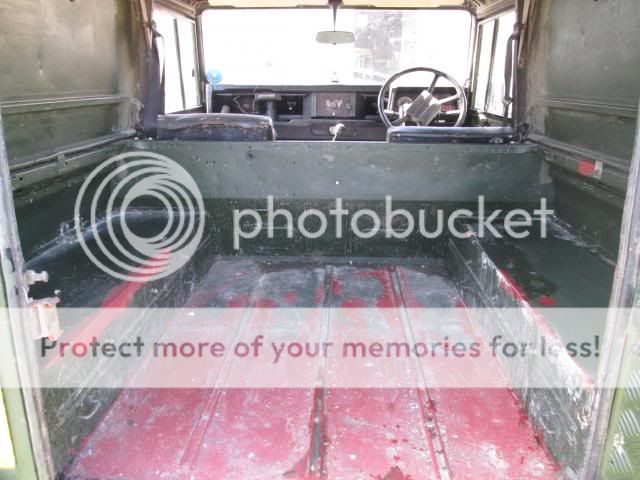
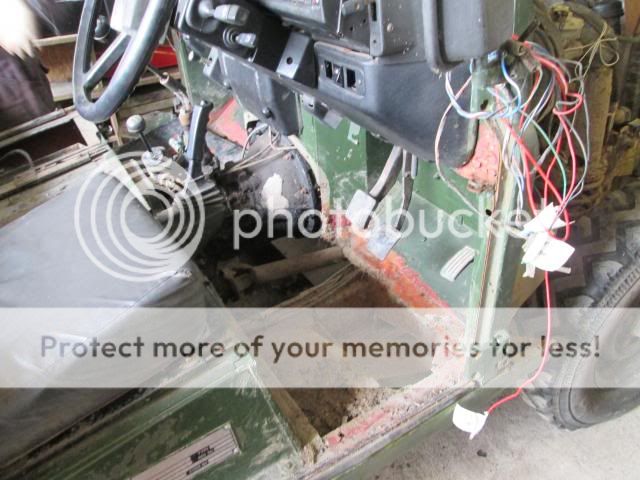
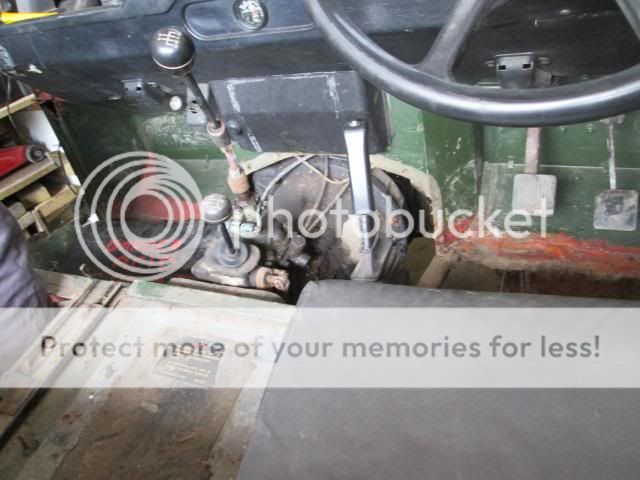
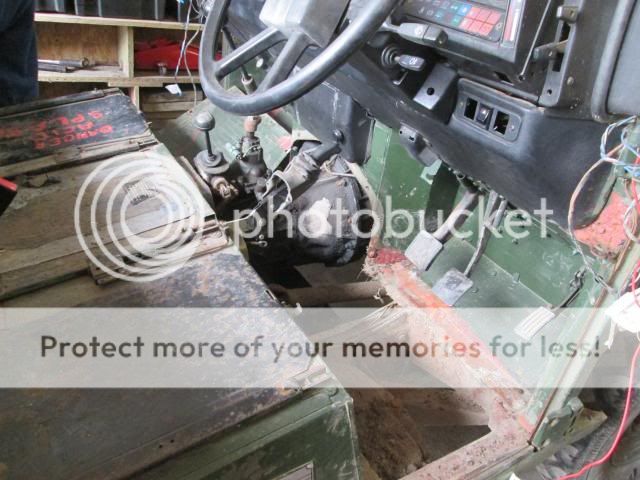
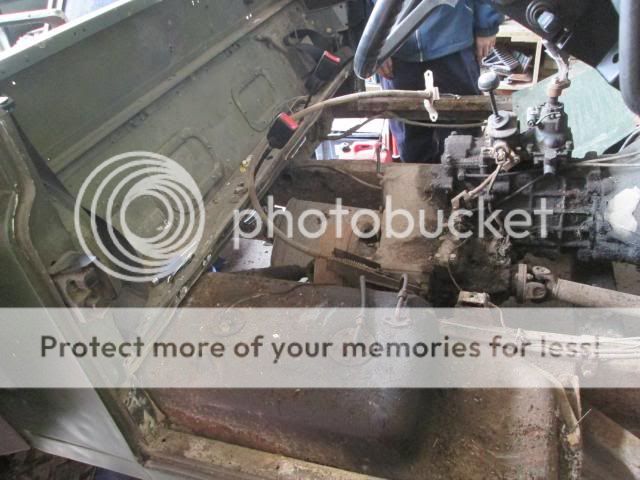
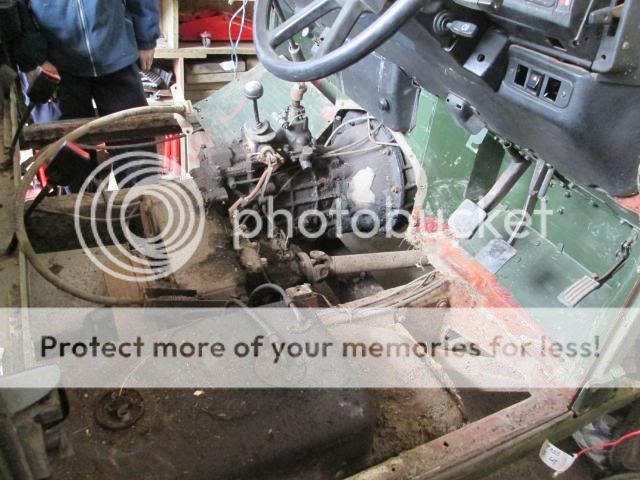
The interior

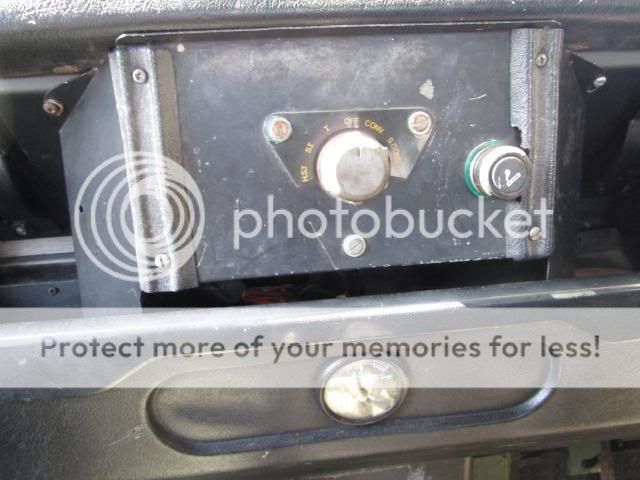
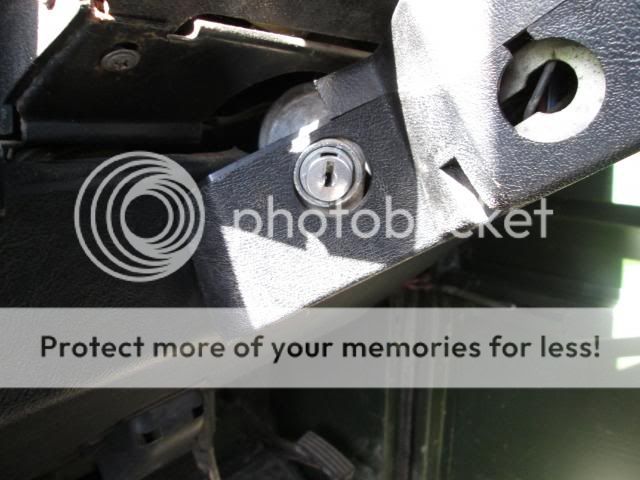
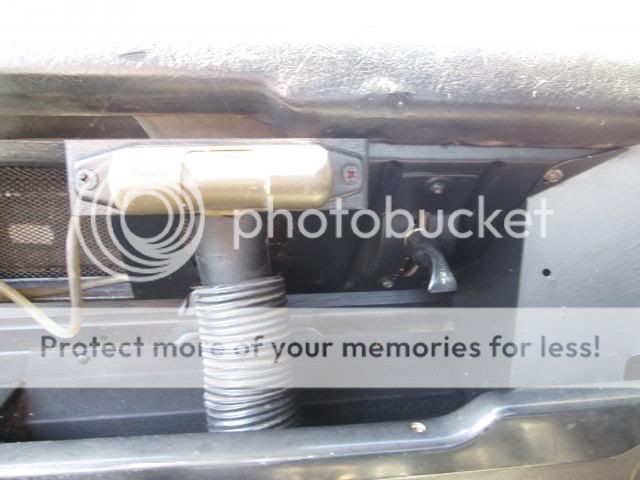
Aftermarket ignition barrel which needs replacing
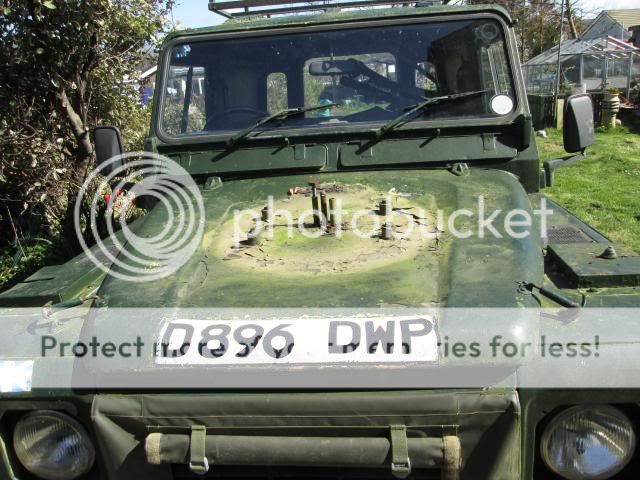
First thing was to take off the spare wheel, this reveals quite a bit of the sand paint
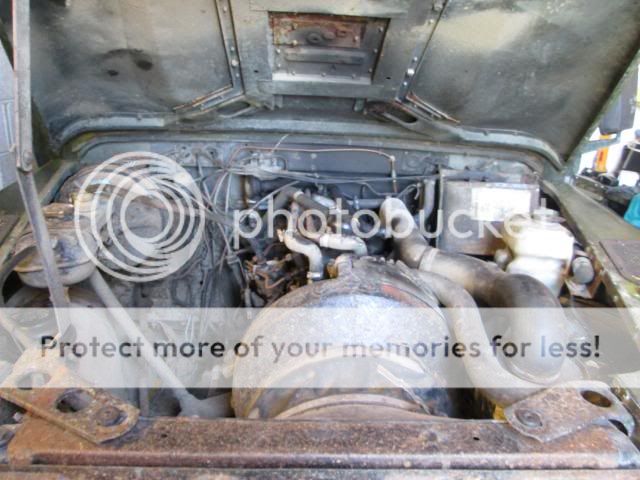
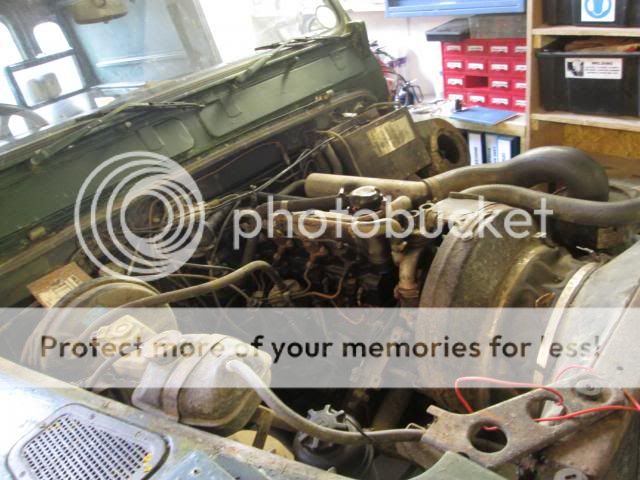
The mighty 2.5 diesel
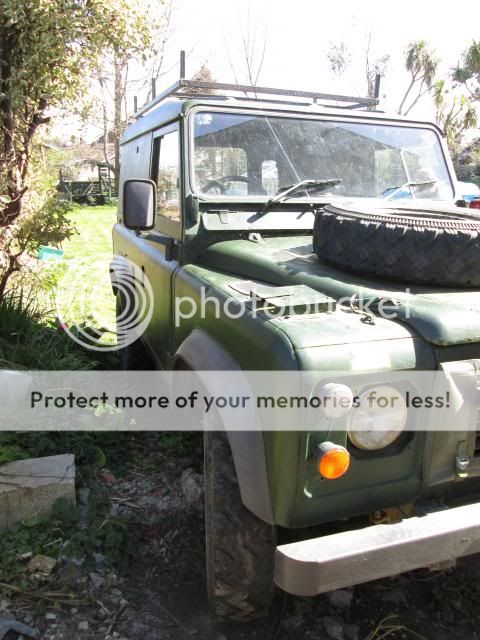
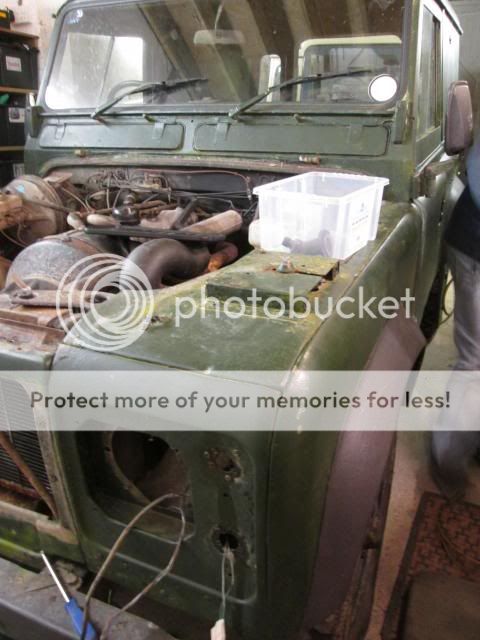
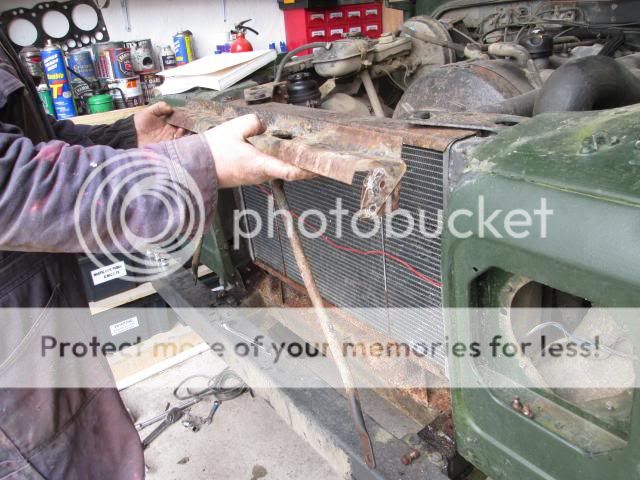
Bonnet will be replaced as we have sourced a good spare. The military fittings will just be swapped over
The bonnet stay was unbolted at the wing end and the bonnet was lifted up out of the rubbers (you have to lift it past the normal open position to do this)
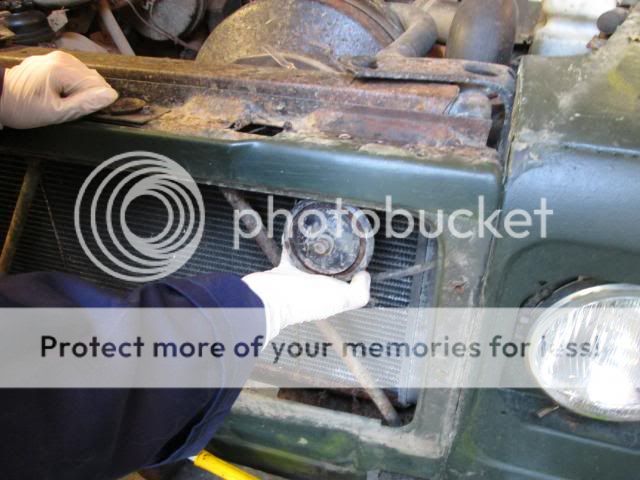
The front plastic grill was removed as was the horn bracket that was inside
Next, the lights and light fittings were all removed
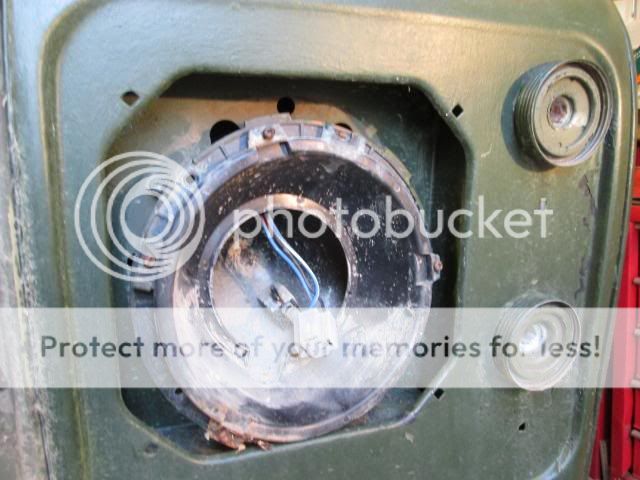
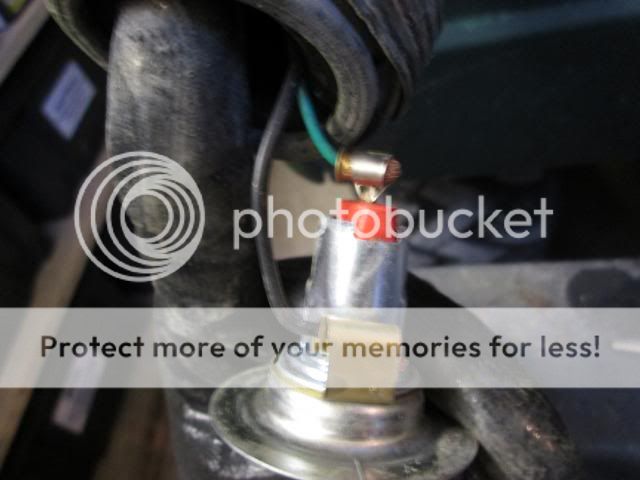
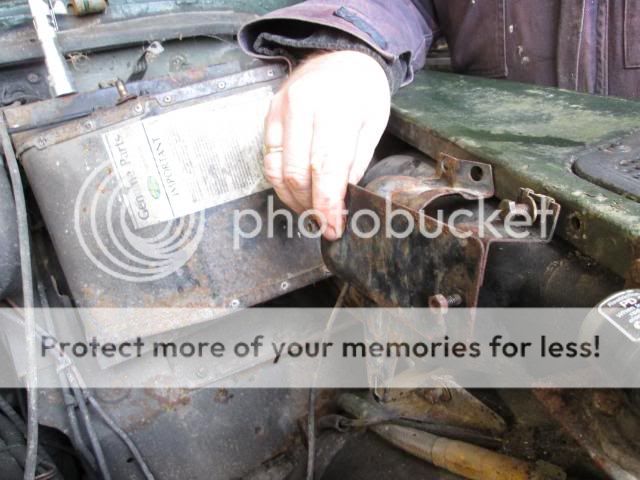
The army side light fittings have a couple of screws and then they should just pull out allowing you to disconnect the wires
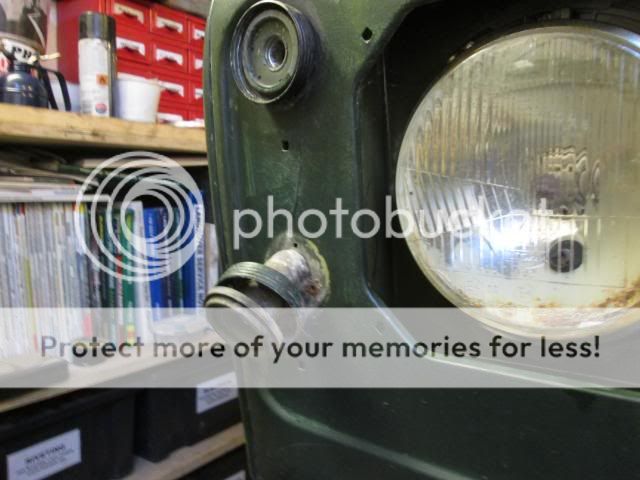
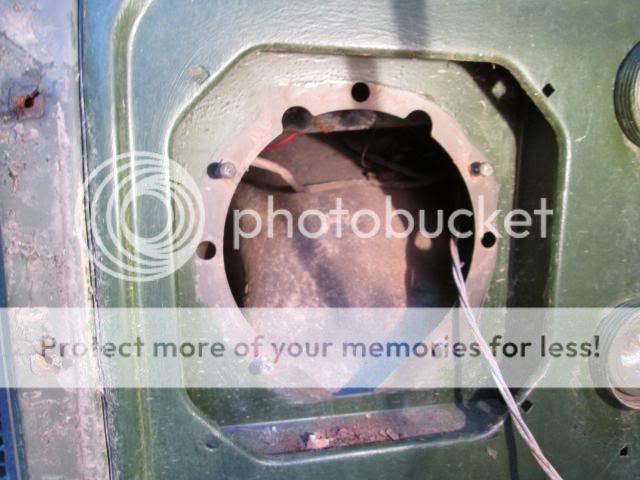
Back of the light fitting
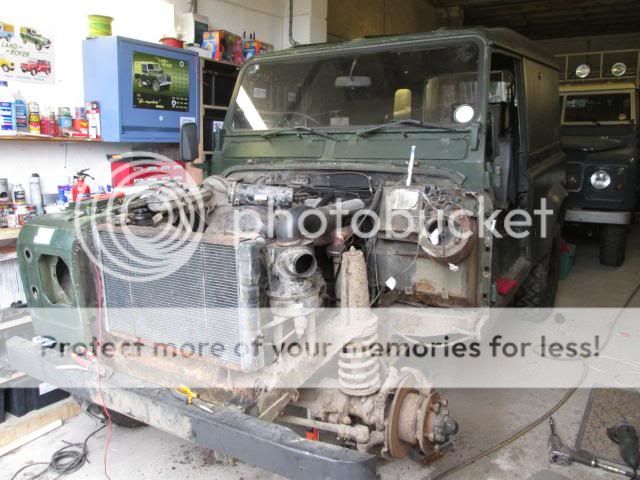
We then started to strip the front end down
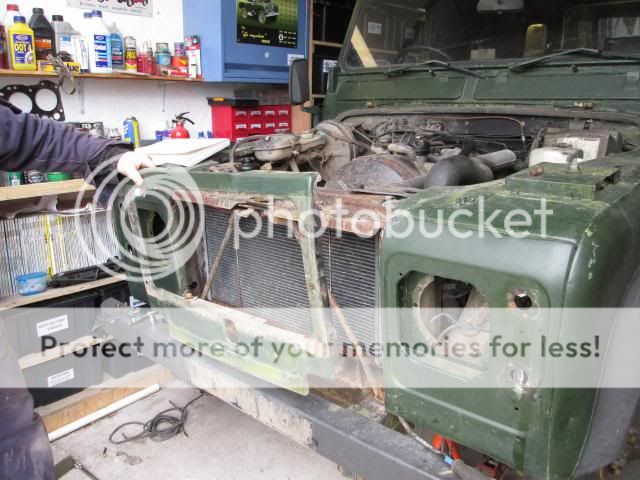
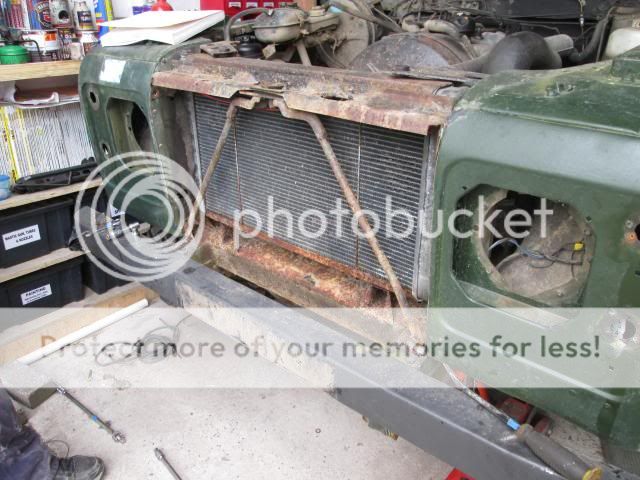
The wheel and arches were taken off to get better access for taking the wing off
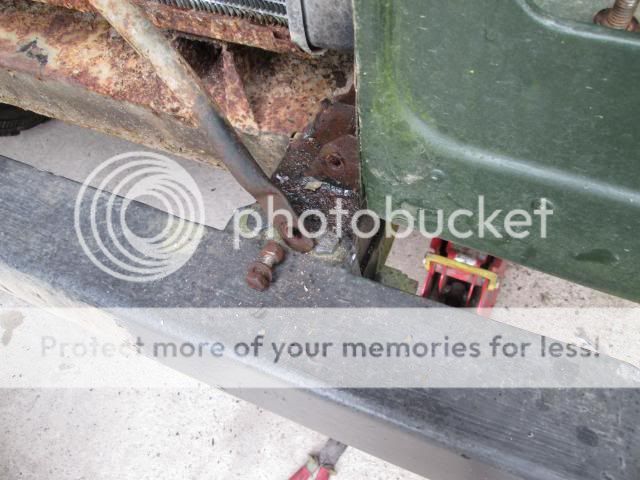
The crossmember piece in front of the rad was taken off first
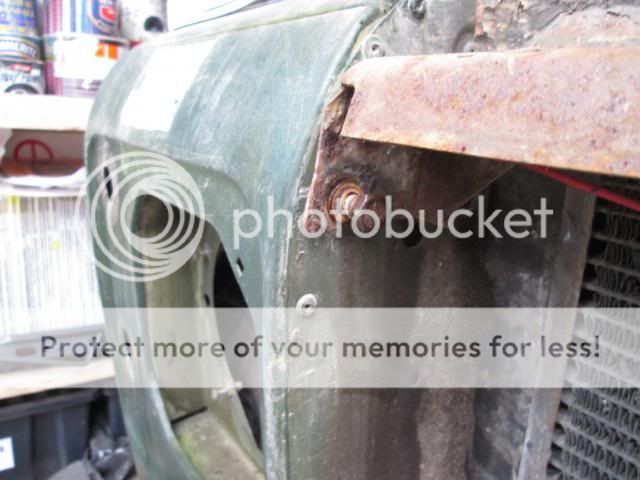
Various brackets had to be unbolted before lifting the wing off
The plan was to fetch the inner wing and outer wing off seperately but then we ended up taking it all off in one go
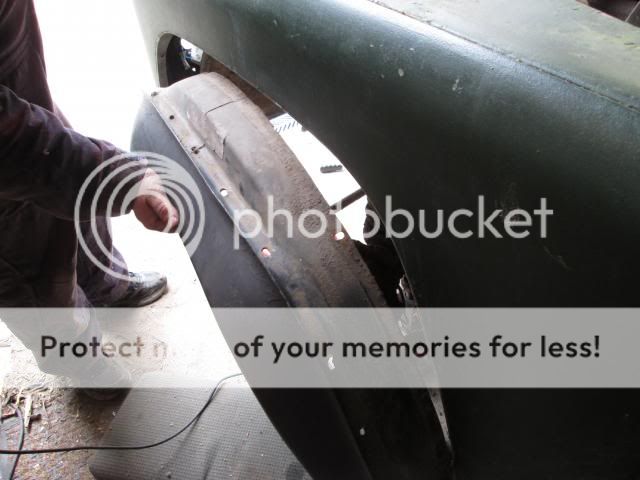
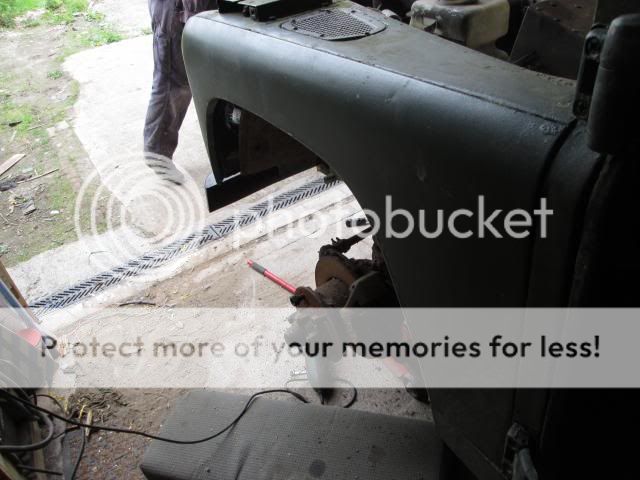
Drivers side wing was then taken off
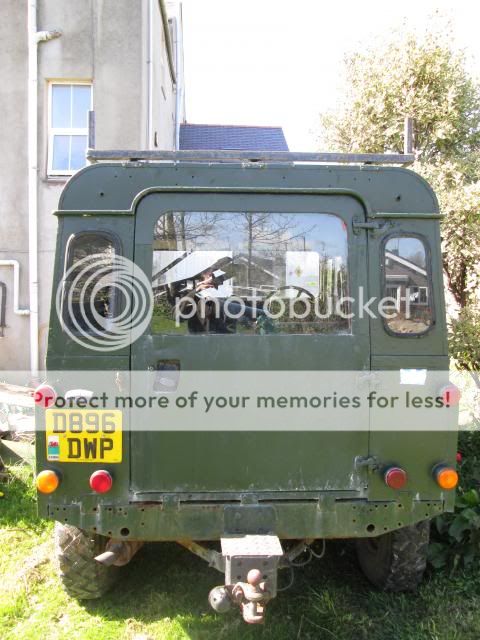
Next job was to take the doors and roof off. The roof has a row of bolta on top of the windscreen as well as a bolt in each corner and a bracket in the middle of the tub sides on top of the capping
Floor was the next thing to come off, a lot of the phillips heads had been rounded so had to be ground off
Next was the turn of the seatbox, theres a row of bolts at the back and along the sill panel as well a couple at the front. All were 10mm (M6)
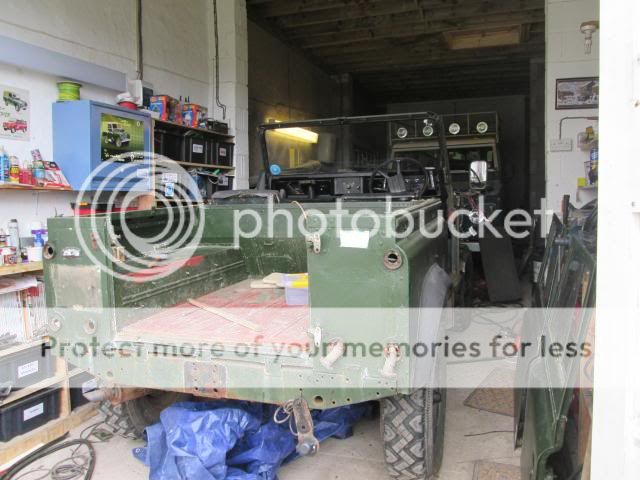
We could then make a start on getting the tub off by unbolting the brackets, its easier to do than the one on my 88"

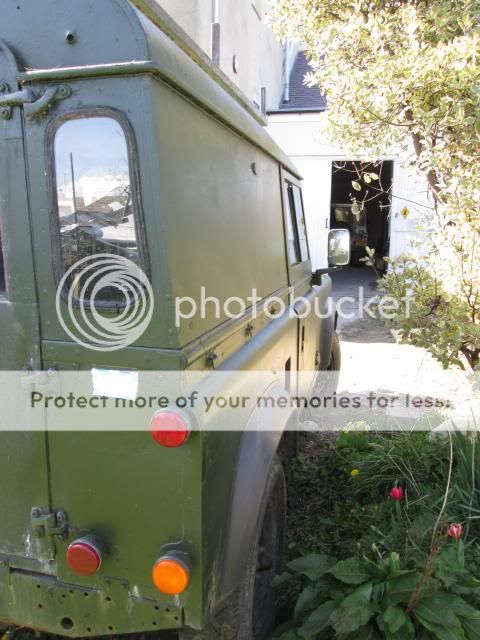
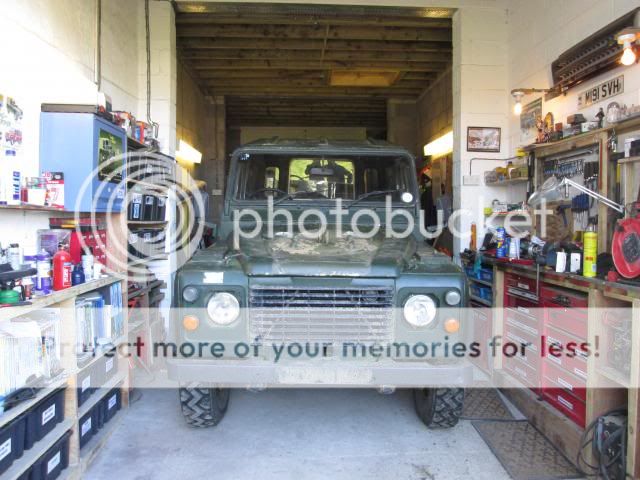
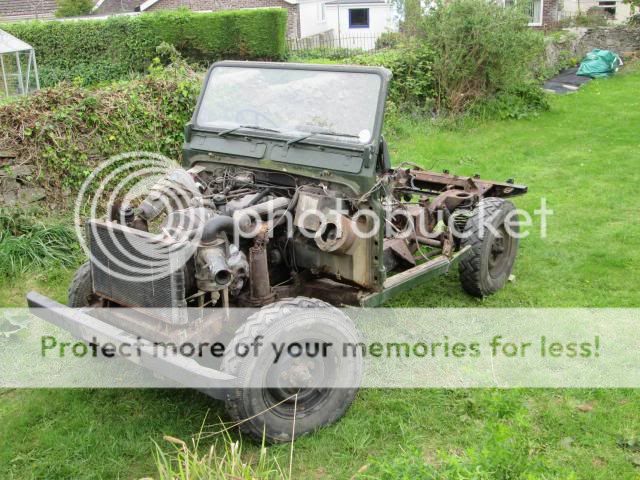
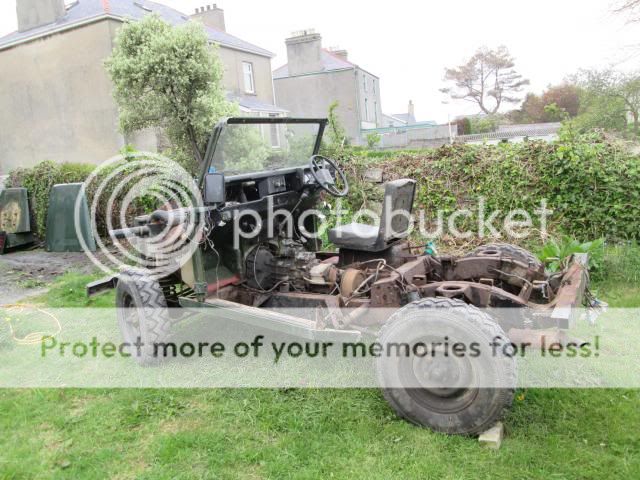
Took it out for a jetwash in the garden and this is where we're up to now")
Now for Dad to make his appearance on film driving it back into the garage


The rotten pillar


Doors also need a bit of work doing to them

The interior


Aftermarket ignition barrel which needs replacing


First thing was to take off the spare wheel, this reveals quite a bit of the sand paint


The mighty 2.5 diesel

Bonnet will be replaced as we have sourced a good spare. The military fittings will just be swapped over

The bonnet stay was unbolted at the wing end and the bonnet was lifted up out of the rubbers (you have to lift it past the normal open position to do this)

The front plastic grill was removed as was the horn bracket that was inside

Next, the lights and light fittings were all removed


The army side light fittings have a couple of screws and then they should just pull out allowing you to disconnect the wires

Back of the light fitting


We then started to strip the front end down


The wheel and arches were taken off to get better access for taking the wing off


The crossmember piece in front of the rad was taken off first


Various brackets had to be unbolted before lifting the wing off

The plan was to fetch the inner wing and outer wing off seperately but then we ended up taking it all off in one go


Drivers side wing was then taken off

Next job was to take the doors and roof off. The roof has a row of bolta on top of the windscreen as well as a bolt in each corner and a bracket in the middle of the tub sides on top of the capping


Floor was the next thing to come off, a lot of the phillips heads had been rounded so had to be ground off


Next was the turn of the seatbox, theres a row of bolts at the back and along the sill panel as well a couple at the front. All were 10mm (M6)


We could then make a start on getting the tub off by unbolting the brackets, its easier to do than the one on my 88"


Took it out for a jetwash in the garden and this is where we're up to now


Now for Dad to make his appearance on film driving it back into the garage


