Straight 6 rebuild

This site contains affiliate links for which LandyZone may be compensated if you make a purchase.
Got a couple more hours work done tonight, first job was removing the driver's side vent flap and seal and seeing what horrors lay beneath...I was pleasantly suprised for once, there's a small bit of rot behind the bonnet hinge but that nothing that's not easily fixed!


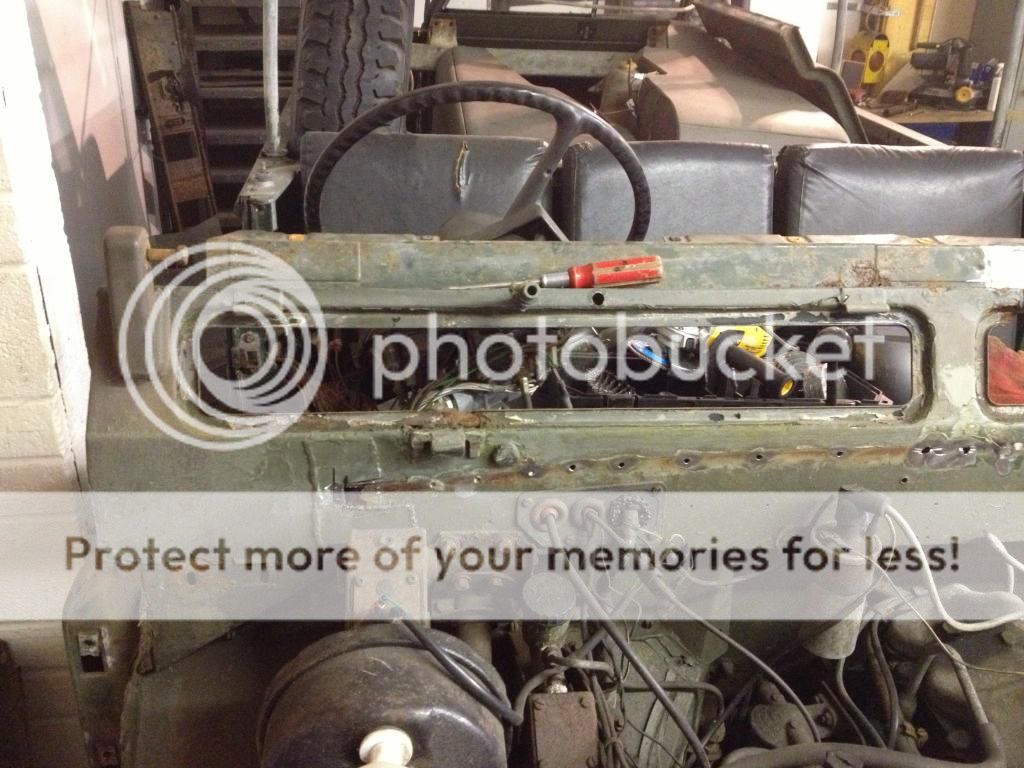
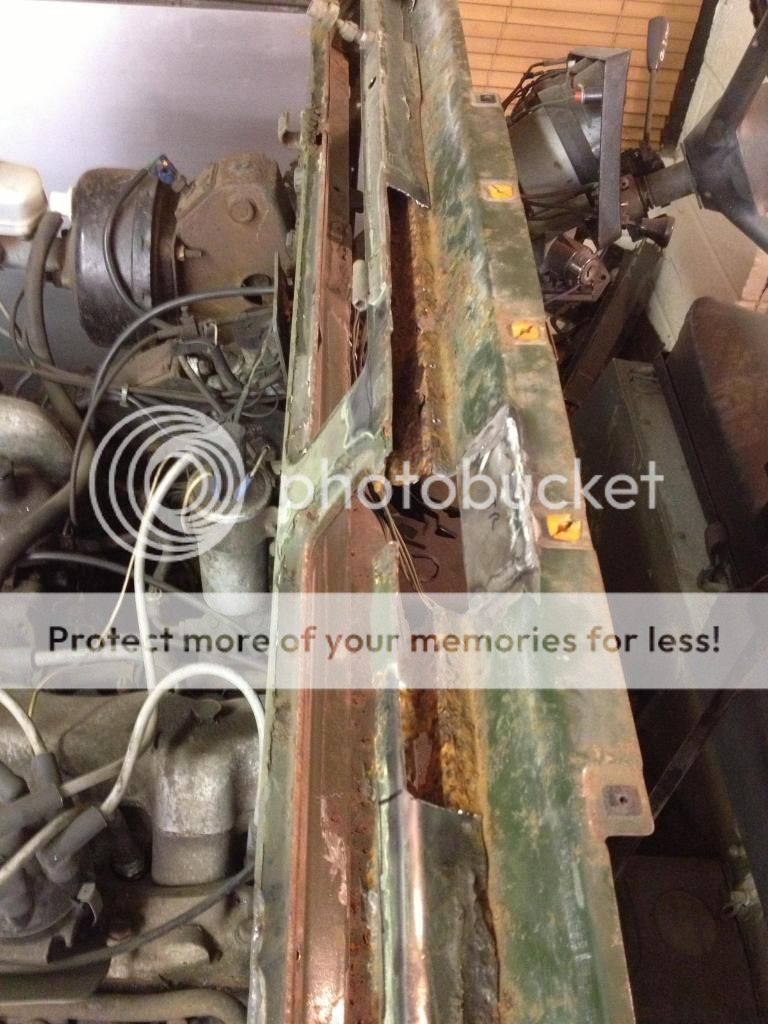
The main job I wanted to get done tonight was addressing this:


It's not pretty so out came the drill and the grinder and it quickly became this:


I welded a small flange on the new bit of metal that I put in last time to replace the missing bit (no pictures of that) and then cut and started welding in a new piece of steel to fill the hole.


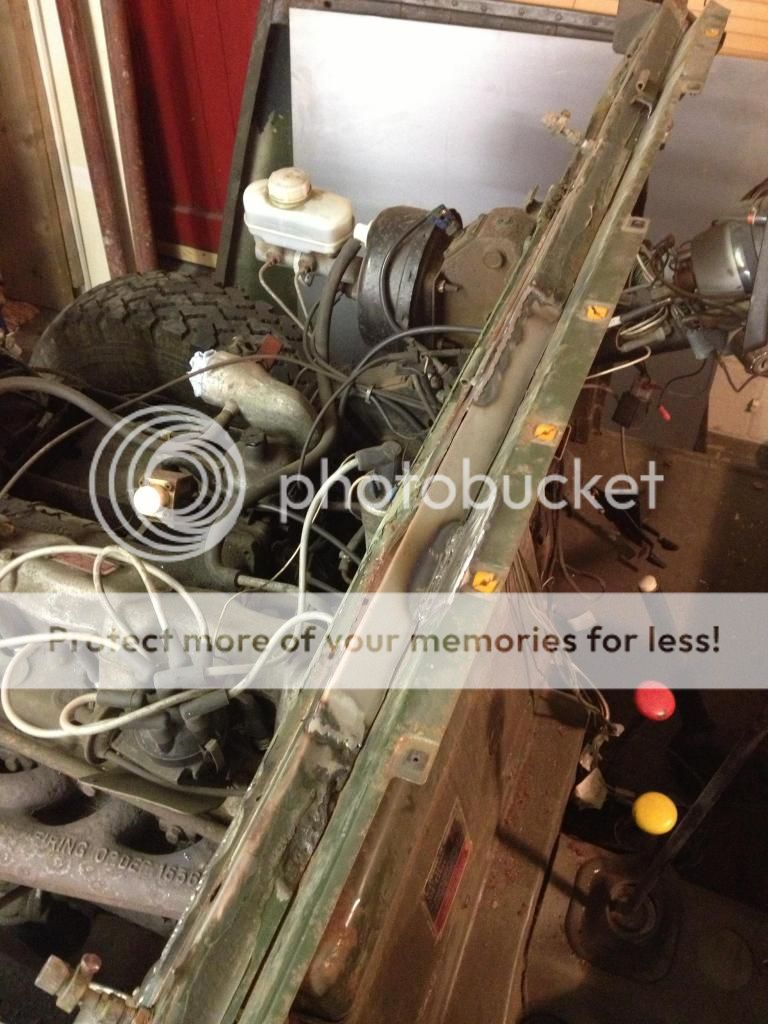
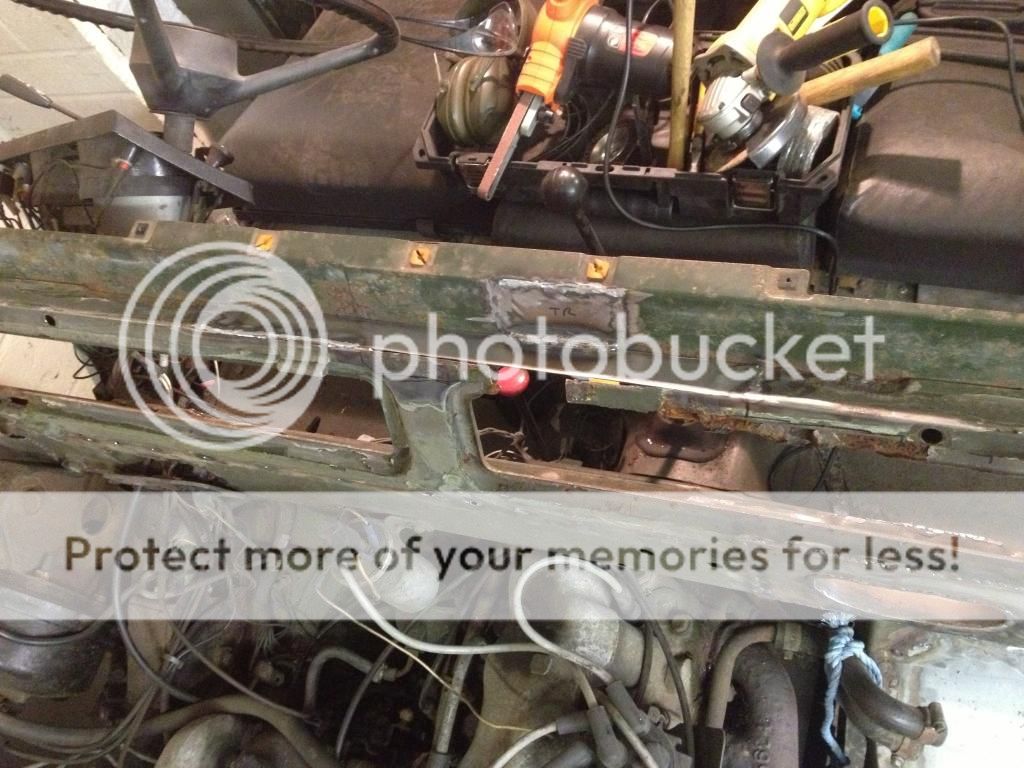
I need to chop out some of the vent seal channel on the passenger side and a little of the front face between the two vents but that's a job for next time. That's all for now folks.
 
Oh, one other thing, I got talking to the neighbour tonight and they had some scrote break in last night but got spooked by the alarm and got out of there quick without taking anything. Fortunately I think our unit is more secure and we have bars on the windows, lots of locks and an alarm system so fingers crossed they don't come back. The police have been out and taken prints, I hope the buggers get caught and have the book throw at them.
 
Blackburn - thank you, I have seen that repair panel before, there's a company that do the upper section too, both inner and outer. As I only need a few inches of that section repaired I figured I'd give it a go myself first before throwing 35 quid at that, at the end of the day it's only a bit of sheet metal with a few bends in it, how hard can it be... :D
 
Got a few more hours work done last night, was carrying on with the repairs around the bulkhead vent, started by cutting out a bit more rot:


And welding in a new bit:


The inner skin here was knackered too, I decided the easiest way to sort this was to cut the bottom off of the support that goes round the windscreen wiper mechanism to get proper access.


So I cut all of this out and replaced it, still needs a bit more welding and grinding back (my upside down welding is crap so I need to grind this back and do it properly).


I then bend a bit to act as the lower section of this, the inner part of the vent seal section.


This is what it looks from the outside, I now need to fabricate the channel that will hold the vent seal and spot weld it to this inner section.

 
Today I cut more rot out, got rid of what remained of the vent seal channel, knocked up a replacement section and welded it in place.


Vent hinge welded back in place to check it all still fits.


Just shows what can be done when you put your mind to it....and you have a mig,

Mine was gone in similar spots around the vents but not as bad....is the repair section in the last lot of pics bought in or one you knocked up????

Nick.
 
Cheers mate, the repair section is one I knocked up using some 1mm steel, a couple of hammers and a 4 inch vice, would have been quicker and easier with a bender but I don't have one.
 
Great to see this progress, the detailed photo report (very nice to follow) and the dedication to it!

Keep up the good work > from Holland (straight 6 owner as well)

Bart
 
Got 90 minutes or so at the workshop last night around running some errands, started to have a look at the driver's side and the first job was to cut off the bonnet hinge, cut out the small bit of rot on the vent seal channel and knock up a replacement.


Please excuse the the bit of wire wrapped around the wire going to the brake light switch on the pedal box, the contact is a bit dodgy so it was a last minute bodge to get it through the MOT before I took it off of the road, it will be replaced! Wait till you see my rear leaf spring protective gaiter to protect against prying MOT testers... ;)

The driver's side isn't too bad (especially when compared to the other side!), needs a small repair is needed on the top corner, one side of the driver's side footwell replacing, a replacement bit on the front face of the bulkhead and some work to the door pillar. I could repair the current pillar but the foot is rotten and I don't want to have to find and drill all the spot welds holding the two together so I think I'm going to replace most of the door pillar as well as the foot. Also I'm hoping that I can get enough clearance to the front of the bulkhead behing the brake master cylinder by just unbolting the pedal box, I don't really want to have to disconnect the master cylinder as the front brakes are a pig to bleed because they're twin leading shoes with the bleed nipple on the bottom cylinder.


Another day and more rot cut out and new metal let in.


Next up was to get some access behind the brake pedal box, fortunatley I didn't have to disconnect the brake hoses which made life easier. I also unbolted the steering column support bracket to check to see if there was any rot there.


This is what I wanted to (need to!) replace, wasn't done by me!


Rot cut out and replaced with good stuff.


Lastly, after bolting the pedal box back down I quickly welded the drip rail back on, needs the spot welds grinding back and I think I'm going to run a seam of weld across the top of the rail to prevent water getting behind it.

 
get a good seam sealer to seal your drip rail rather than trying to weld it

should it then eventually rot out it'll be far easier to replace if it's only spot welded as per original
 
Not had much of a chance to get to the workshop recently for one reason or another so not much to report on, last night I started on the driver's side door pillar and foot well. I'm planning on just replacing the side of the foot well as the rest of it is sound and the top of the door pillar is solid so just replacing the bottom part to avoid the problems of trying to get the profile to line up with the rest of the vehicle. The front part of the sill is also pretty corroded so that's going to need dealing with too.


I think I need to have a tidy up in the workshop to get rid of some of the swarf, I only put my screwdriver down for a second...

 
Cheers mate, I'm happy with it. It's certainly not perfect but for the first time I've done this I'm chuffed with what I've done so far. Got a long way to go yet though!
 
Have done a couple of afternoons at the workshop this week as I'm not back to work till Monday, will upload some pictures of progress when I get home tonight.
 
Back
Top