You are using an out of date browser. It may not display this or other websites correctly.
You should upgrade or use an alternative browser.
You should upgrade or use an alternative browser.
Series 3 County restoration
- Thread starter Eat
- Start date
This site contains affiliate links for which LandyZone may be compensated if you make a purchase.
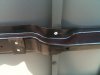
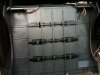
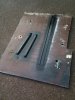
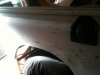
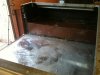
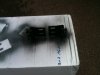
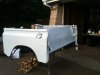
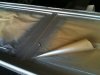
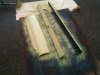
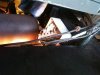
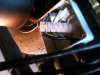
Managed to refit the cross supports to the tub and used some rubber to separate the ali from the steel where possible. Was hoping to paint the inside though had a set back with my cheap pop rivet gun!! Only get what you pay for!!
Cheers
Cheers
Attachments
honolulujoe
Well-Known Member
- Posts
- 6,137
- Location
- richmond surrey
looking good, is that dove grey for the final coat?
Up date
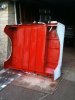
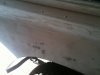
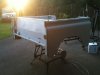
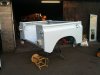
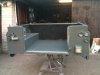
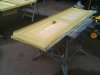
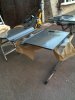
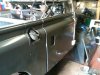
After a well-earned break fishing in Scotland back to the rebuild. Managed to remove the tub carpets/ brackets etc. Now replaced the tub back onto the chassis to start preparing for the paint.
Cheers
After a well-earned break fishing in Scotland back to the rebuild. Managed to remove the tub carpets/ brackets etc. Now replaced the tub back onto the chassis to start preparing for the paint.
Cheers
Attachments

Land Raver
Well-Known Member
- Posts
- 2,015
- Location
- In the dog house
Nice work! ")
Update
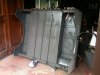
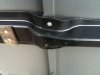
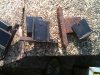
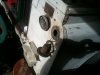
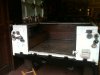
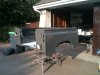
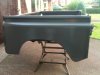
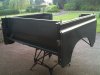
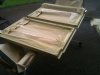
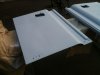
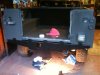
Cleaned the inside of the tub ready for the paint and repaired mounting brakets with new nut/bolts welded on. Hope to get the tub paints soon and re fixed onto the chassie.
Cheers
Cleaned the inside of the tub ready for the paint and repaired mounting brakets with new nut/bolts welded on. Hope to get the tub paints soon and re fixed onto the chassie.
Cheers
Attachments
honolulujoe
Well-Known Member
- Posts
- 6,137
- Location
- richmond surrey
progress might be slow but at least its progressing
Thanks honolulujoe
Had a set back with wife ill and had to look after 5 horses for a few weeks but will be back into getting it complete for Xmas I hope. Just hoping I can remember where it all goes. I have yet to prepare wings and roof for paint but will leave them until the tub is back on.
Cheers
Had a set back with wife ill and had to look after 5 horses for a few weeks but will be back into getting it complete for Xmas I hope. Just hoping I can remember where it all goes. I have yet to prepare wings and roof for paint but will leave them until the tub is back on.
Cheers
joe27979
Well-Known Member
- Posts
- 1,354
- Location
- west Norfolk
nice job :clap2:
honolulujoe
Well-Known Member
- Posts
- 6,137
- Location
- richmond surrey
update
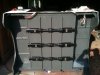
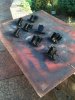
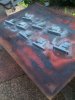
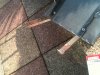
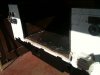
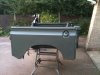
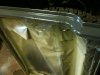
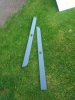
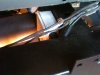
Few more pics of the sills front valance door inner and the window screen in paint.
Used a primer sealer to stop any paint reactions.
Cheers
Few more pics of the sills front valance door inner and the window screen in paint.
Used a primer sealer to stop any paint reactions.
Cheers
Attachments

Similar threads
- Replies
- 6
- Views
- 411
- Replies
- 5
- Views
- 404