Killajoules Series 80" upgrade project

This site contains affiliate links for which LandyZone may be compensated if you make a purchase.

KillaJoules

Active Member
Posts
950
Location
West Herts
Howdee y'all

Thought that I would start a few project threads. To start with I'll try keep you up to date with my 80"

Heres the 80" trailling at last years ALRC national rally.

imag0472ru.jpg


imag0467f.jpg


OK at the moment its a nice 1952 80" with a sweet 2l spreadbore engine.

I dont do restorations, an old motor, like me, should show its age.

So currently it sits on S11 axles with lwb front brakes and has an S11 steering box.

One of its downsides is that it has a tiny stainless steel fuel tank that takes £25 to fill! Whike this gives great ground clearance between the axles it leaves you paranoid of running out especially as the sender float is perforated to buggery and does not perform its job :)

So I am delighted to say that my new stainless steel tank arrived today from Neil Taylor. He had dropped it at my sisters and I finally got it dropped off this morning.

To assist in its fitting and protection I also sourced a splendid new galvanised tank guard from Dale Radford.

I also sourced a 4 prong filler cap complete with extending filler pipe staill attached

New Tank:

dscf0639y.jpg


Currently it is running LWB rims with 205x16s Well I managed to get a nice set of 8 spokes with a mixed bag of nobblies.

imag0969q.jpg


The next items on order and due for delivery next week are a set of parabolic springs. The rears have to be specially machined and retempered to fit the narrow spring shackles on the rear of the 80". On the plus side it means I will be able to secure the S11 axle properly

Will post some pics of the springs when I get them.
 
Hi there. Yes will be there but not trialing. Decided to take a weeks holiday in Wales before hand so not viable to take two motors and a caravan.
 
OK chaps.

The finishing by the builders of our new garden shed this morning coincided handily with my plans. Before all the tut is shovelled back in both me and the lad decided to use it as a spray booth :D

He for bits of dashboard for his new SEAT and me for my petrol tank.

First thinks first pull out the filler pipe and lift pipe then mask off all the tank openings.

80tank01.jpg


This is the nice new galvanised tank tank guard after its first coat of etch primer.
80tank03.jpg


Cracking new use for bungie cords. The nice stainless tank is readied for etch primering.
80tank04.jpg


Tank after the first coating of primer.
80tank06.jpg


Handily next to the etch primer in Hal****s there were some nice looking rattle cans of Dark Green paint, so I made a spot descision to paint them in Green rather than black as it matches pretty well that of the 80's current green.

Well 30mins has gone by now, so I think I will apply another coat of primer to the parts :D:D
 
Here are some of the parts aquired to be added to 80 over the next few weeks.

The nice new parabolics from arrived from Jones Springs shortly before heading for the Nationals.

Note the machined ends to fit the narrow rear spring hangers of the 80"

imag0985.jpg


imag0983i.jpg


I will be changing the LWB rims with 205x16s for this nice set of 8 Spokes with 235/85x16s. 2 of which have decent tyres, the other 3 are somewhat at the end of life.

imag0969q.jpg


While dismantling Djdommyp's donor Disco I thought I would look at the seats and found the inward facing seats should fit nicely into the rear of the 80" Just need to modify some of the brackets and get some pipe fixings. I think then that they will look good, and the backs will fold down to protect the seats when the rear is full of cr$p

imag0988m.jpg
 
Pop up the farm friday night, I got me welder bits so will be splatting molten bits together on the Rangy, can bend your brackets in the toy shed :D

When you fitting the power bollick springs?
 
Thanks STu, Hopefully asap. Just sorting the shed out today, got a huge counter to remove from the old shop to build a nice workbench. paint the shed inside and gardening at Graces. today

Another fecking mud flap sheared off the 110 this week so am awaiting delivery of a nice new 1/2 socket set, torque driver and mud flaps at the office this week :bounce:

Theres an open weekend at the Dunsfold collection in a couple of weekends with auto jumble

Dunsfold Collection

Might see if I can go, not as far as bewley (now if they splled it like that instead of biaulieu then I am sure they would get more visitors :D)
 
Don't think I need to get anything else, just bought both inner wings, set of body mounts with ancillary's and extended braded hoses. (All posted to work :p) Just need some 6mm cupro pipe for the fuel lines then the body can come off and straight back on.
 
OK, bit of a quandry!

After painting the first coat of green on the tanks, we painted the walls of the newly constructed shed, should I or should I not do the next coat in there, hmm better not, might get killed by the wife :(

dscf0013uo.jpg


So painted them outside :D

dscf0016v.jpg


As for the shed, also started fitting the workbench. and got me a new vice off fleabay :bounce:

dscf0015q.jpg


Just need to add the front edge supports, then should be able to store bikes below, then add loads of shelving.

Also need to put the big chop saw in there.
 
I can give it a try Stu.

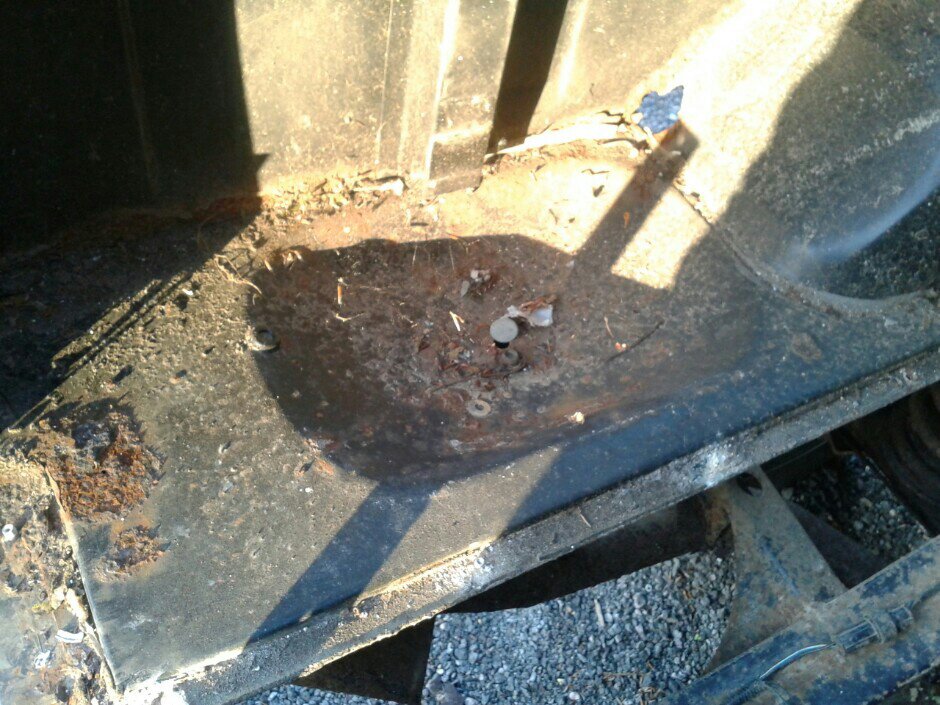
If anyone else out there has a Landy spare wheel well I would be interested. The issue as it stands is the original tub floor was thrown away by the previous owner as it had been hacked appart to fit a roll cage. They replaced it with a nice flat piece of chequer plaet.

Problem is there are no fixing for a spare wheel anywhere. As I am going to fit a couply of seats in the rear I would like to stand it up again, but withouth a wheel well the bottom of the wheel is harder to secure (especially to a scrutineer).

So its either find a wheel well or fit a retaining trough from angle on the top of the floor. But as we all know from frawling around in the rear of a Landy that can be painfull on the knees.

The other advantage is that it lowers the wheel centre down by a couple of inches in relation to the top of the bulkhead and reduces the worry of the tyre flipping over the bulkhead.

Incidentally, I am also looking around for a siutable fixing stay/mechanism clamp from a S1/11/111 to then hold the tyre securely.

Especially as I am moviing to 235/85x16s.

imag0990w.jpg
 
Joules if you want onw making in Berko there is a place very nice guy I get all my sheet from there he can cut bend etc whatever you want its on the industrial estate just over the railway bridge turn left P & R sheet metal I think Nice people!!
 
Frustrating afternoon, managed to get onto the 80"

Started by painting the new towbar getting it ready to fit, that when I can source some blasted 3/8 BHF setscrews and nuts.

d2ri.jpg


cw6v.jpg


Anyway, with those bits drying in the sun I set off to swap the tank.

Easy job, syphon the tank, disconnect the sender and fuel union, undo 4 bolts and drop the tank.

5xaz.jpg


4emz.jpg


Four bolts my arse :smash:

As you can see it is a very short tank, Started at the rear where three bolts go through the rear tank outrigger, 1st bolt a toatal pig, 2nd bolt finally sheared, third bolt almost impossible to get a spanner on, then when that acheived nowhere to brace it. Finally acheived it by standing an axle stand in there so that the spanner would spin against the upright braced agains the spring and chassis.

Now for the single front bolt !!

Bugger, the tank as it is so short does not attach to the bottom of the font outrigger as usual. NO. it has a 3" lip that fits OVER the outrigger beneath the floor.

The blasted nut was beneath the floor and impossible to reach, had to lift as much of the floor as possible to get a spanner in.

Fortunately I finally got the bolt out.

Hmm still cant extract the tank dou to that blasted fron lip.

That leaves me with the wreck the tank for future use by usin a hacksaw betweent the tank and front outrigger to cut the lip off

Or remove the entire seatbox :Cry:

Think I'm gonna cut the bugger
 
Back
Top