samc88
Drivels spiritual representative
- Posts
- 2,840
- Location
- Anglesey, North Wales
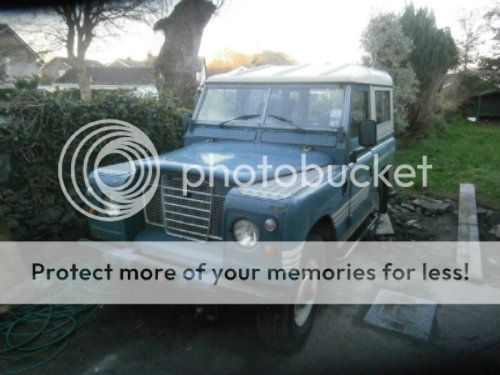
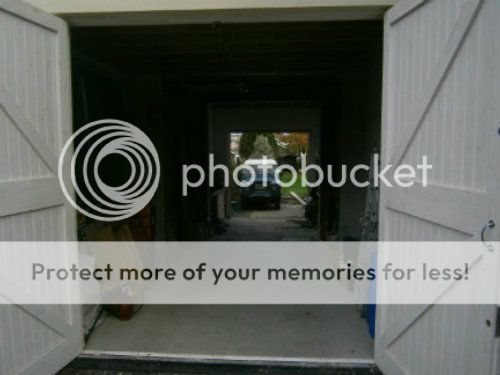
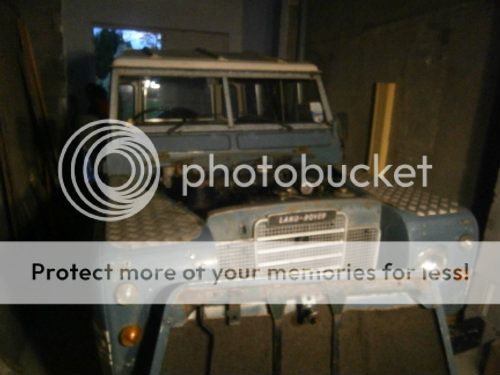
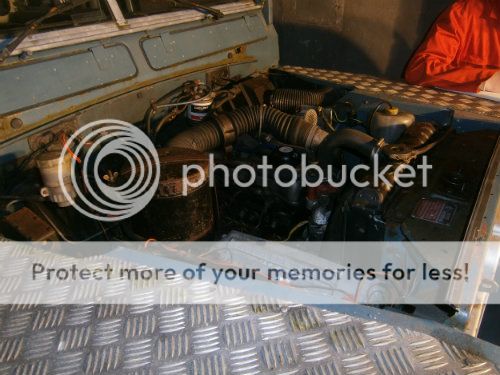
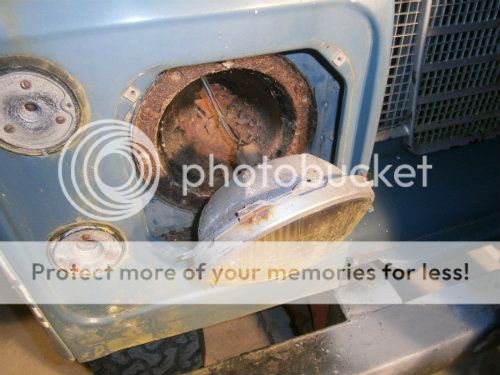
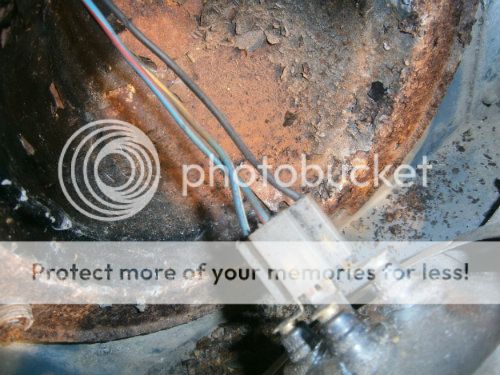
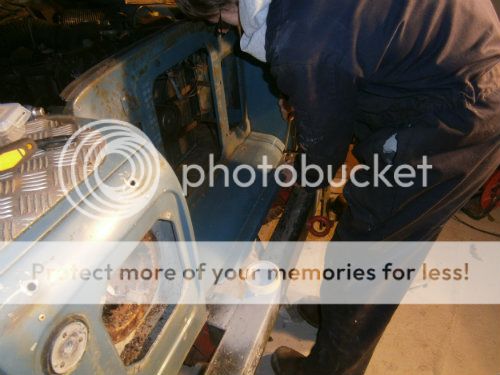
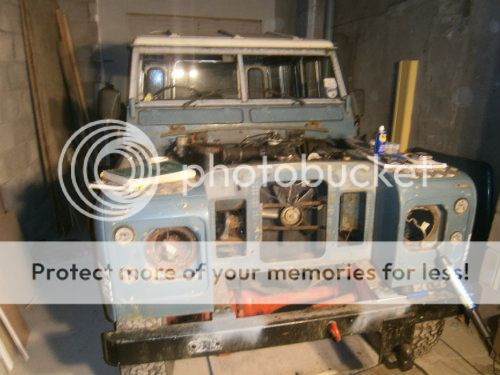
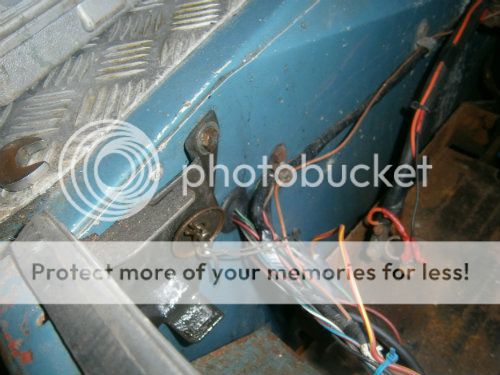
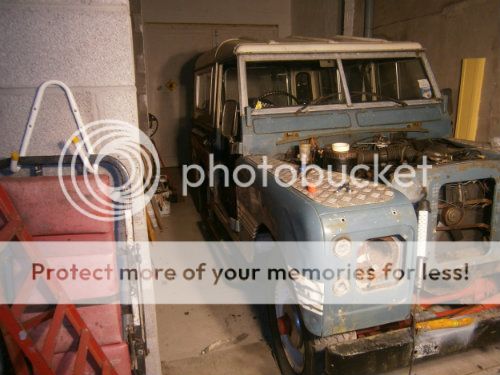
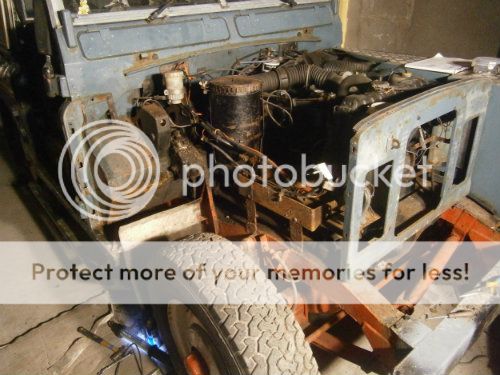
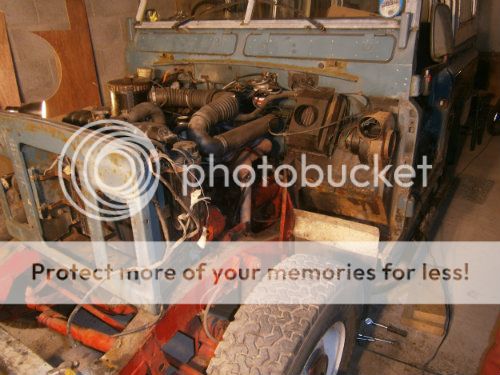
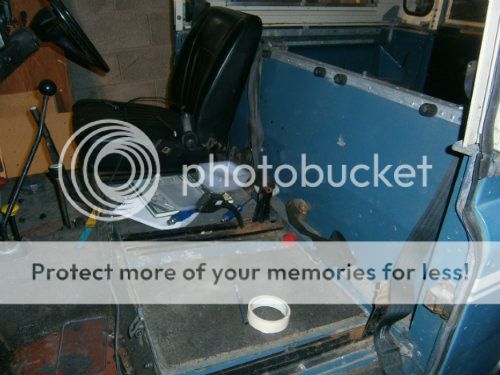
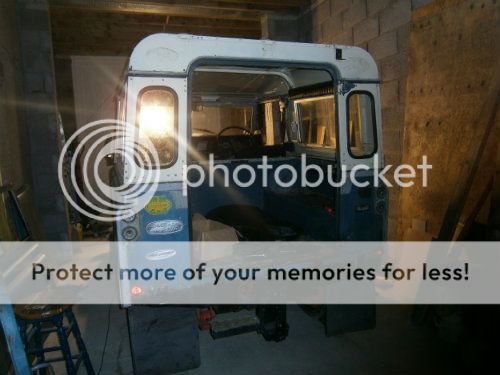
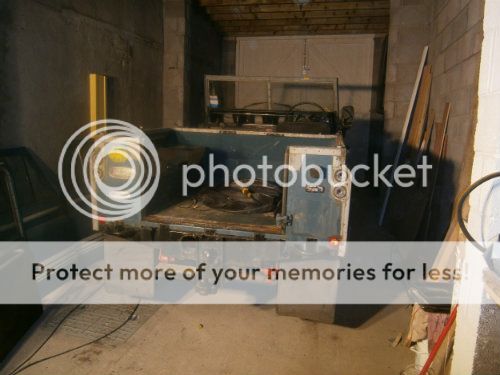
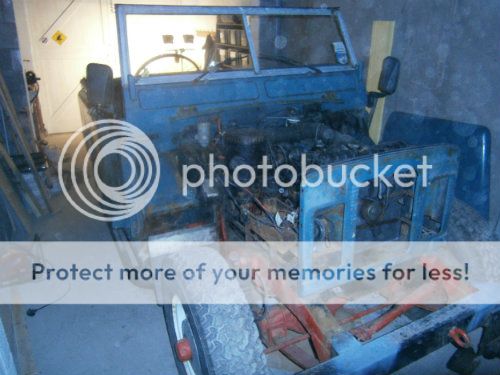
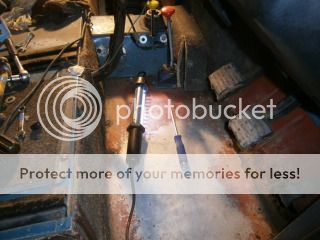
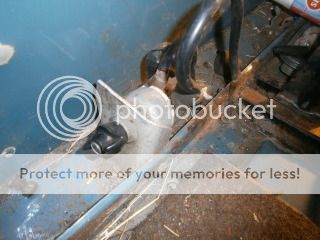
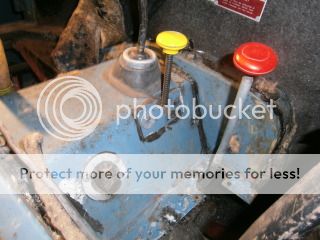
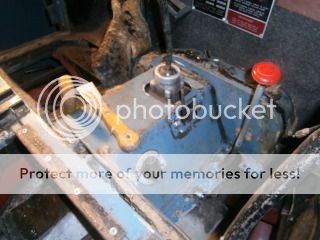
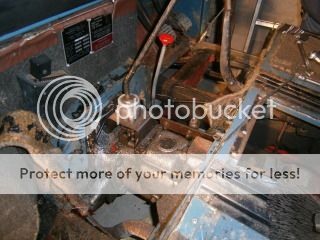
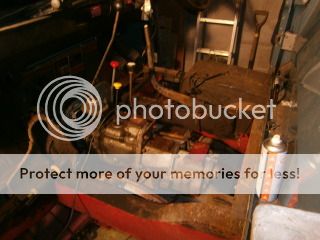
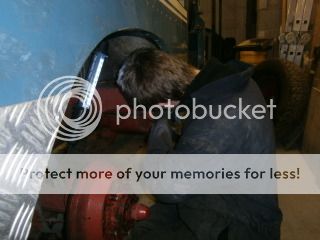
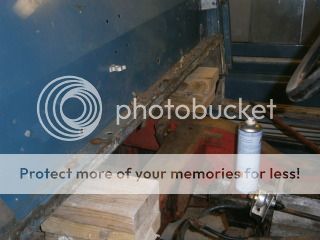
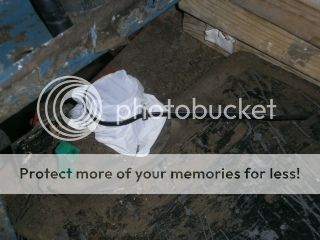
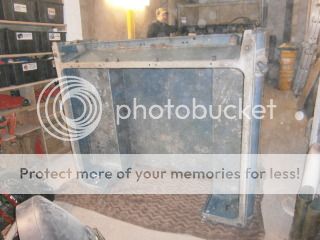
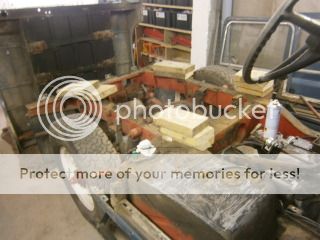
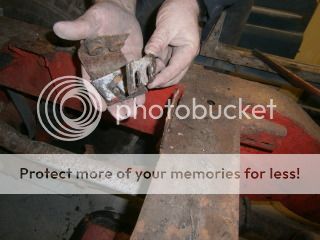
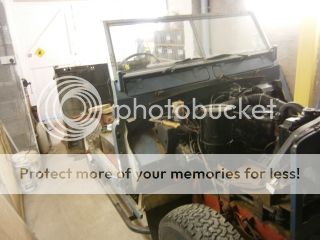
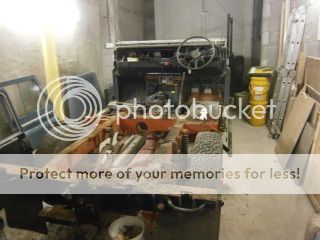
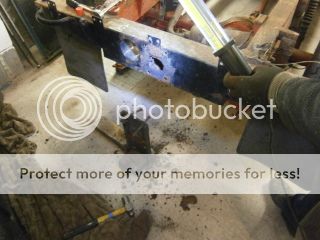
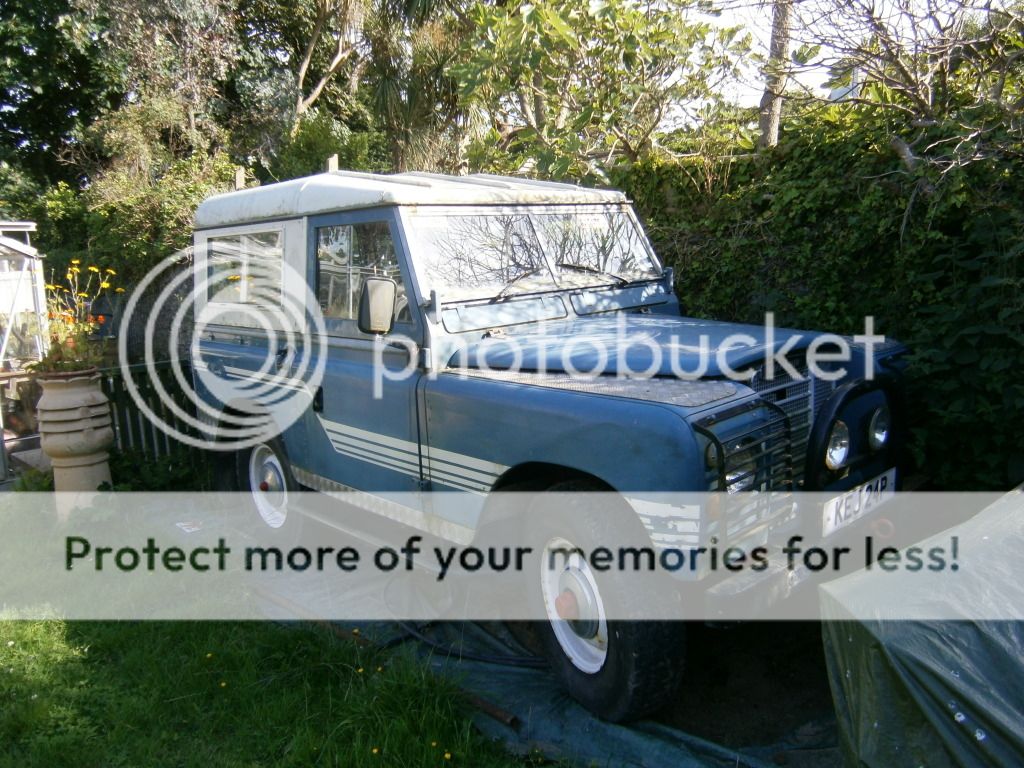
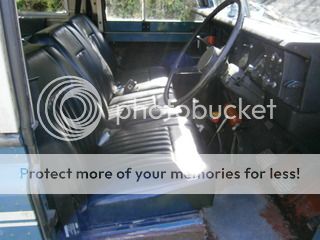
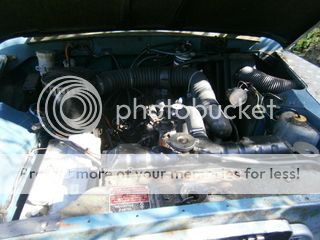
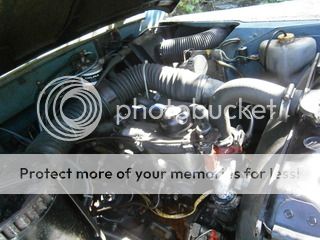
As some of you may know I've got a 1976 series 3 diesel which I got off my granddad. At long last now comes the time when we can actually start work on it. I'll post the before pics on here (I know they're on another thread but this'll keep it consistent...I hope). This will hopefully turn out to be my first car and our aim is to rebuild it so its sort of like a bespoke one the factory may have made for a paying customer (e.g. better interior and the like). Its got a 2/5 N/A diesel fitted which I'll keep and we're going to fit power steering to it.

Cheers
Sam
Cheers
Sam
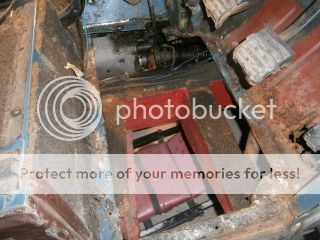
") Looks different doesn't it?
Looks different doesn't it?