1976 series 3 rebuild

This site contains affiliate links for which LandyZone may be compensated if you make a purchase.
Come on then wheres the pics!

Hang on I've been in the garage, dedicated me yeah after getting a filling this afternoon in my tooth. I'm uploading them to photobucket, theres not many I'm afraid

Land Raver, yes the chassis will get another couple more coats of red oxide and then have a couple of coats of black paint on top of that. I'll get some waxoyl as well to inject in the chassis.
 
Ok then, here are the promised pictures;

Front end practically done, the axle/ steeringy bits still needs more cleaning up and touch ups in a couple of places
P2260821.jpg


The middle bit
P2260822.jpg


I was in the garage tonight for a bit so decided to start to clean the air filter and give it a coat of red-oxide (i painted the inside of the top bit as well its only on the body so I could paint round the outside).
P2260824.jpg


I wouldn't call it lightning fast progress but its progress all the same :)
 
The tub was dragged outside to scrape the quarter inch of muck that was under neath it. We soaked it in degreaser and left it overnight.Most of it was scraped off but in the end we put the pressure washer on it. Theres only 2 small holes in the crossmembers that need welding and a couple of other small things on the tub itself that need doing (such as small holes in the floor)
 
the bottom of the tub on mine was a bit naff and i managed to pick up a bit of checker plate from my local scrappy for a tenner ,it was easier to change whilst tub is off
well done by the way
 
Sorry for the lack of updates but the absence means more work has been done :)

The tub was taken outside so we could clean all of the muck off the bottom. We started with wallpaper scrapers and then resorted to using the jet wash to result in a clean tub.
P2280826.jpg


P3020829.jpg


The fuel tank was cleaned and given a coat of red oxide

P3010827.jpg


We then proceeded to take the dash board off. We've got a lot of pictures of how this all fits together so hopefully this might help somebody

P3020831.jpg


P3020833.jpg


P3020834.jpg


P3020835.jpg


P3020836.jpg


P3020838.jpg


P3020839.jpg


P3020841.jpg


P3050842.jpg


Front vents were removed (we'll be replacing these seals)

P3050849.jpg


P3050851.jpg


Some of the dashboard wiring

P3060852.jpg


Dashboard off the vehicle
P3060859.jpg


P3060862.jpg


The heater control mechanism (the wire connecting one lever to the vent was snapped so will be replaced)
P3060863.jpg


The fusebox (a new fusebox with modern fuses and relays will be used when it comes to rewire the vehicle). For anyone unsure of where the original fusebox is, it is located underneath the steering wheel

P3060867.jpg


P3060868.jpg
 
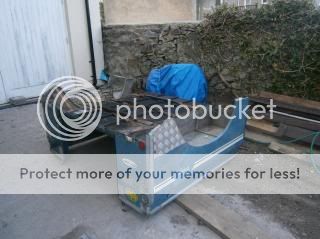
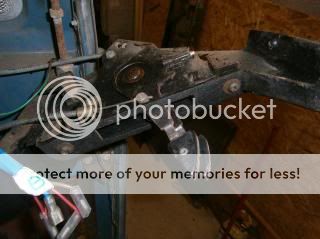
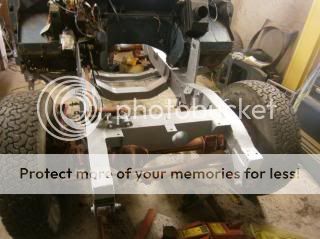
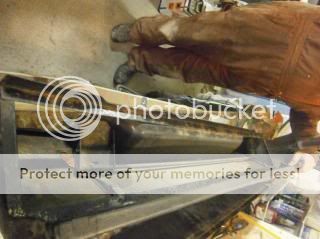
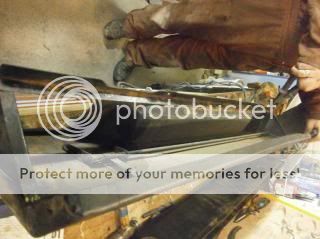
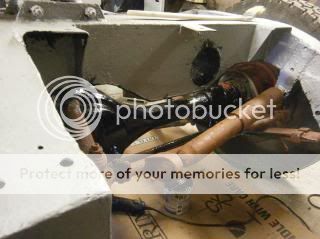
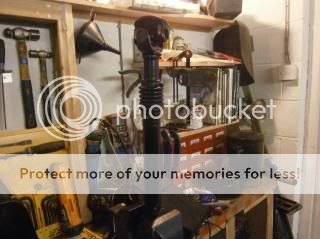
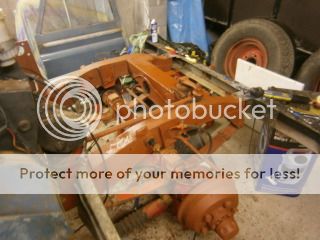
The front propshaft was removed
P3090872.jpg


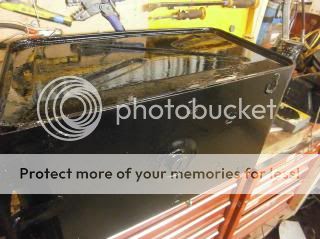
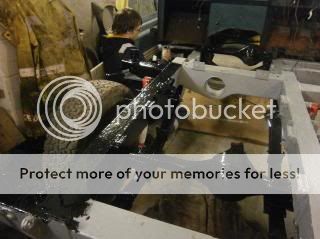
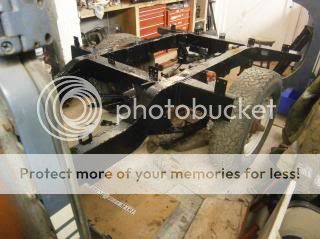
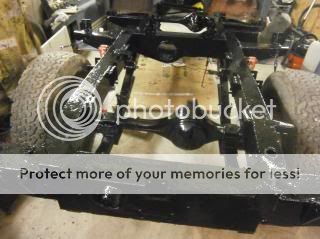
The rest of the welding was then attended to

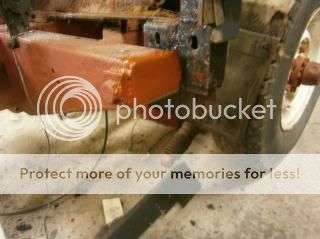
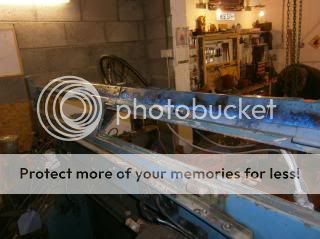
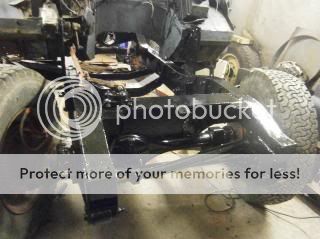
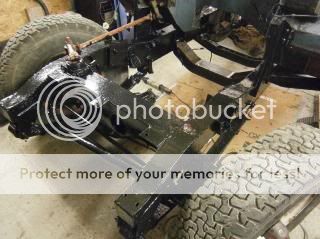
Drivers side front outrigger where the end had corroded. The end was cut out and a new square piece of steel was offered up and MIG welded to the chassis.
P3090874.jpg


P3090892.jpg


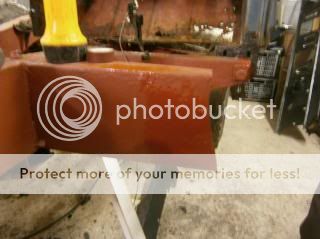
There was also a hole on the fuel tank outrigger that needed sorting so the area around the hole was cut out and a piece of steel was welded in its place.

P3090875.jpg


P3090876.jpg


P3090891.jpg


A small hole in the bump stop bracket was filled with weld
P3090890.jpg


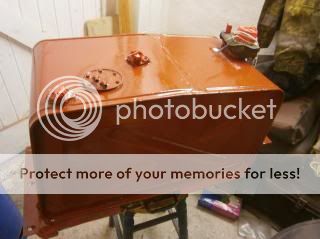
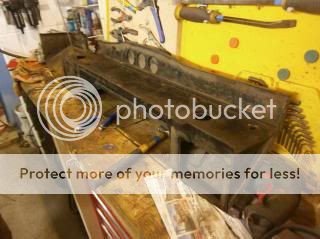
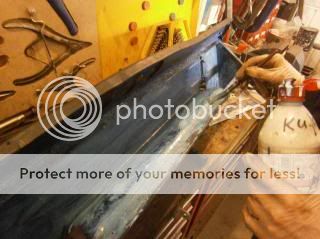
Meanwhile, the front propshaft was stripped of its red hammerite and given a coat of redoxide. Whilst the red oxide was out I gave the rest of the air filter a coat.

P3090877.jpg


P3090878.jpg


P3090879.jpg


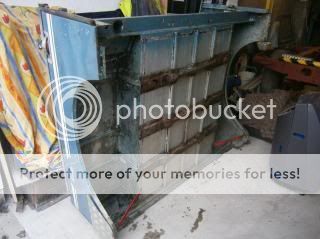
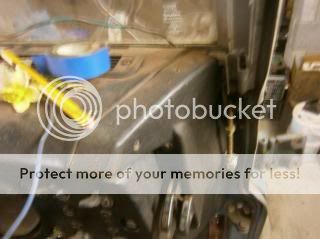
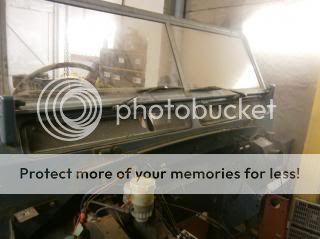
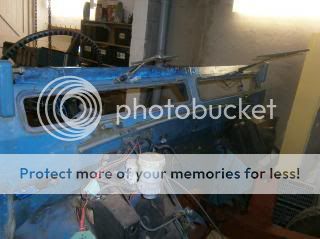
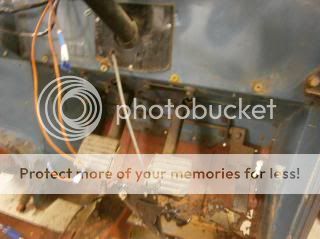
The windscreen was removed by undoing the bolts holding it to the hinges. The rivets holding the mesh behind the vents were drilled out
P3090880.jpg


P3090882.jpg


Some of the rust that was found when the vents and dash board were removed. These areas will be fixed by welding new steel to replace the rotten metal.

P3090883.jpg


P3090884.jpg


The surface rust behind the windscreen was given a coat of ku-rust which will stop the corrosion before it gets too bad.

P3090885.jpg


Other than these areas and the footwells, the bulkhead isn't too bad at all.

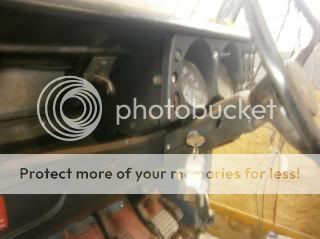
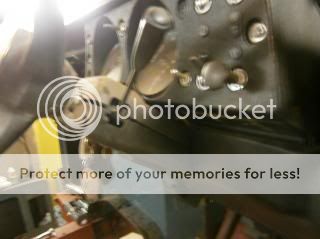
The windscreen wiper mechanism (motor and screenwash jets) were then removed

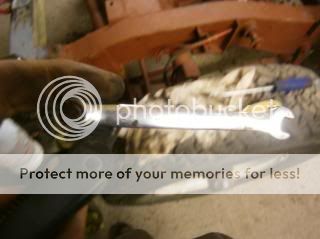
This nut on the wiper needs to be loosened to allow the wiper to slide off the shaft

P3090888.jpg


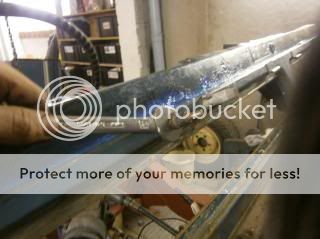
This nut can then be undone and the wiper spindle should be able to go into the cab area, making the whole assembly a bit easier to remove. Before taking it all off the bulkhead, the motor was supported by rope around the bulkhead to prevent it dropping and causing damage.

P3090889.jpg
 
When cleaning the front end of the chassis, a small hole was found in the front drivers side dumb iron which was then repaired by welding

P3090893.jpg


A new earth bolt was also welded to the chassis in the back end. This was done so that we could have more earth points to run the wires to and should help if any problems with earths arise in the future. (the tube is just to mask it whilst painting the weld with the red oxide)

P3090894.jpg


Holes were also found in the bulkhead crossmembers which were welded up and then the crossmembers were given a coat of red-oxide

P3100895.jpg


A shot of the rusted drivers side footwell
P3100897.jpg


The 4 way brake pipe fitting on the chassis near the engine bay, this was retained along with other brake fittings (just in case)

P3100898.jpg


The chassis on the drivers side all given a coat of red oxide

P3100901.jpg
 
To give the chassis extra protection, we borrowed some international grey/ silver 2-pack paint that we used to paint the chassis and the underside of the tub. This will hopefully give the chassis an extra layer of protection. It will be painted gloss black over the top of this. In this colour the chassis looks like a galvanised one :)

P3100902.jpg


P3100903.jpg


P3100904.jpg


More work on the dashboard, this time to fix the heater vent which had the snapped wire from the vent control in it and was siezed.

P3220906.jpg


There are 18 of these small slot headed screws that hold the dashboard bottom in place. Some were stubborn to get out so required the use of a hammer hitting the end of the screw driver whilst trying to turn it to help free them. In this process the vent mechanism (really 2 plates attached to a bar and a piece of spring steel) came free.

P3220911.jpg


P3220912.jpg


The vent mechanism in operation, it is really simple :)
P3220913.jpg


P3220917.jpg


P3220915.jpg


P3220916.jpg


The wire that had snapped

P3220918.jpg


The dashboard underside (the steel bits) were given a coat of ku-rust

P3220919.jpg
 
Last edited:
The sender unit was temporarily removed to check the bottom of the tank inside (thank you for that advice :) ) and we found that is clean inside. Before taking the sender out we marked the position of how it went on, just in case we forgot and put it in the wrong position for the wires that connect to the tank). There is a rubber gasket underneath the plate.

P3230920.jpg


The axle was given a coat of black (some gloss paint bought from wilkinsons)

P3230922.jpg


The bottom of the fuel tank and one side was painted as well

P3230923.jpg


We then proceeded to paint the chassis :)

P3230924.jpg


P3230925.jpg


P3230926.jpg


P3230927.jpg


P3230928.jpg
 
Todays work:

Painted both propshafts, finished painting the fuel tank and gave the dashboard a coat of red oxide (seen standing up against the trailer we made)

P3240929.jpg


P3240930.jpg


P3240931.jpg


P3240933.jpg
 
Back
Top