RodneyA
Active Member
- Posts
- 295
- Location
- Ayrshire, South West Scotland
After getting a Genuine Defender 200Tdi engine for a great price I Started the process of rebuilding it earlier this year, I got it all stripped down but then was too busy at work to start the rebuild.
I've finally got the time So I've made a start on it.
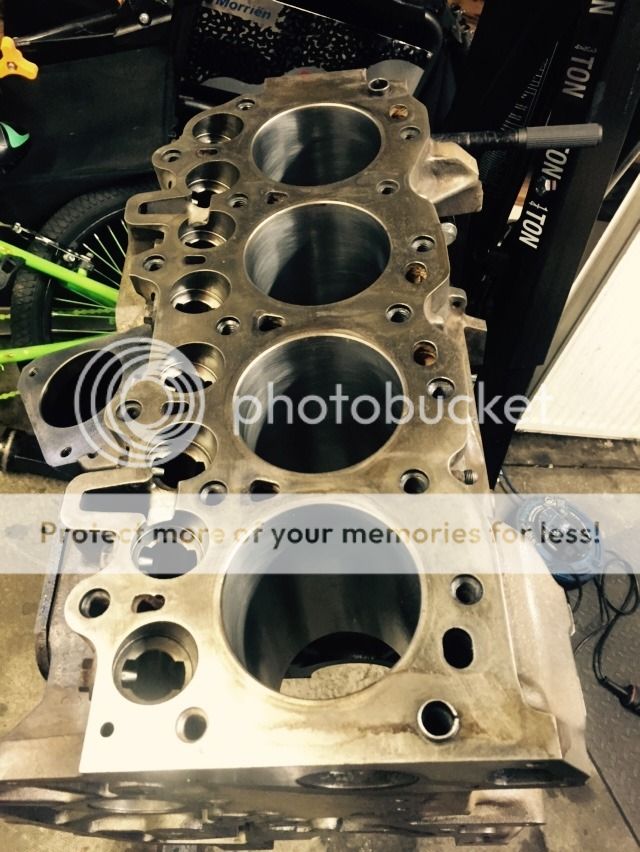
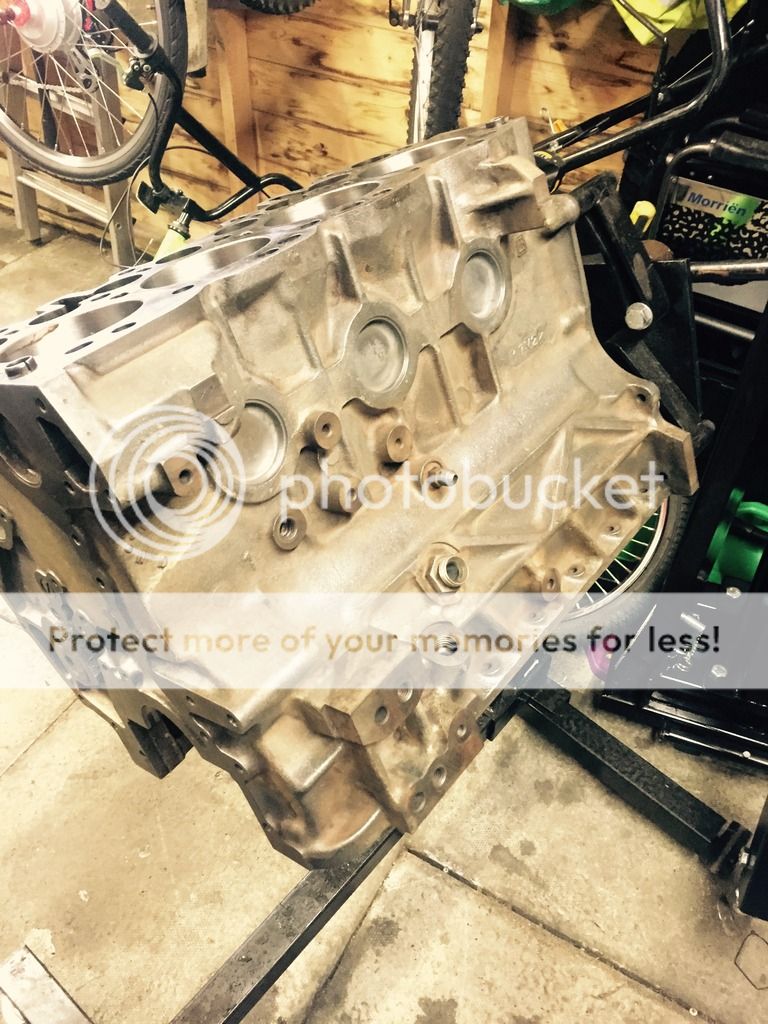
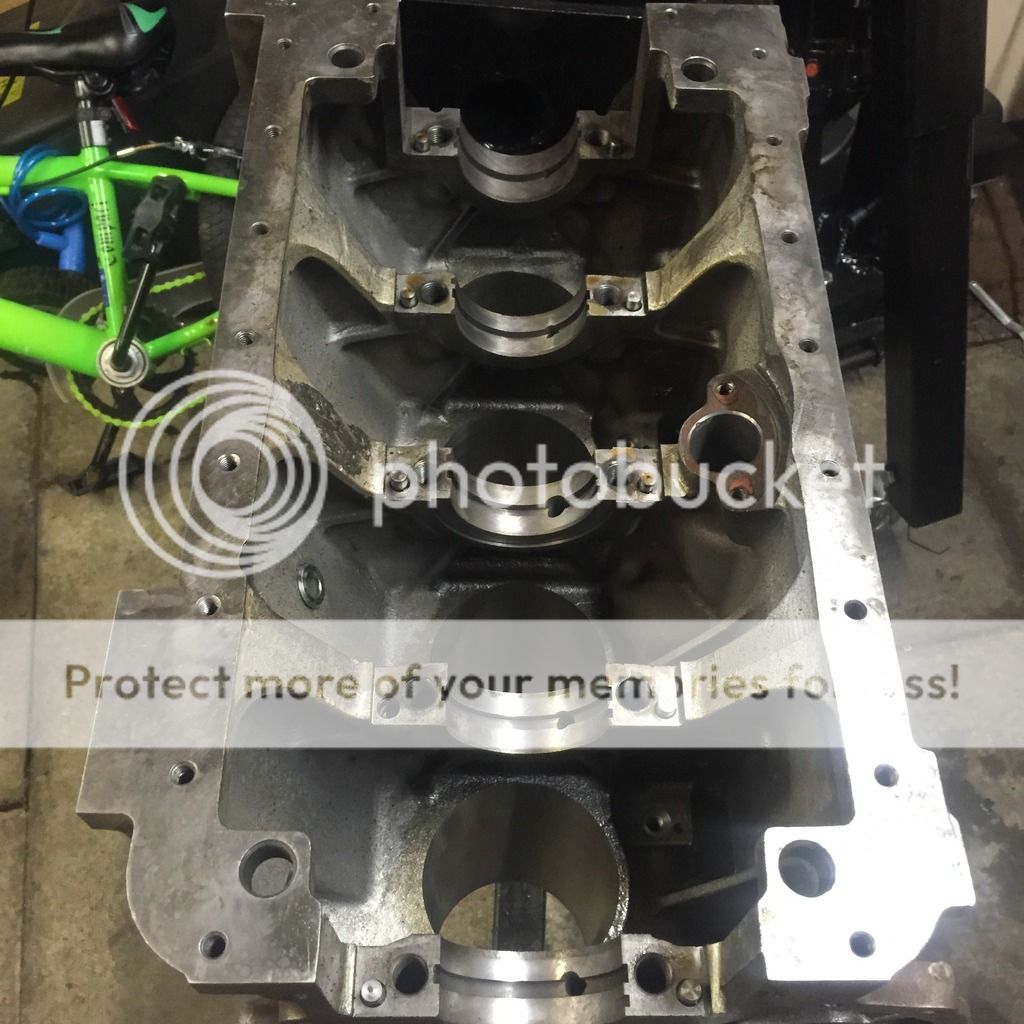
First step was to get the block Re bored due to a scratch down one of the bores and to get the block cleaned.

I'm currently waiting on new Pistons, Rings, Conrod bearings, Main Bearings and Thrust washers coming from Turners.
The head is currently getting skimmed, Pressure tested and Valve's reground, Injectors and Turbo is also away getting tested.
My next step is to get the block painted black, Just waiting on the paint arriving, Should be here tomorrow")
I also tested the Crank End float which is currently sitting at dead on 0.1mm, Between the 0.05 and 0.15 it should be, Is it worth brining the end float down closer to the 0.05 or is it fine at the 0.1 it is at at the moment.
Going to see The Avengers tomorrow so will be getting some painting done on Either Wednesday or Thursday
Chris
I've finally got the time So I've made a start on it.
First step was to get the block Re bored due to a scratch down one of the bores and to get the block cleaned.
I'm currently waiting on new Pistons, Rings, Conrod bearings, Main Bearings and Thrust washers coming from Turners.
The head is currently getting skimmed, Pressure tested and Valve's reground, Injectors and Turbo is also away getting tested.
My next step is to get the block painted black, Just waiting on the paint arriving, Should be here tomorrow
I also tested the Crank End float which is currently sitting at dead on 0.1mm, Between the 0.05 and 0.15 it should be, Is it worth brining the end float down closer to the 0.05 or is it fine at the 0.1 it is at at the moment.
Going to see The Avengers tomorrow so will be getting some painting done on Either Wednesday or Thursday
Chris


