bustersbus
Well-Known Member
- Posts
- 13,755
- Location
- Near Dumfries, Scotland
Injector renewal.
Here's how Ah did it")
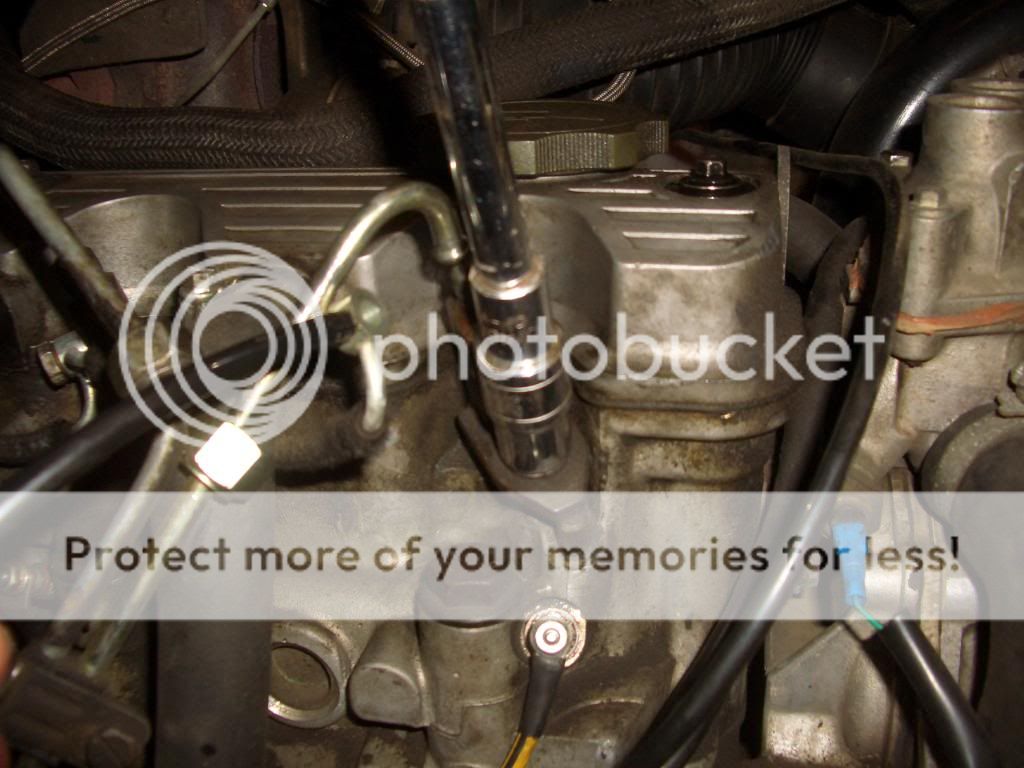
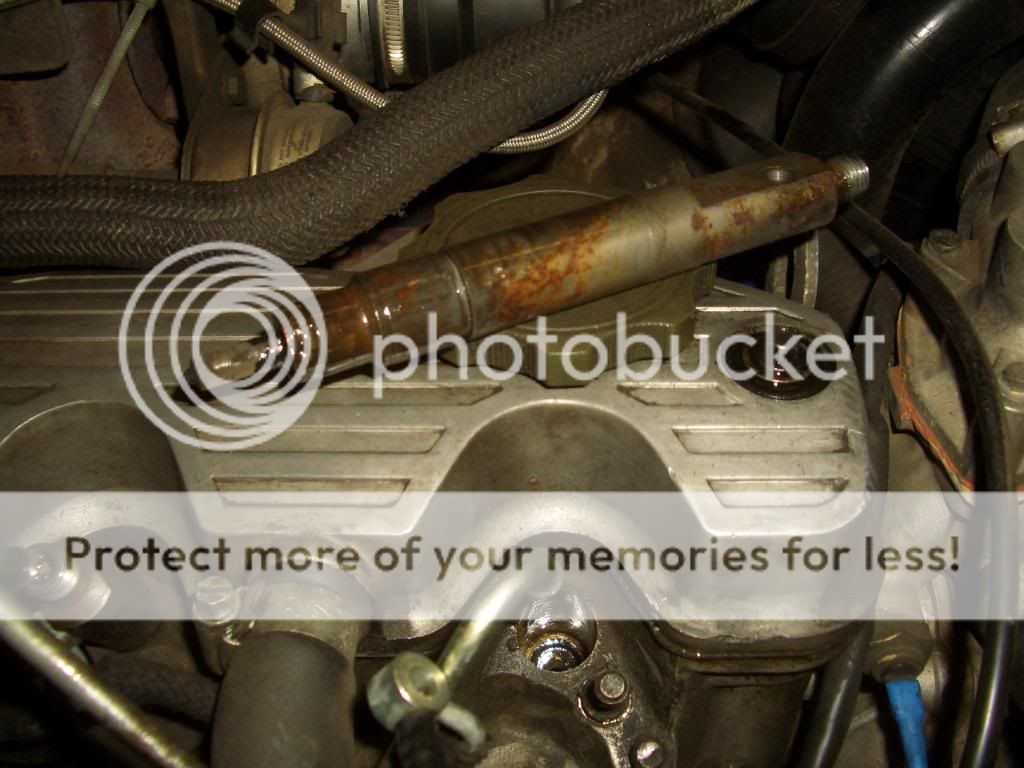
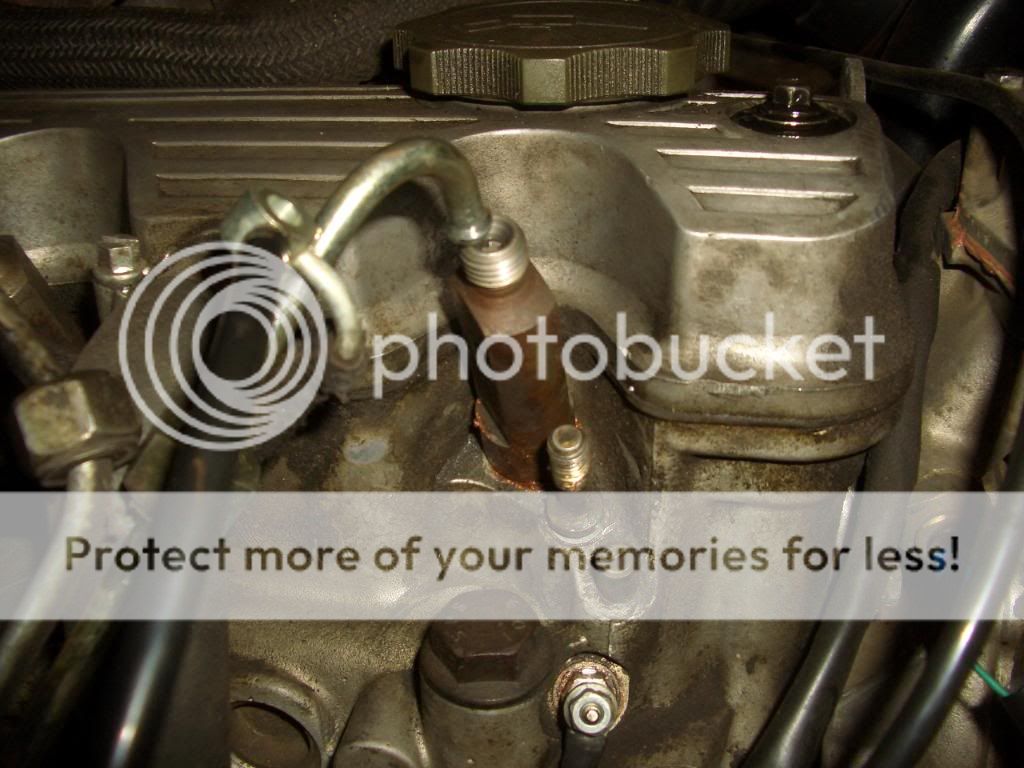
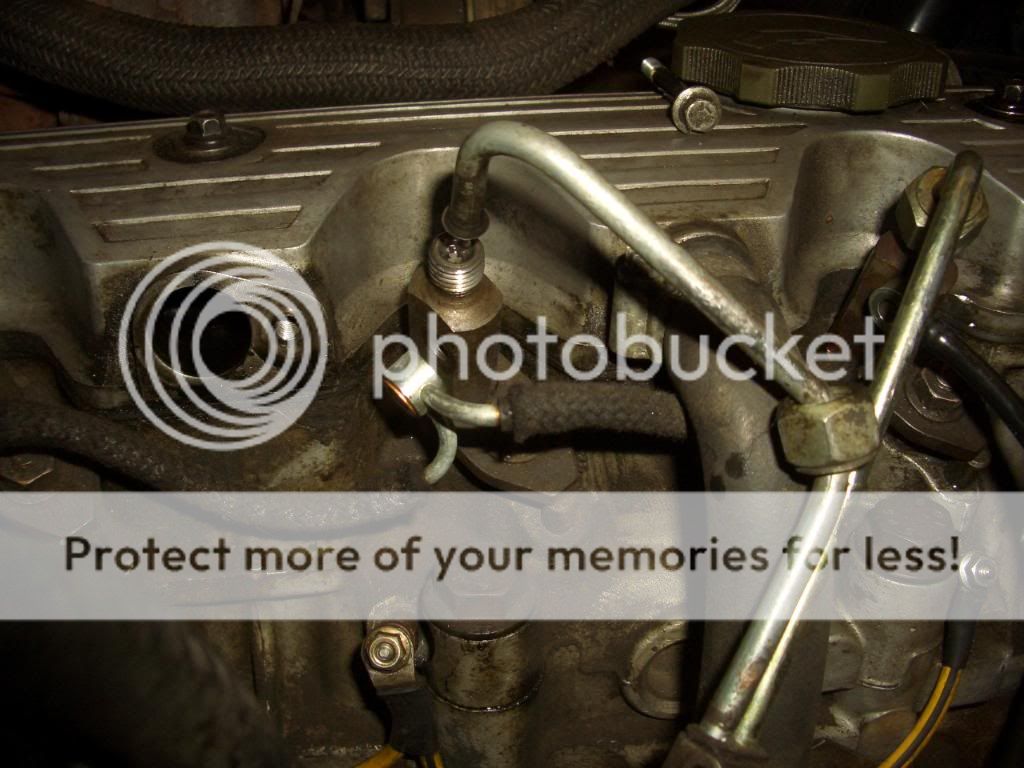
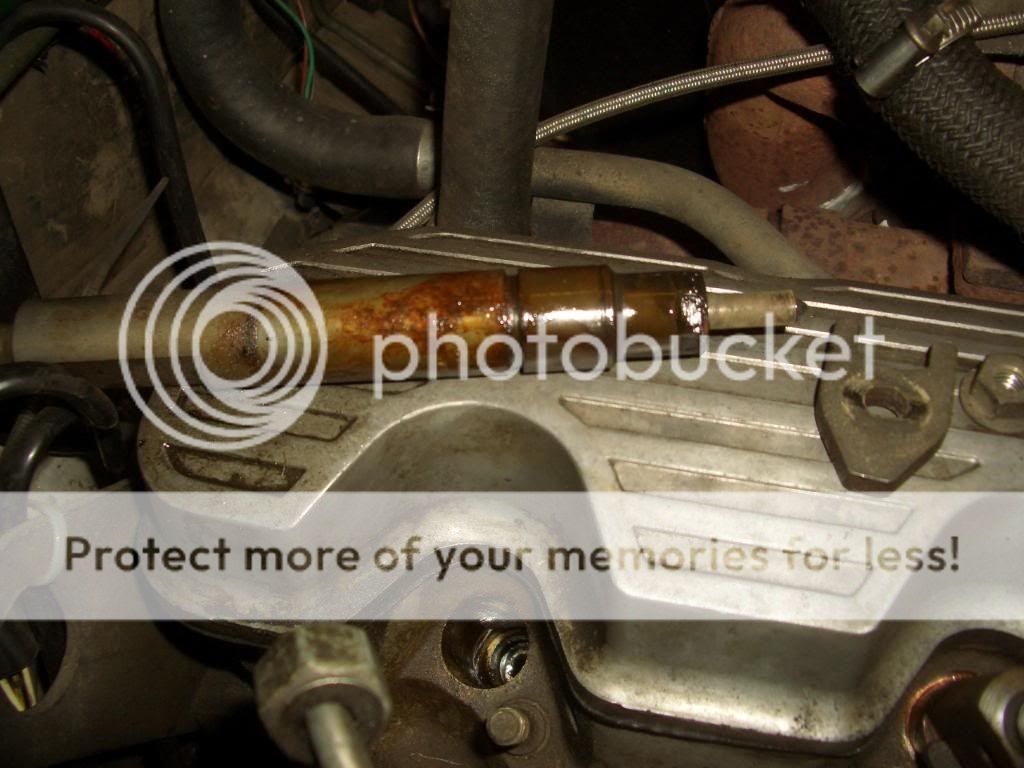
Furst ah removed the pipe from the cyclone breather....
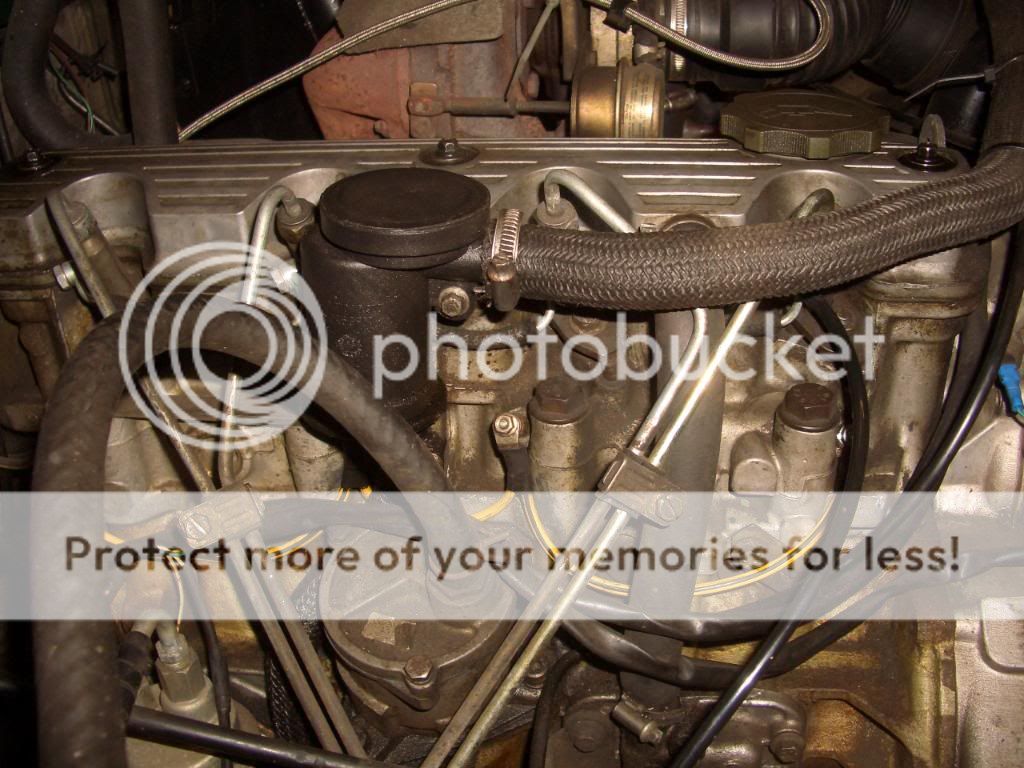
and then the spill pipe from the injector...

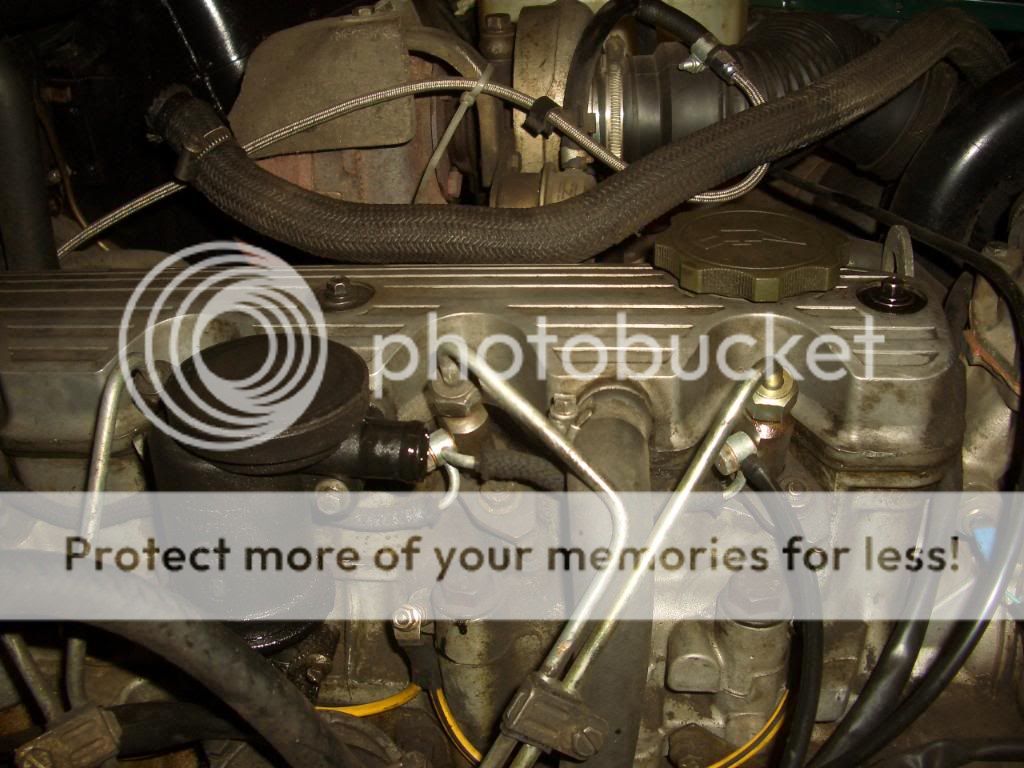
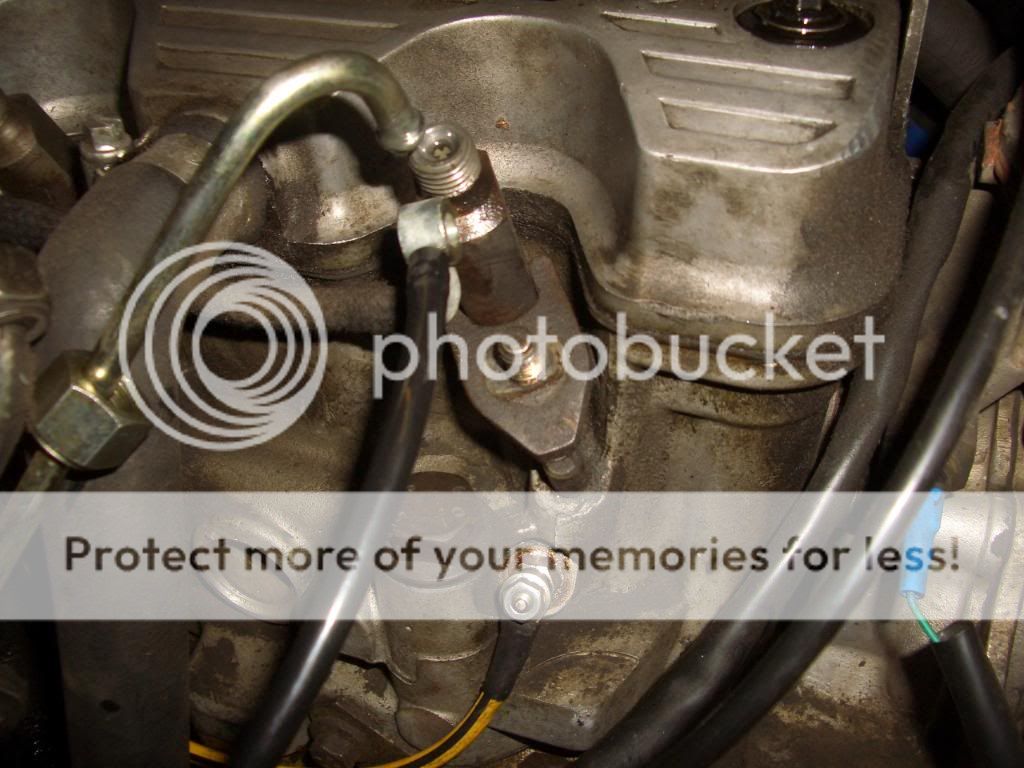
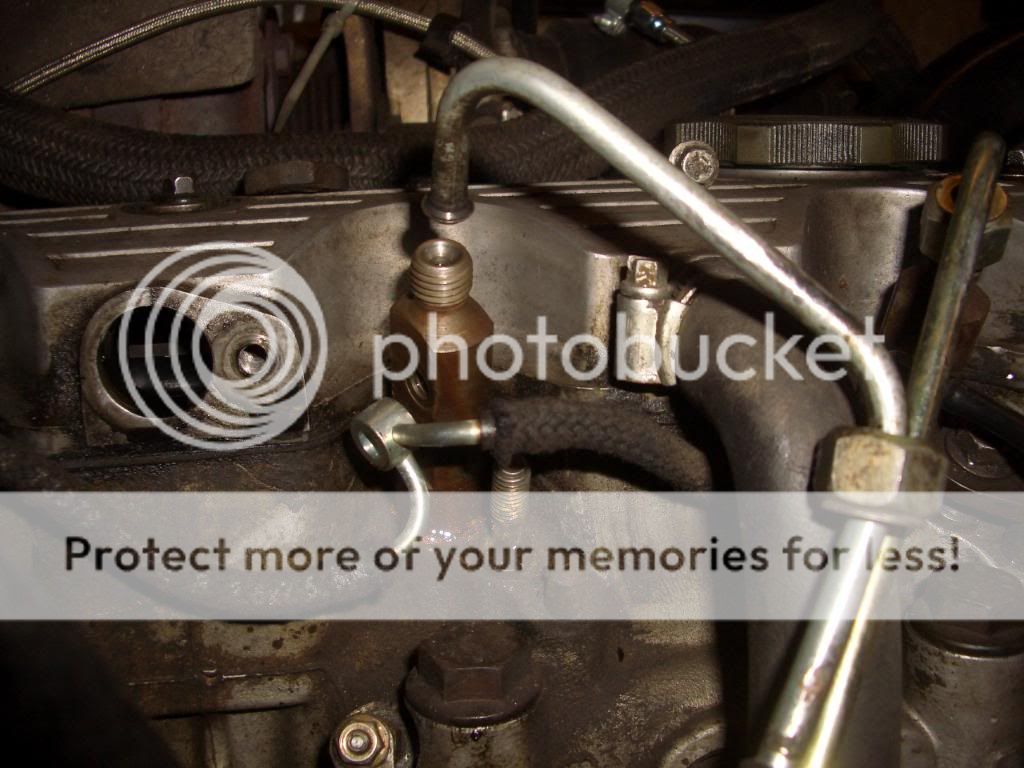
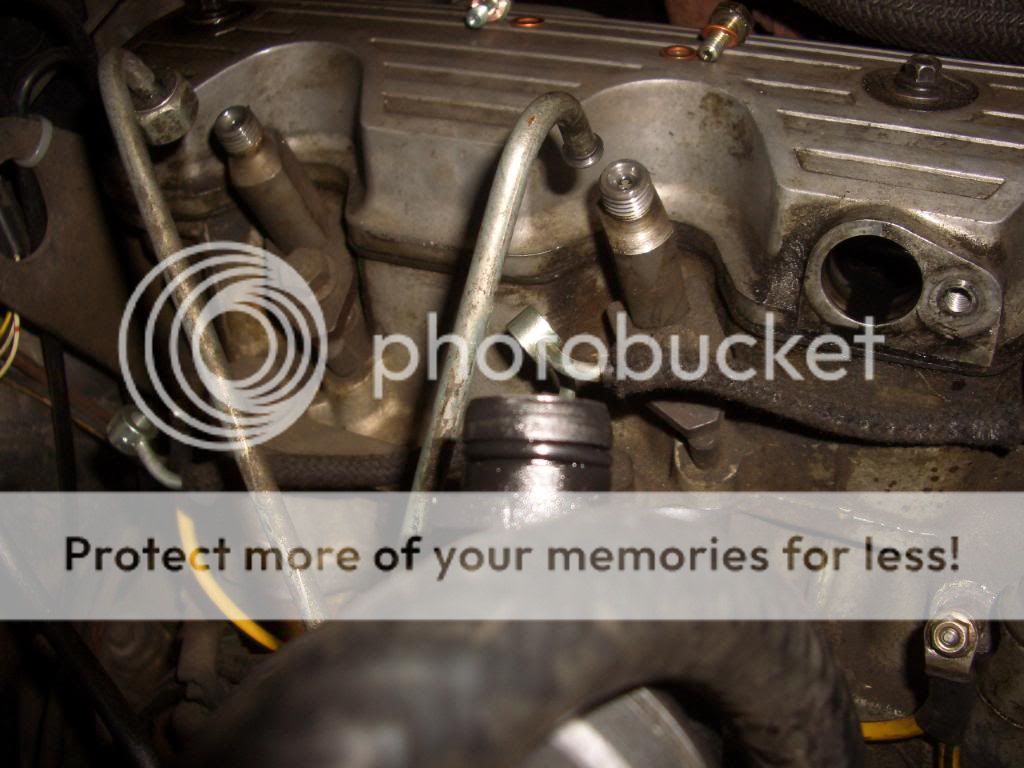
next ah undid the union from the top of the injector....
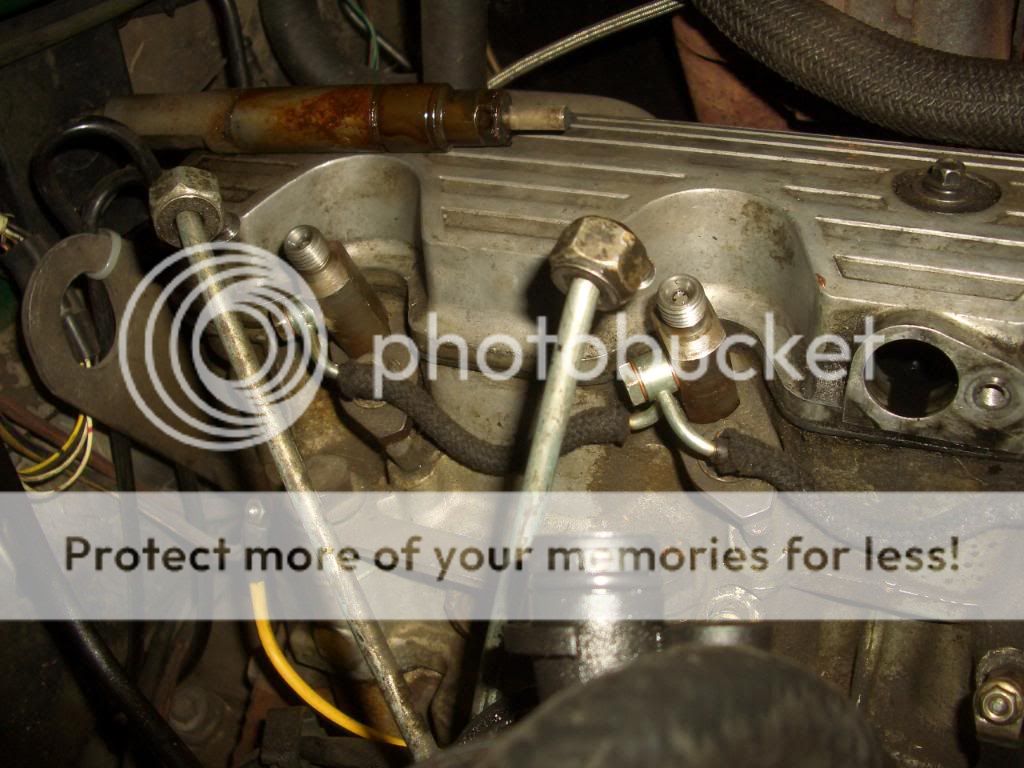
and the union from the next injector....
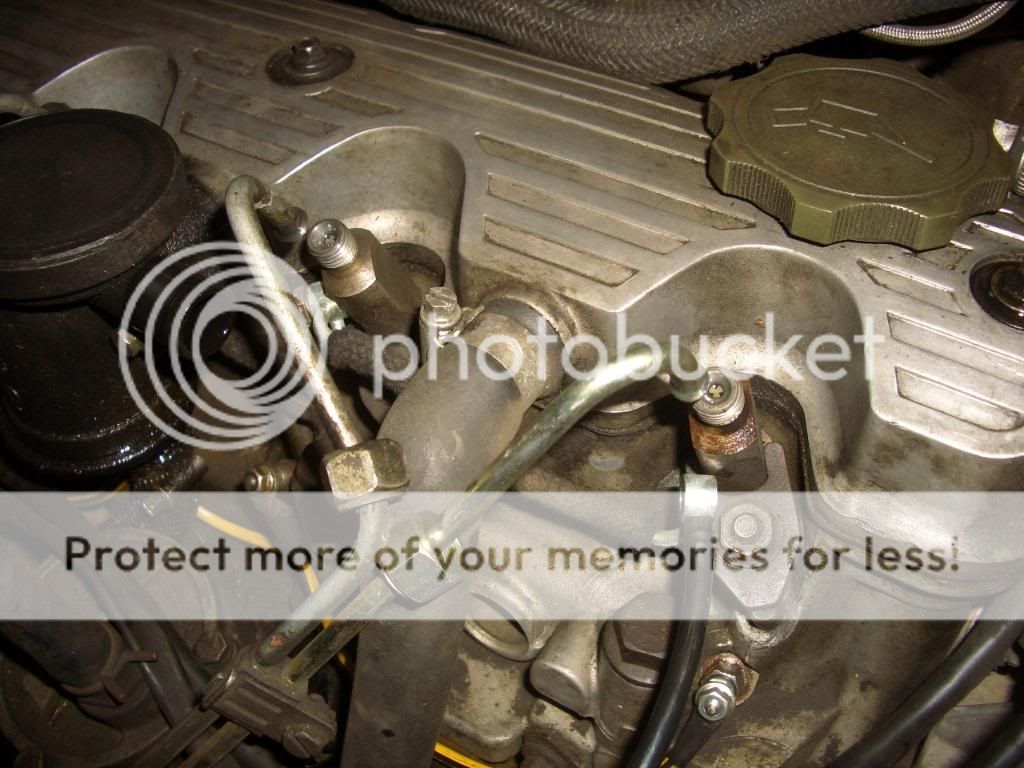
(this was only to give me a wee bit of room to get at the injectors without undoing the pipes completely. If you do go down this route, be very carefull not to damage the pipes! )
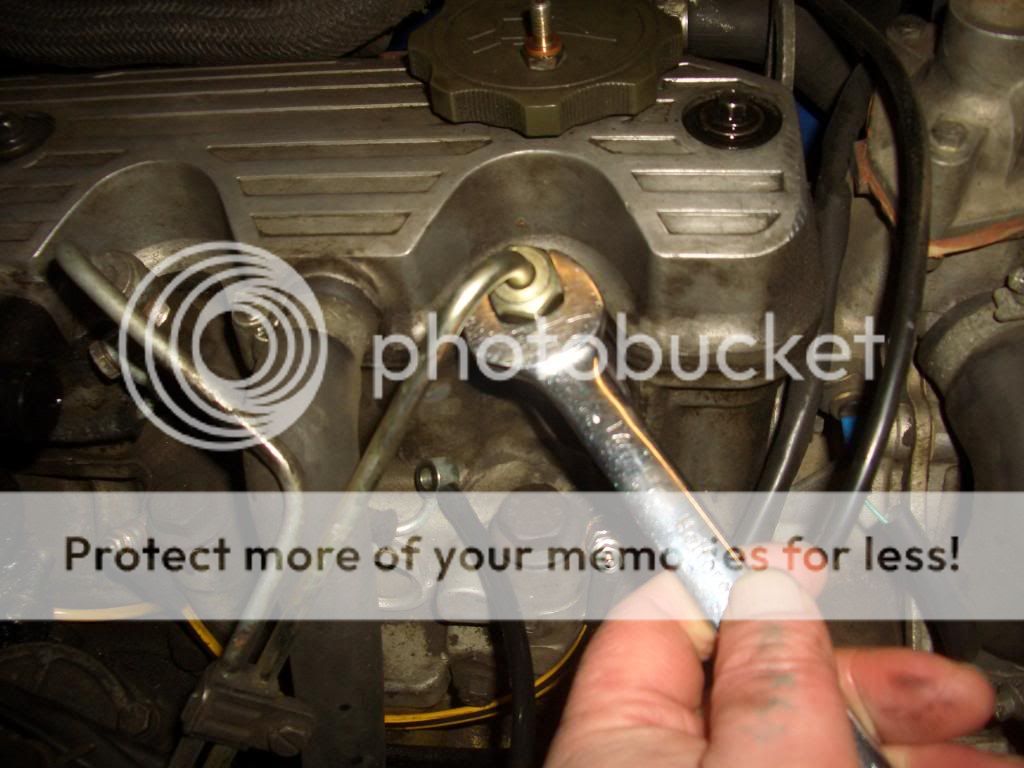
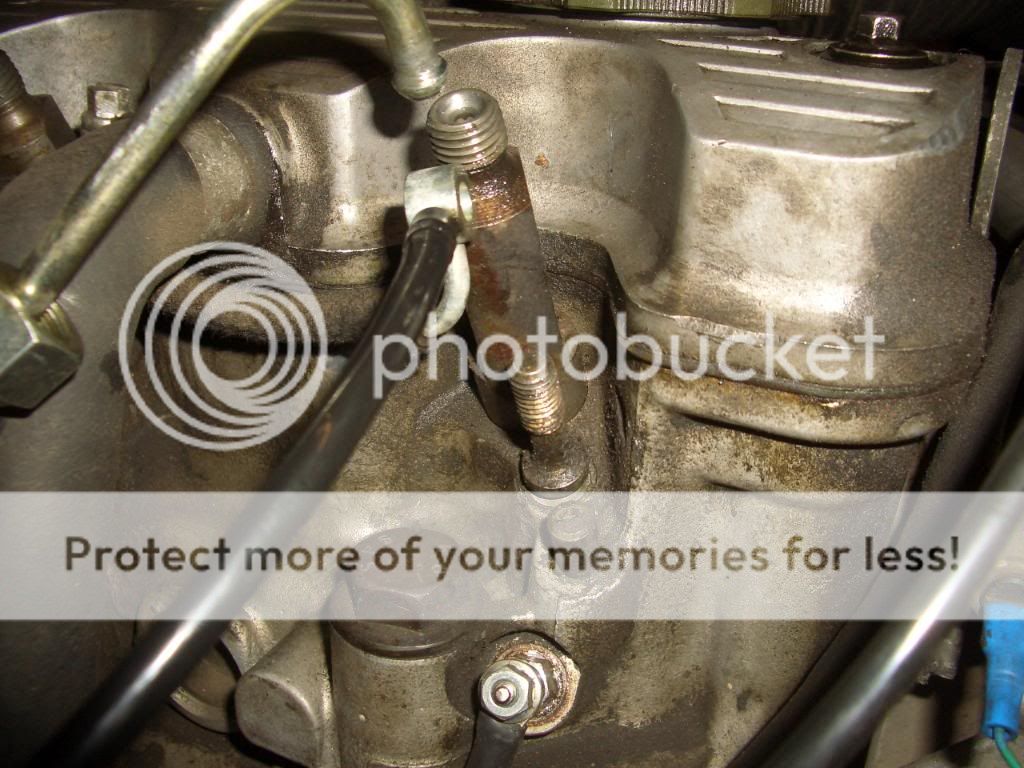
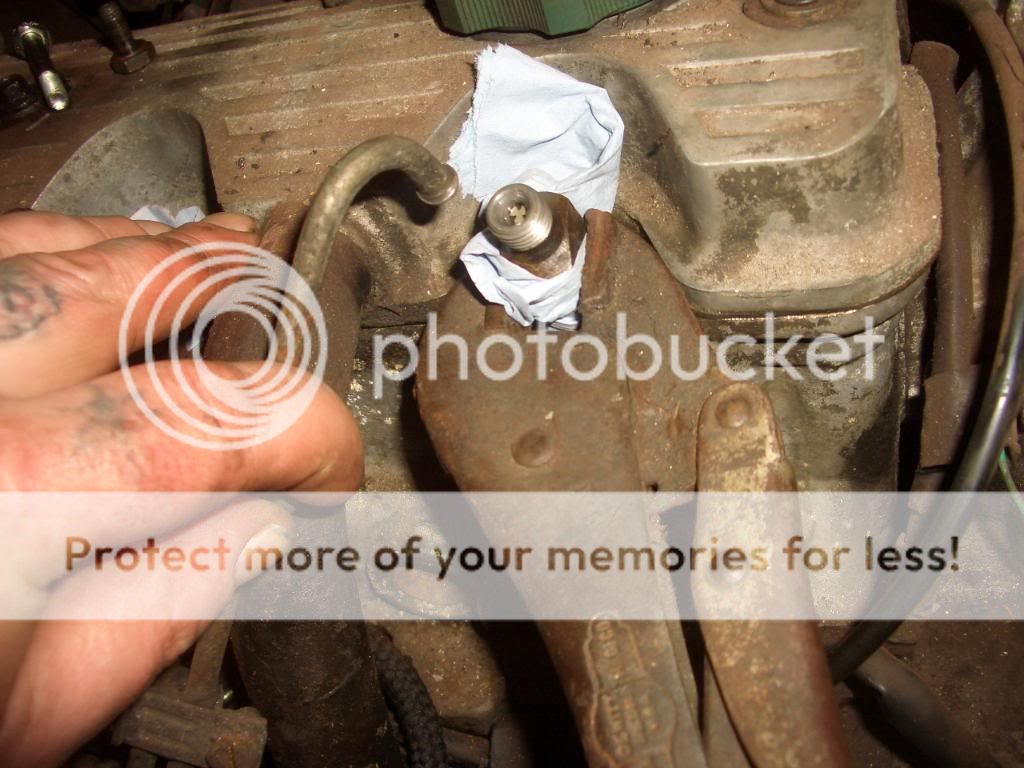
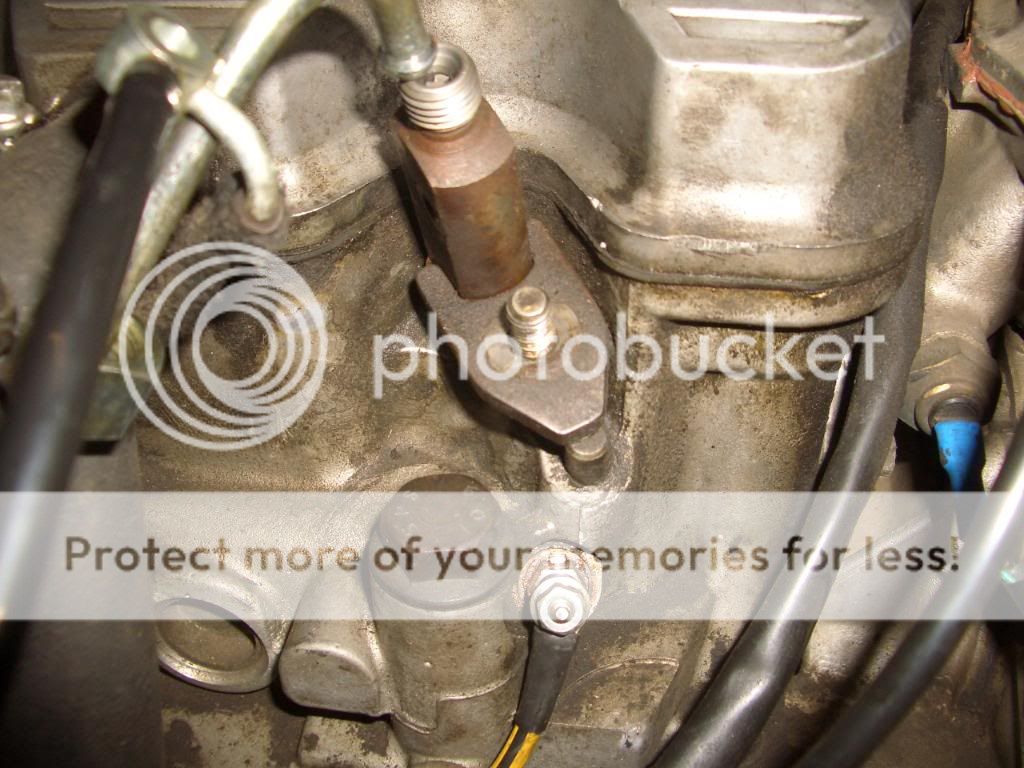
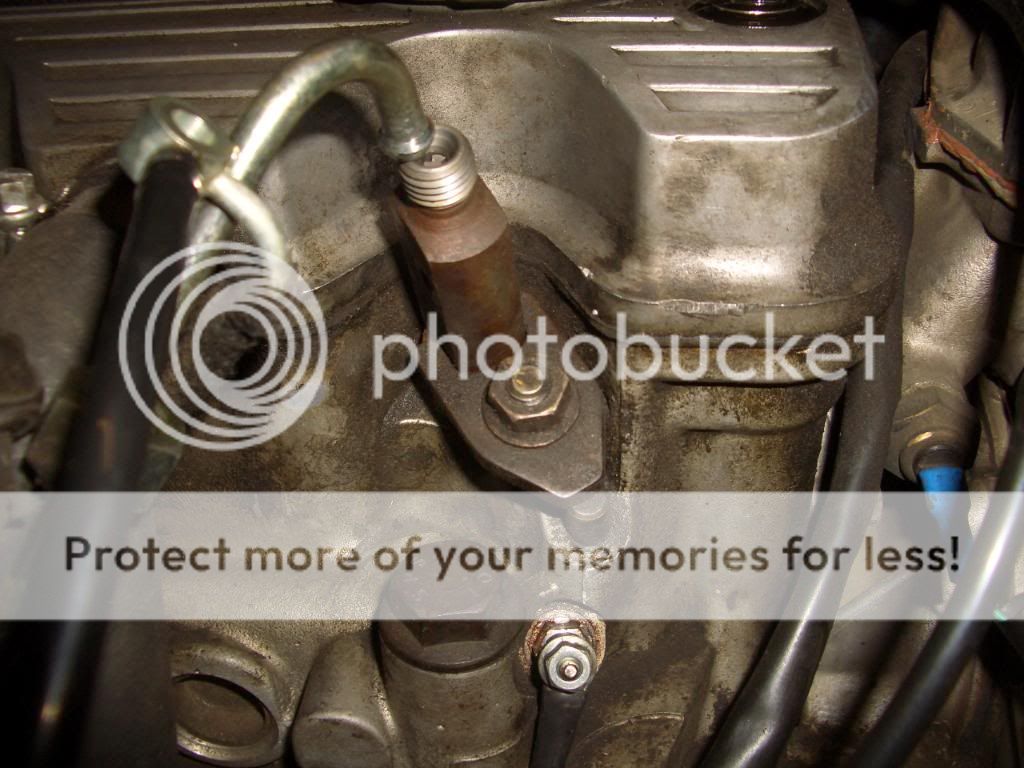
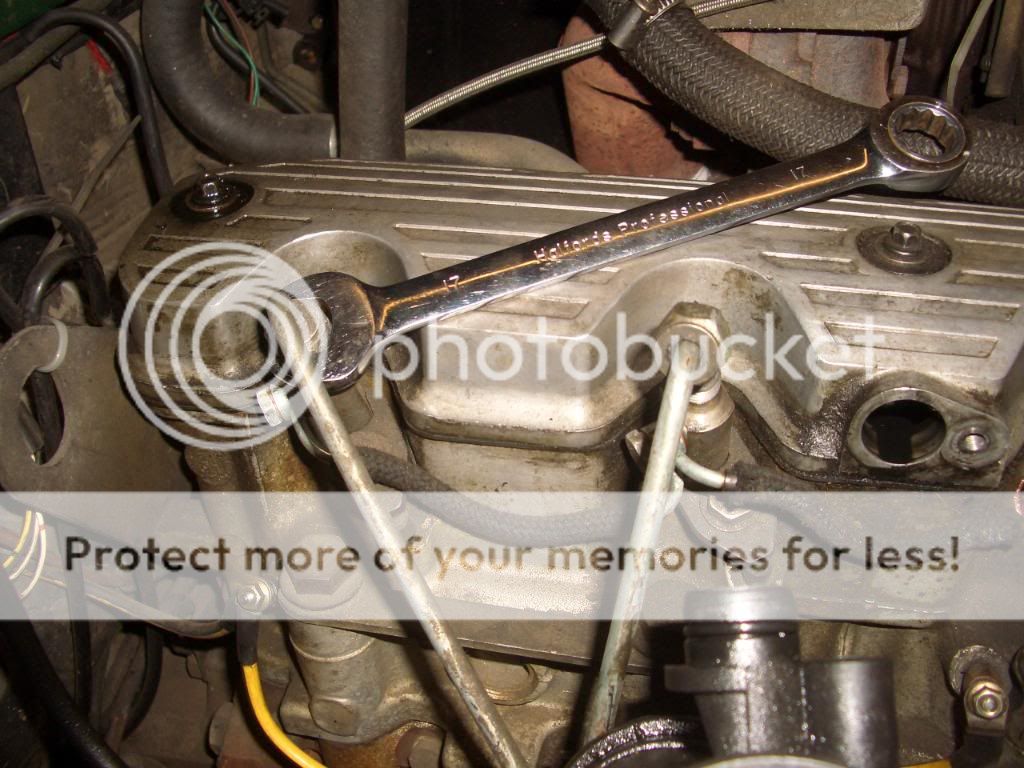
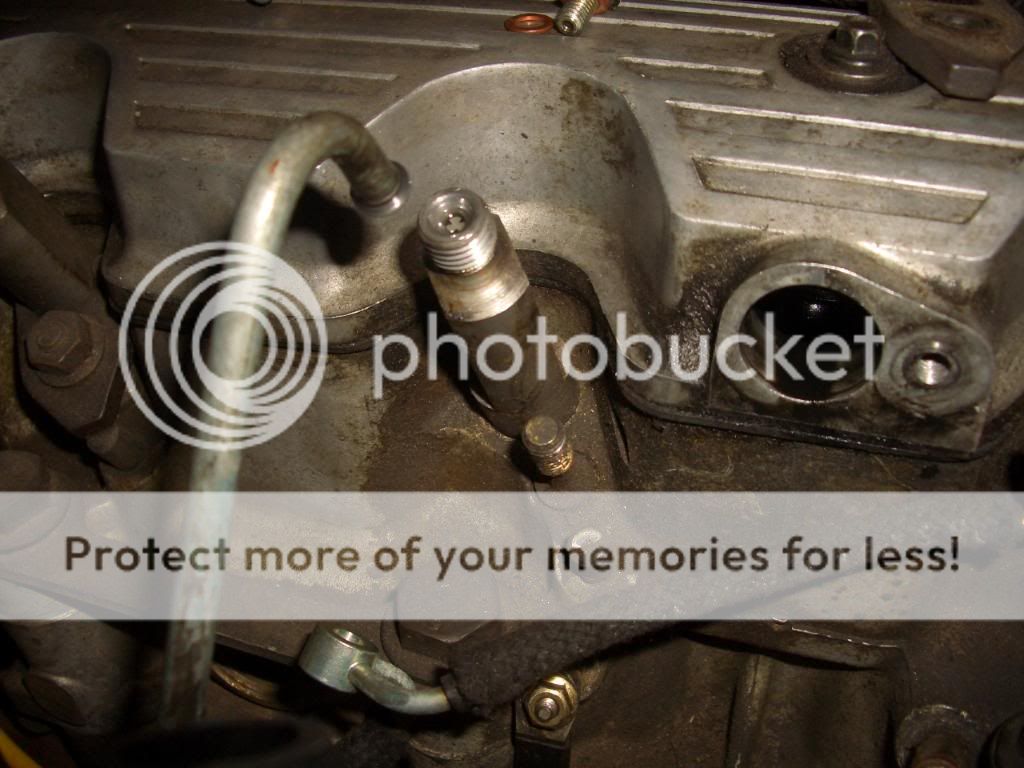
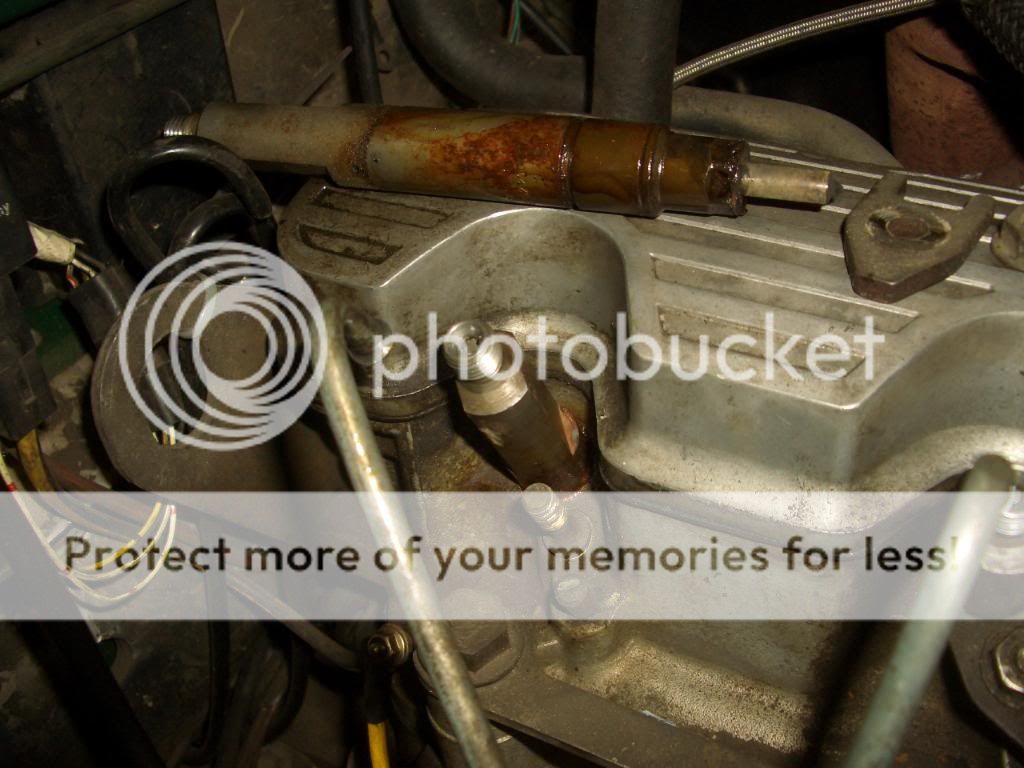
Once the injector pipes were free, Ah removed the nut and clamp holding the injector in (noting which way the clamp sits)....
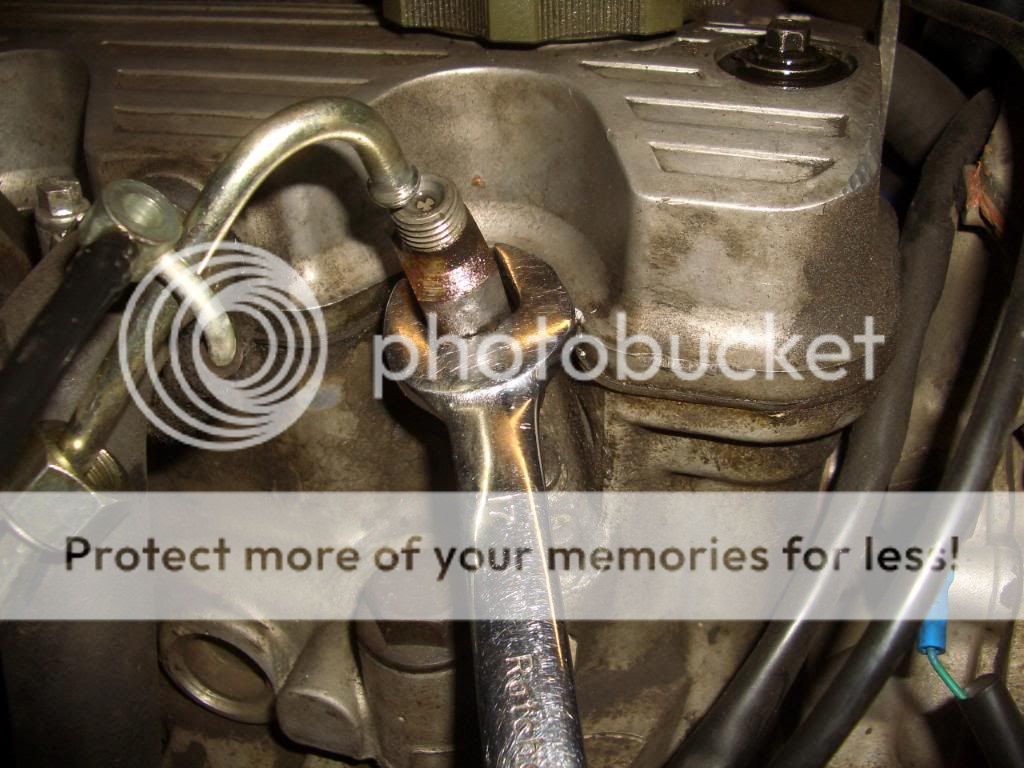
then using a suitable sized spanner, ah twisted the injector to see how free it was....
Luckily these injectors had been out at sometime close to me buying the bus as ah could remove them by hand Ah did have a wee bit of a struggle with the ones in the other bus tho'! Ah didn't have a slide hammer so Ah had to use a set of mole grips with with a wee bit of rubber around the injectors. Ah managed to get them out by twisting and gently lifting at the same time to get them out. Ah was told to be carefull not to damage the threads on the top of the injectors, so that's why ah gently eased it up
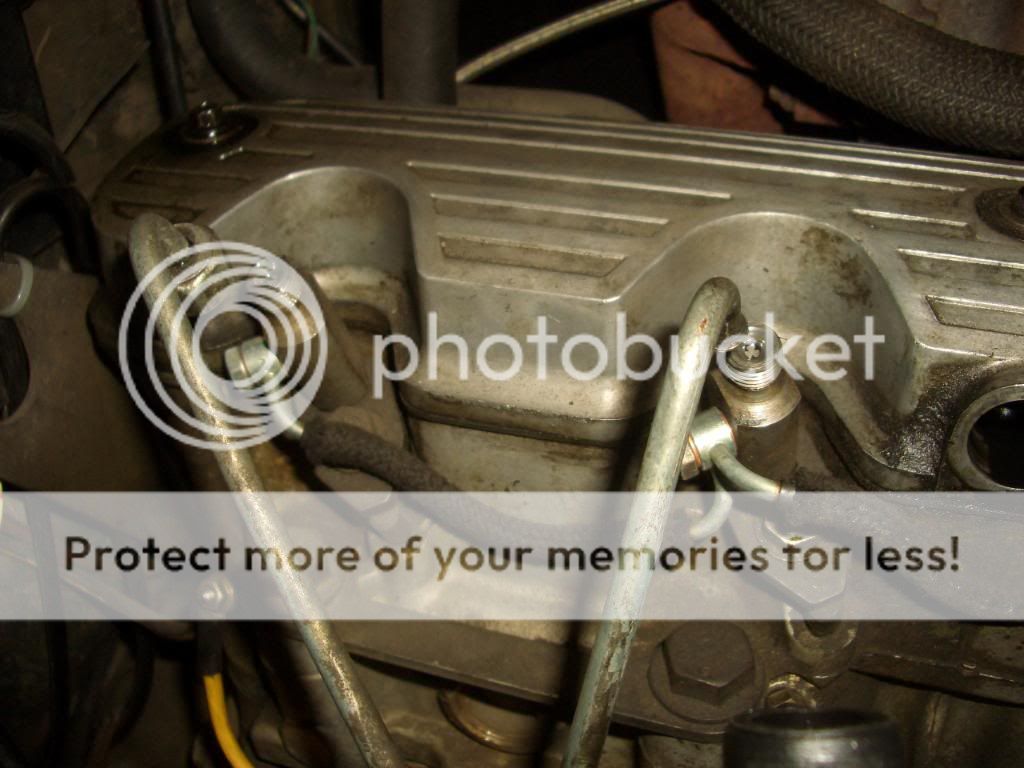
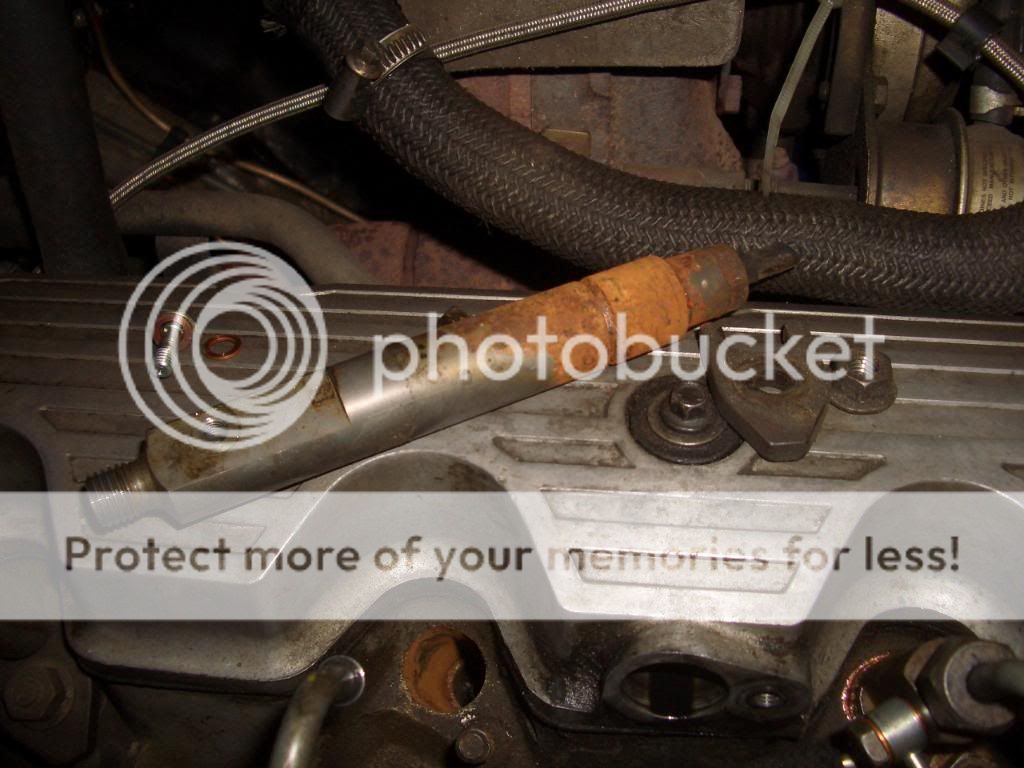
This photie shows some blue roll aroundthe injector (only becase ah lost my wee bit of rubber!)...
Once the old injector was out...
the "new" one was ready to go in.
Before ah fitted the new one, ah lightly smeared some copper grease on the injector body....

and then a couple of wee spots on the bottom (not the tip) to hold the new copper washer on....
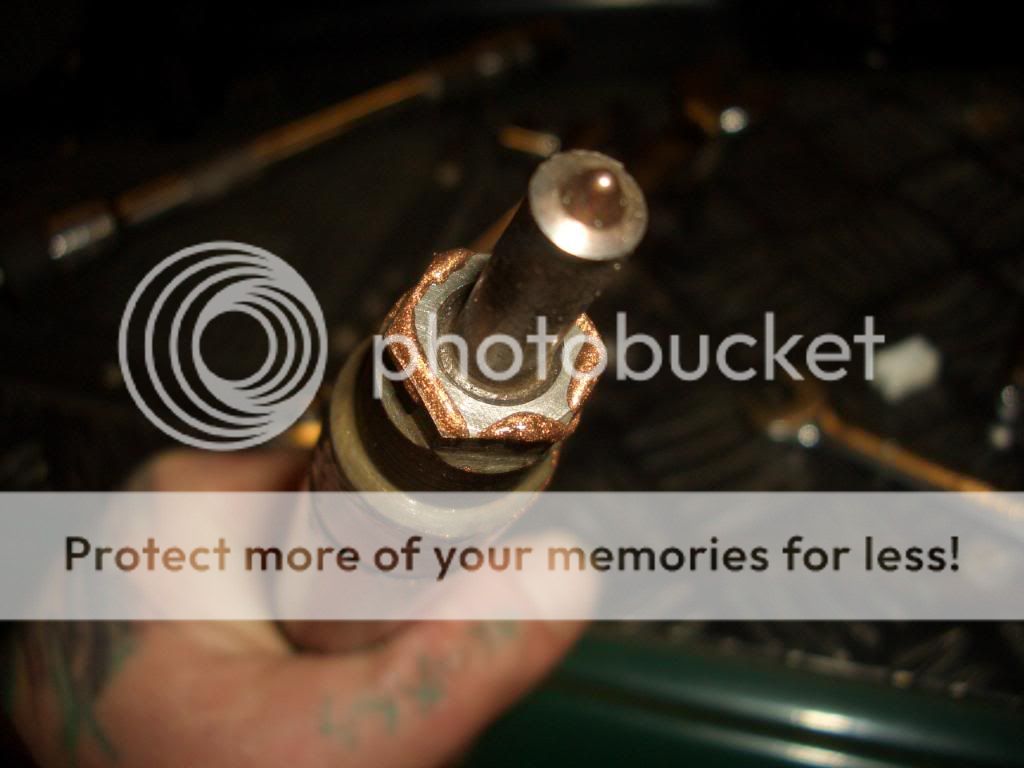
When fitting the new copper washer on make sure that the domed side was against the injector...
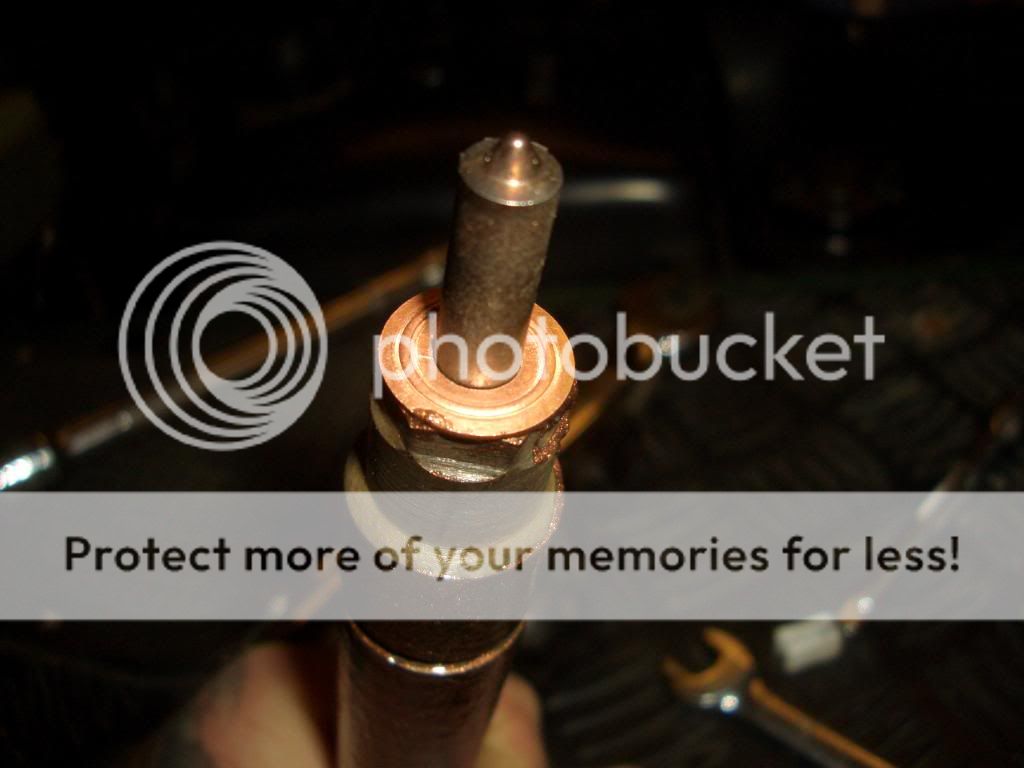
Just before fitting the injector, ah checked the hole to make sure there wasn't another washer in there an also gave it a wee clean out.
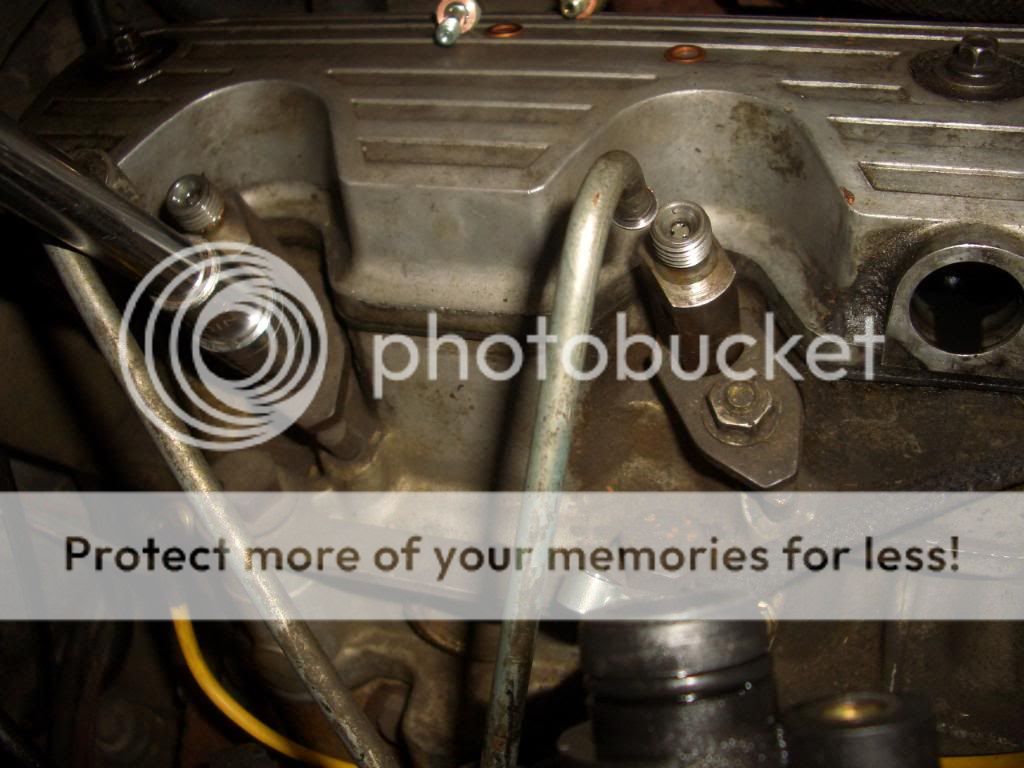
then it was just a case of sticking the injector in..
sticking the clamp back on (making sure it's the right way up....as in, if laid on a flat surface the ends will be on the surface and not the body )....
torquing the nut back up to proper setting (a must, and same with the other injectors). If they're not done up evenly there is a risk of damaging the nozzles when the engine is up to temp!!
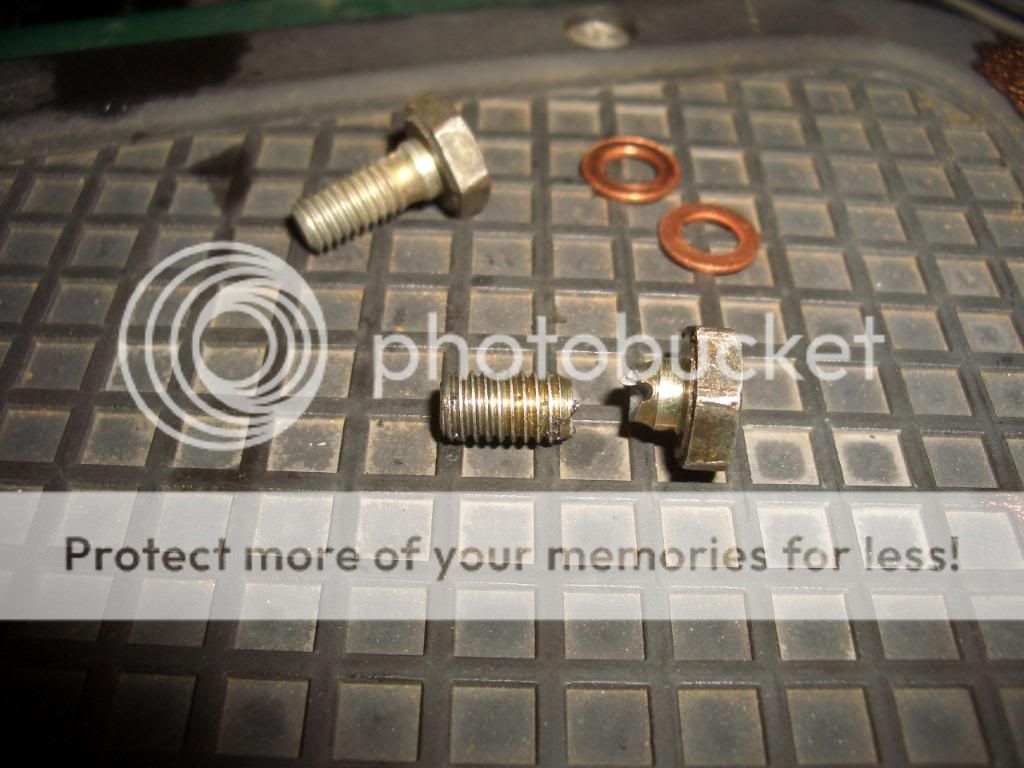
then replacing the spill pipe with new copper washers...

be carefull ye don't over tighten the banjo bolt on the spill pipe as this will happen...
Then it's just a case of fitting the injector pipe union back on and that's about it.
Job done
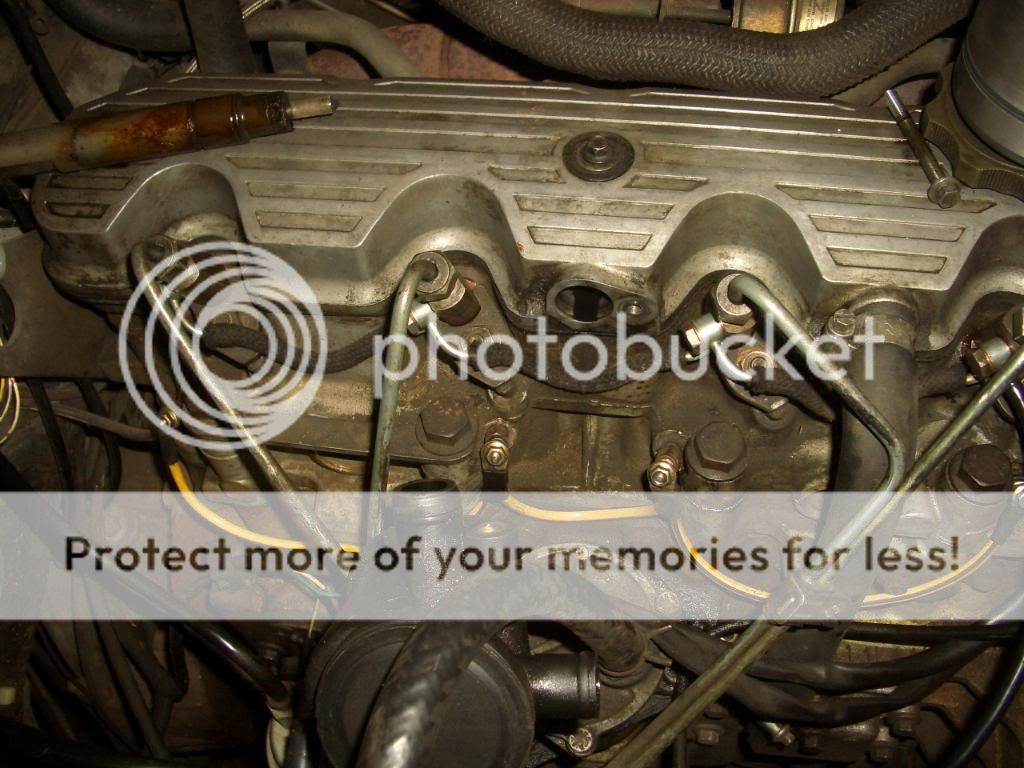
Ah went on to replace the other injectors while ah was at it. So here's here's a few more photies...

Here's how Ah did it
Furst ah removed the pipe from the cyclone breather....
and then the spill pipe from the injector...
next ah undid the union from the top of the injector....
and the union from the next injector....
(this was only to give me a wee bit of room to get at the injectors without undoing the pipes completely. If you do go down this route, be very carefull not to damage the pipes!
)Once the injector pipes were free, Ah removed the nut and clamp holding the injector in (noting which way the clamp sits)....
then using a suitable sized spanner, ah twisted the injector to see how free it was....
Luckily these injectors had been out at sometime close to me buying the bus as ah could remove them by hand
Ah did have a wee bit of a struggle with the ones in the other bus tho'! Ah didn't have a slide hammer so Ah had to use a set of mole grips with with a wee bit of rubber around the injectors. Ah managed to get them out by twisting and gently lifting at the same time to get them out. Ah was told to be carefull not to damage the threads on the top of the injectors, so that's why ah gently eased it upThis photie shows some blue roll aroundthe injector (only becase ah lost my wee bit of rubber!)...
Once the old injector was out...
the "new" one was ready to go in.
Before ah fitted the new one, ah lightly smeared some copper grease on the injector body....
and then a couple of wee spots on the bottom (not the tip) to hold the new copper washer on....
When fitting the new copper washer on make sure that the domed side was against the injector...
Just before fitting the injector, ah checked the hole to make sure there wasn't another washer in there an also gave it a wee clean out.
then it was just a case of sticking the injector in..
sticking the clamp back on (making sure it's the right way up....as in, if laid on a flat surface the ends will be on the surface and not the body
)....
torquing the nut back up to proper setting (a must, and same with the other injectors). If they're not done up evenly there is a risk of damaging the nozzles when the engine is up to temp!!
then replacing the spill pipe with new copper washers...
be carefull ye don't over tighten the banjo bolt on the spill pipe as this will happen...
Then it's just a case of fitting the injector pipe union back on and that's about it.
Job done
Ah went on to replace the other injectors while ah was at it. So here's here's a few more photies...
Last edited: