bustersbus
Well-Known Member
- Posts
- 13,755
- Location
- Near Dumfries, Scotland
Drop arm ball joint renewal
This is how ah did it...
(at some point it got to be a PITA for me, but hopefully ye's can get yer drop arm off!!!") )
)
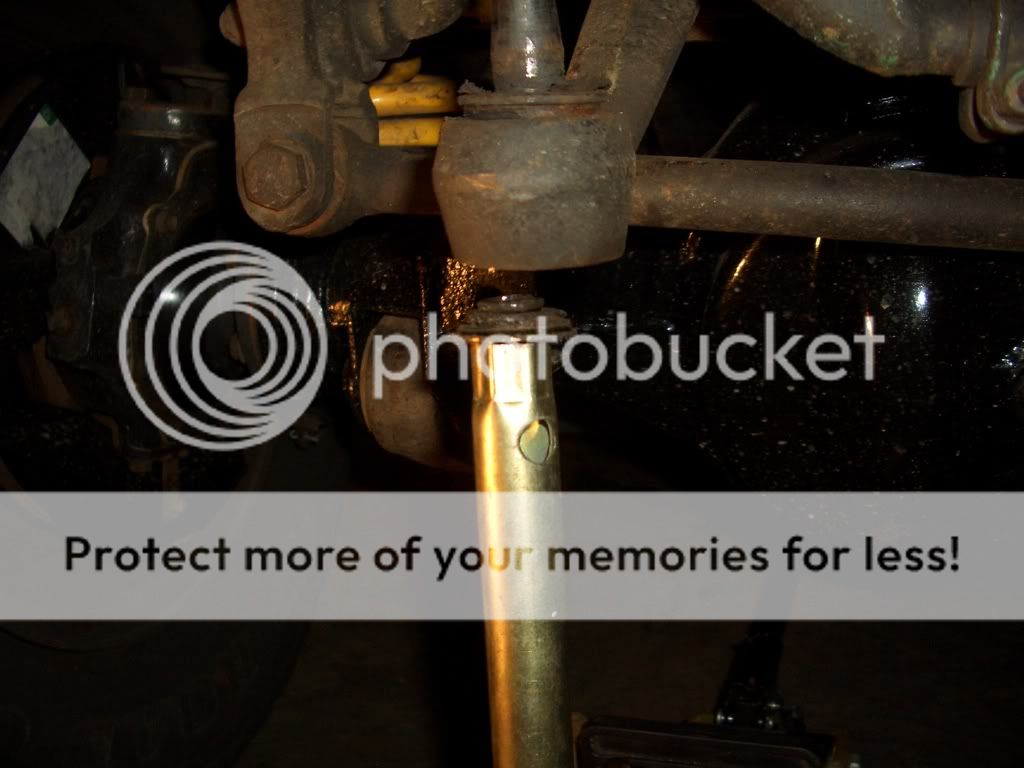
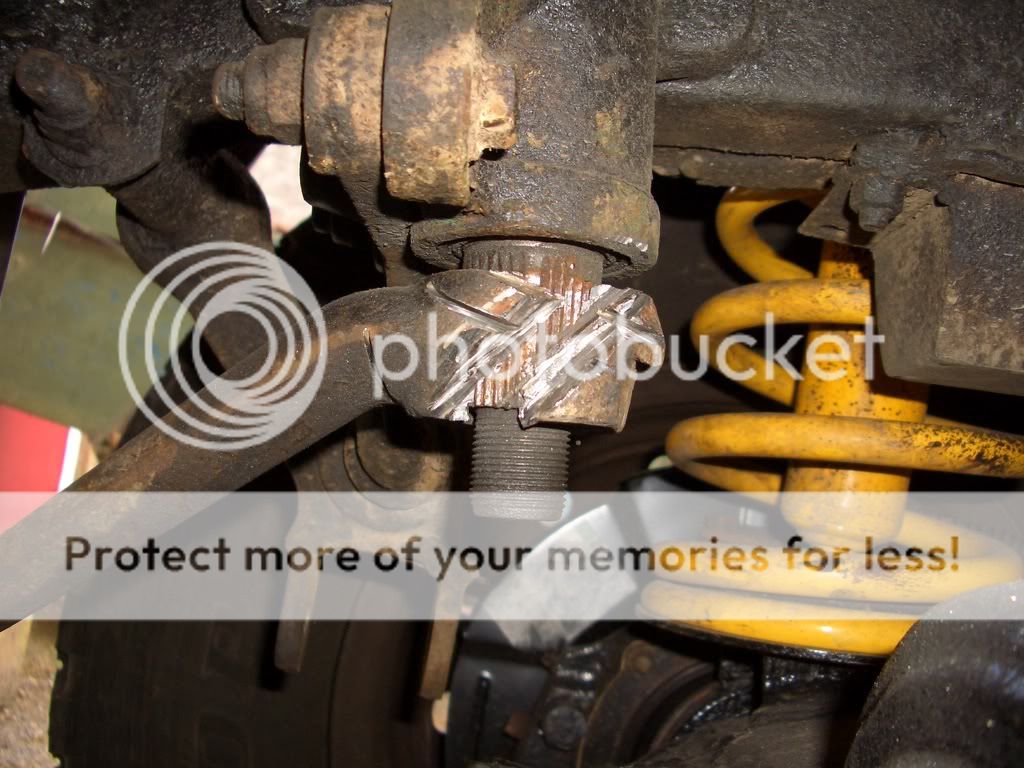
The drop arm and ball joint....
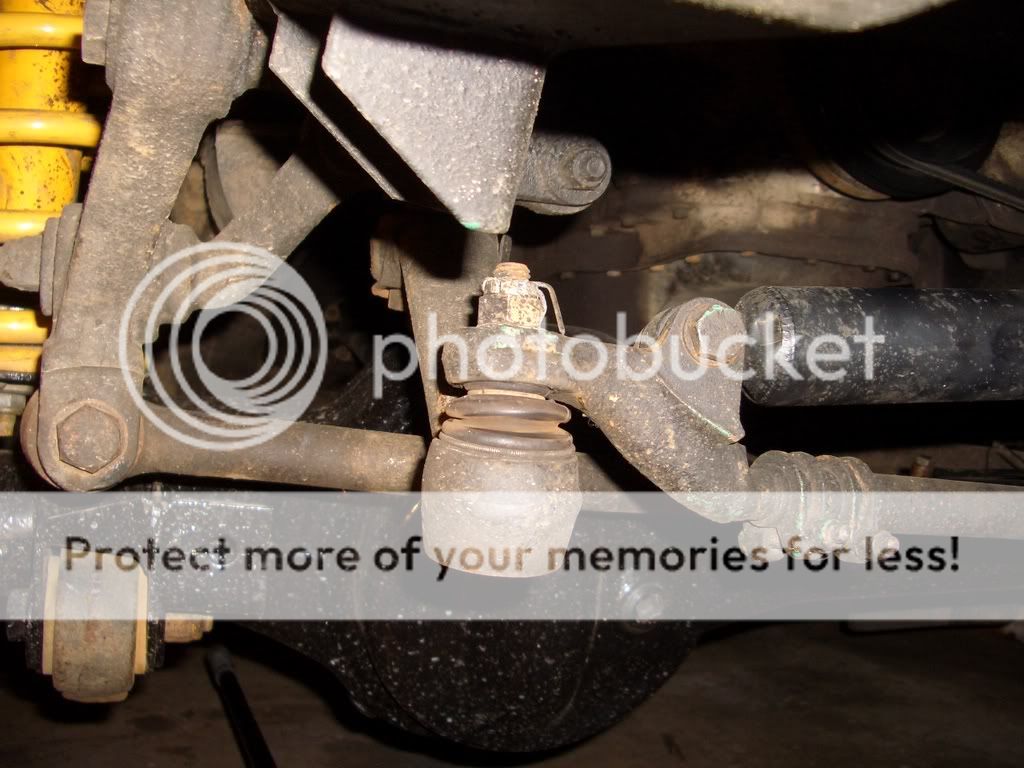
remove the split pin first then undo casle nut....
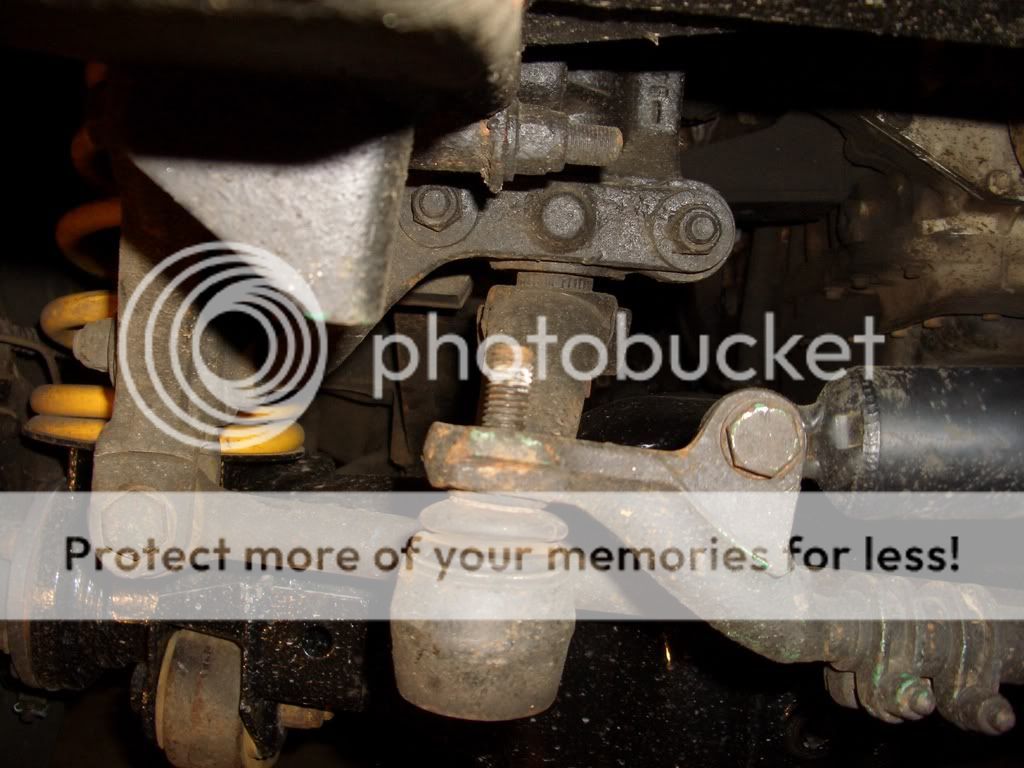
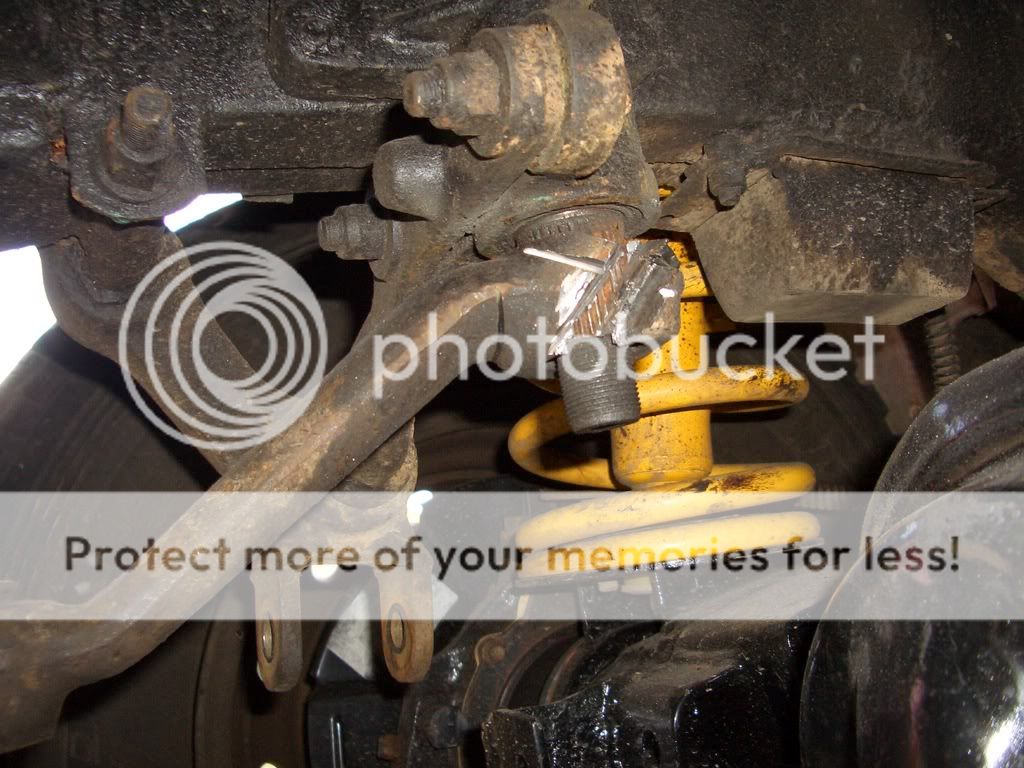
Take off the bracket for the steerin' damper etc and tie it up out of the way....
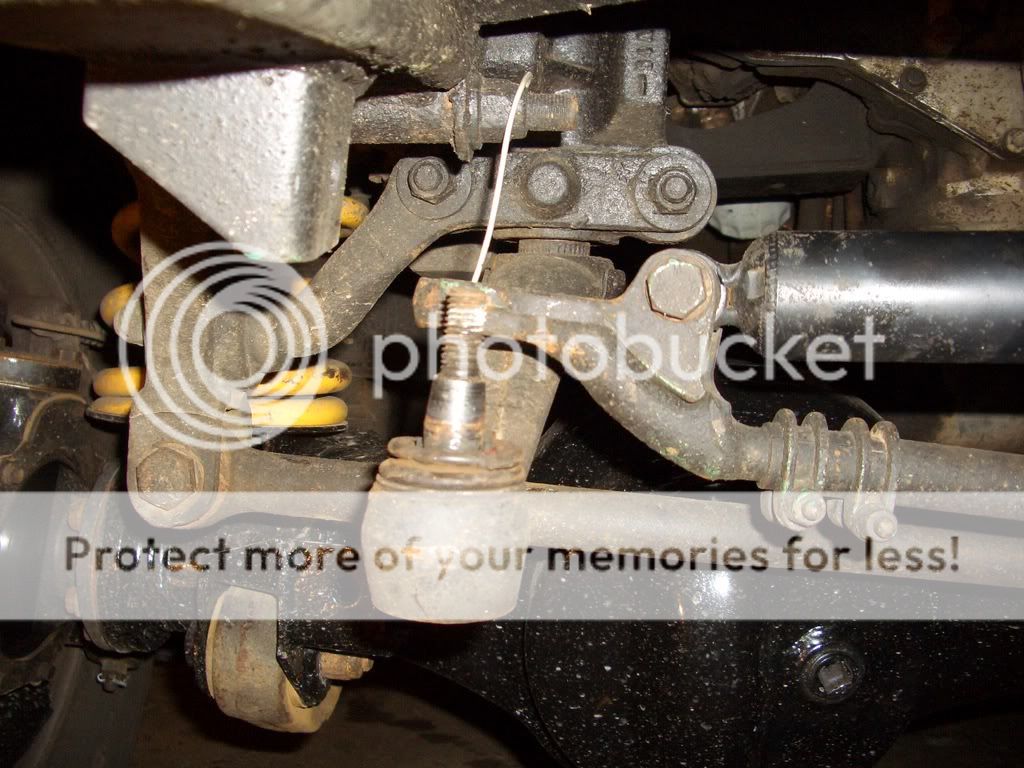
and remove the dust cover...
Accordin' to the workshop manual- "warning: personal injury could result if the circlip is removed without pressure being applied and maintained to the cover plate" so ah used a jack and one of them spark plug remover type things just in case. Must admit, it made removin' the circlip a bit easier ....
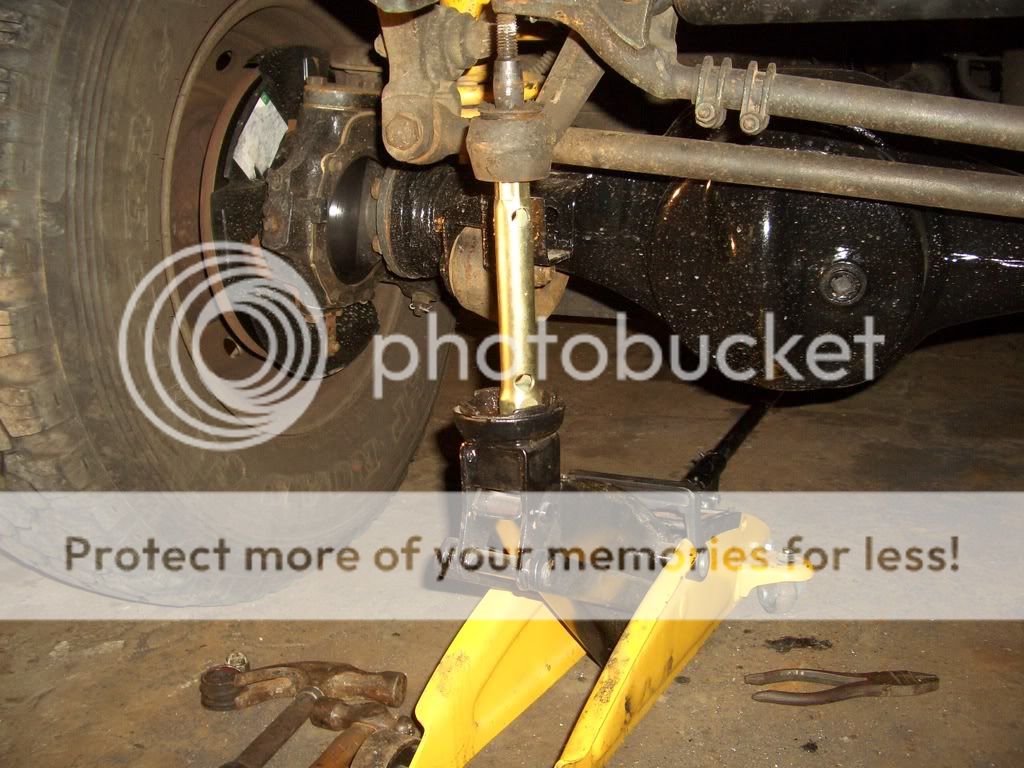
then ah slowly let down the jack to remove the cover plate and spring....
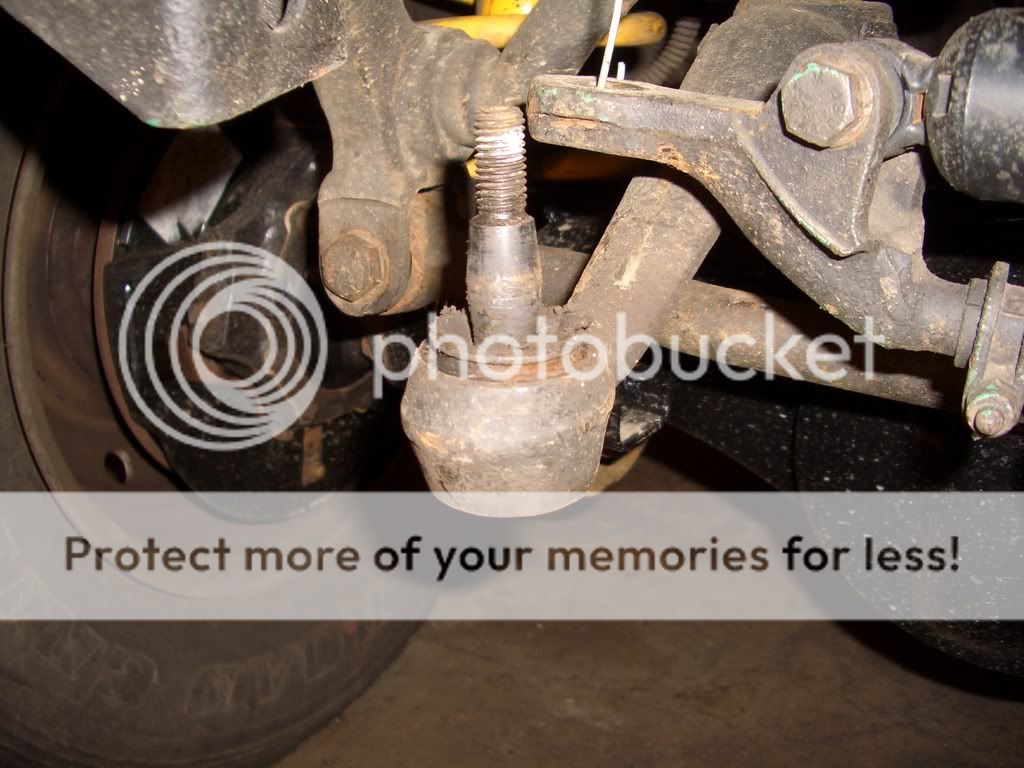
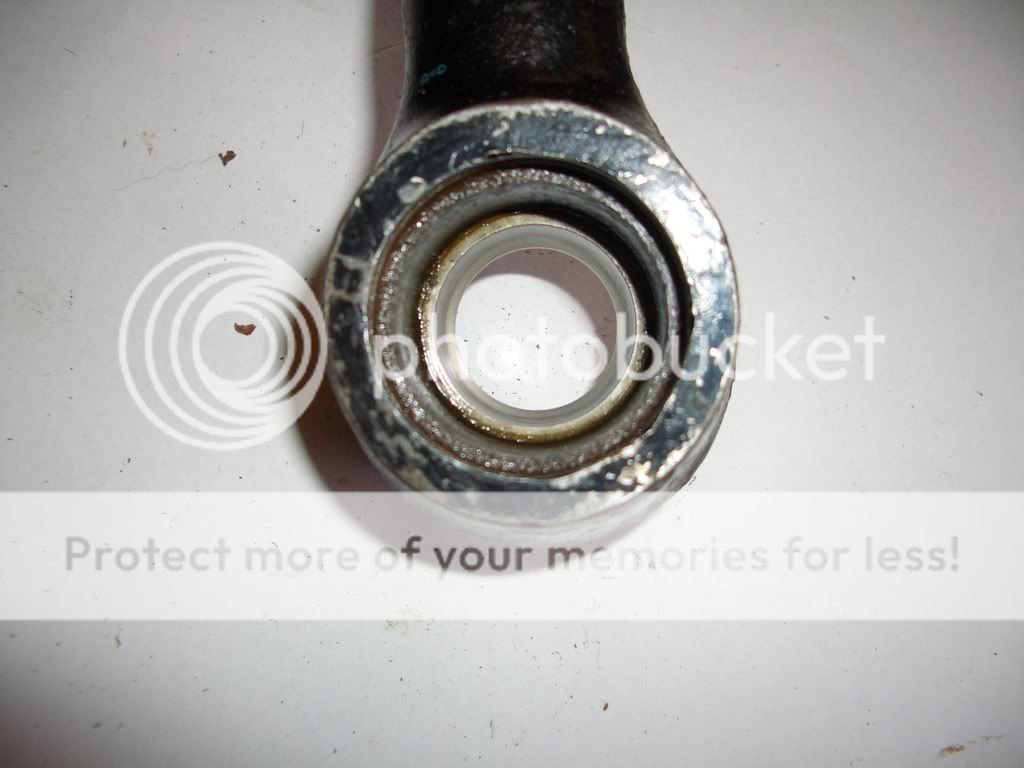
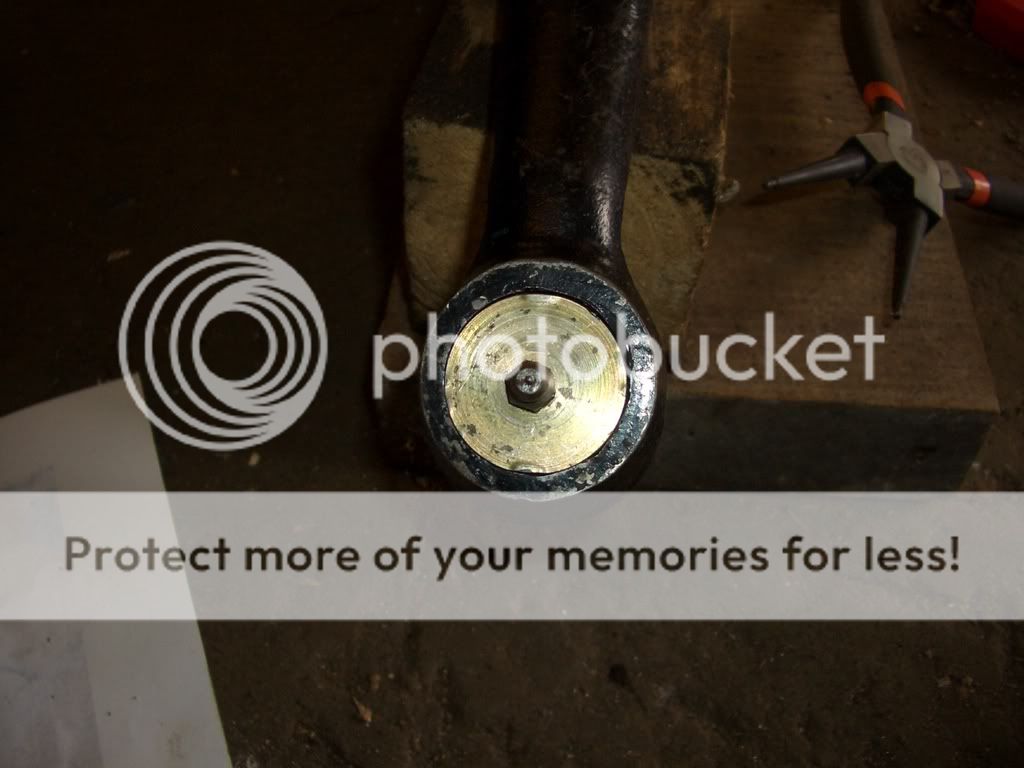
the top socket and the ball pin fell out quite easily to reveal this, the bottom socket mount ...
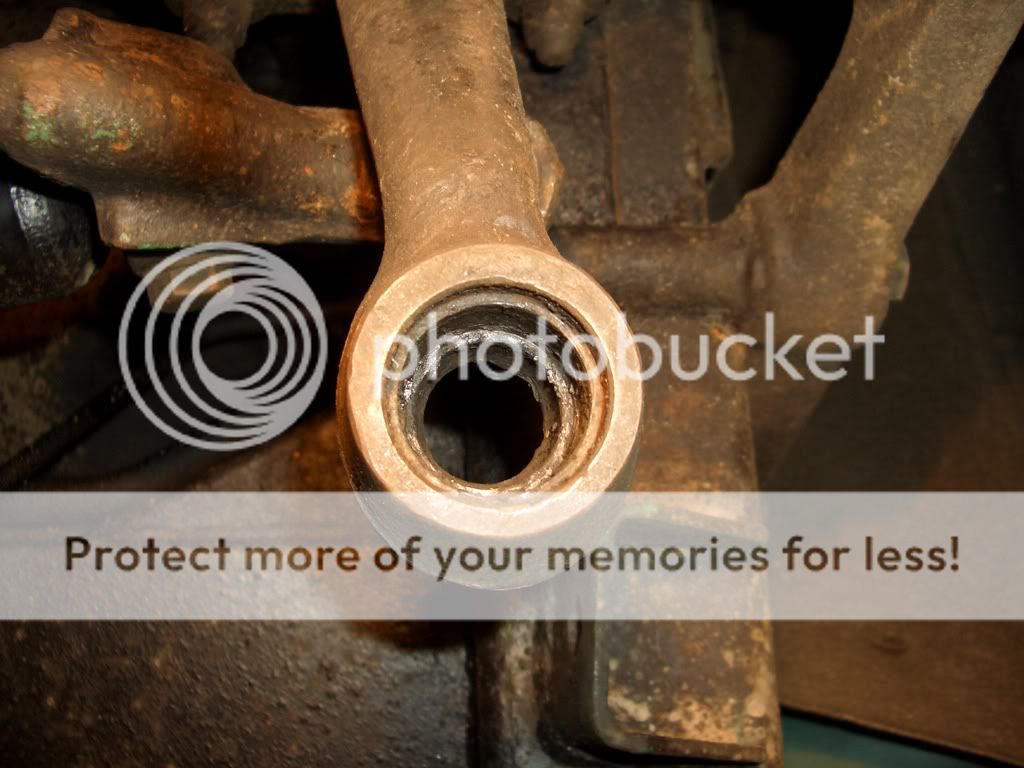
This is when the fun and games started!!!! Ah couldn't get this out as it had worn away and was quite flush with the drop arm! Had a few suggestions but nothin' worked, so it was take the drop arm off time!! Tried umpteen ways to get it free, but with no joy, so ah decided to cut it off!!!....
After a while, this is what ah ended up with....
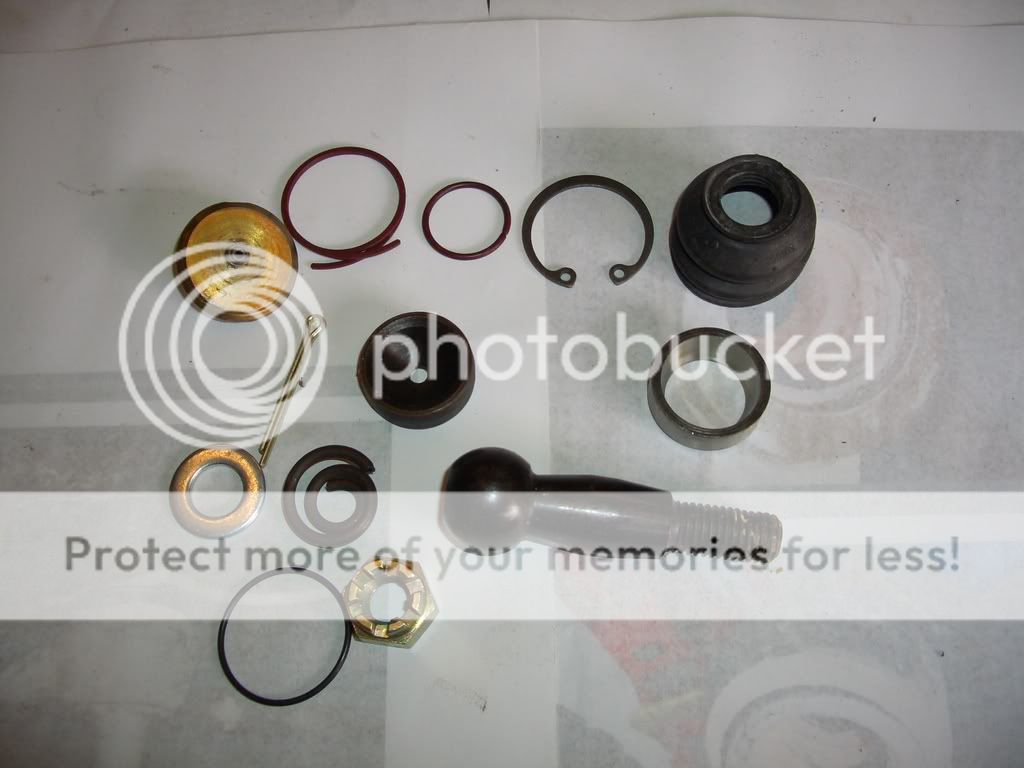
Here's a pic of the new kit ( note the cover plate with a grease nipple on it, ah nicked this from the other bus... makes sense )...
and one with the other drop arm...
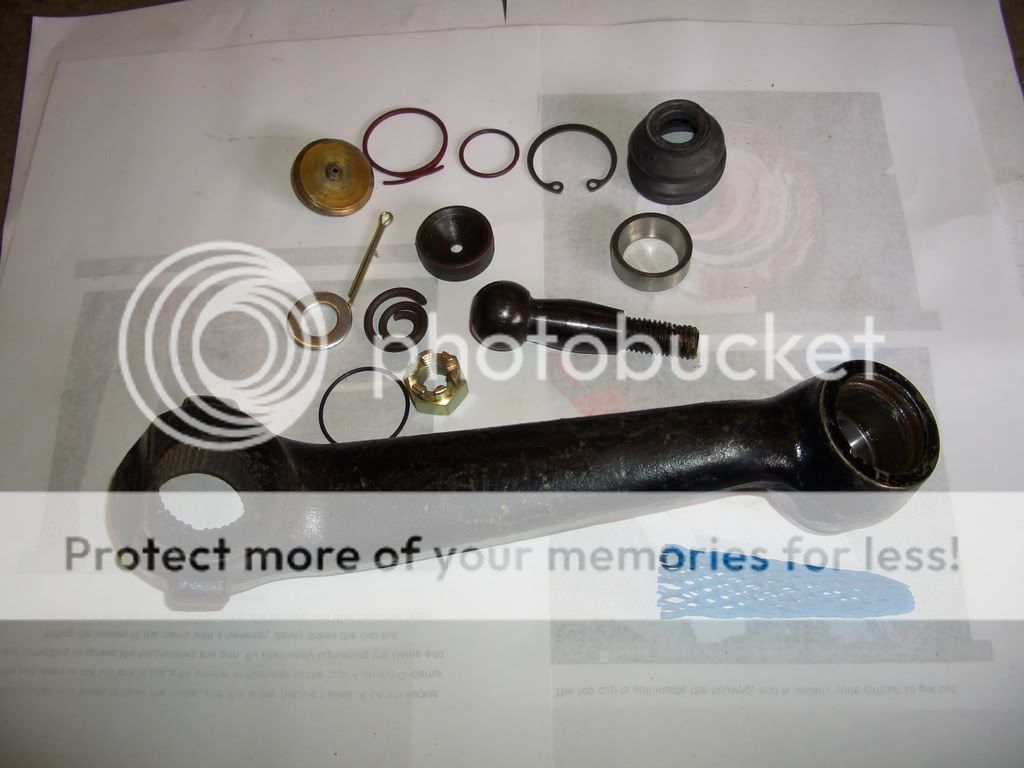
Luckily enuff the other drop arm had been reconditioned before. so ah didn't have to put the bottom socket in with a vice and socket (making sure it went in straight)....
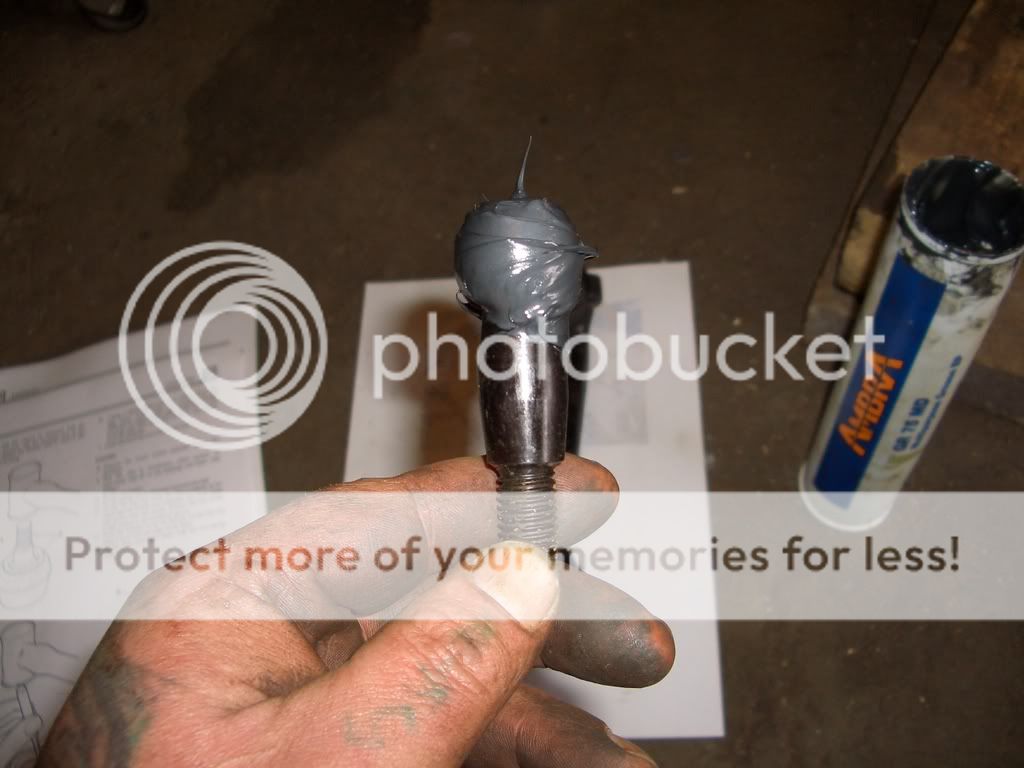
Once that's in place, dunk the ball pin in some grease....
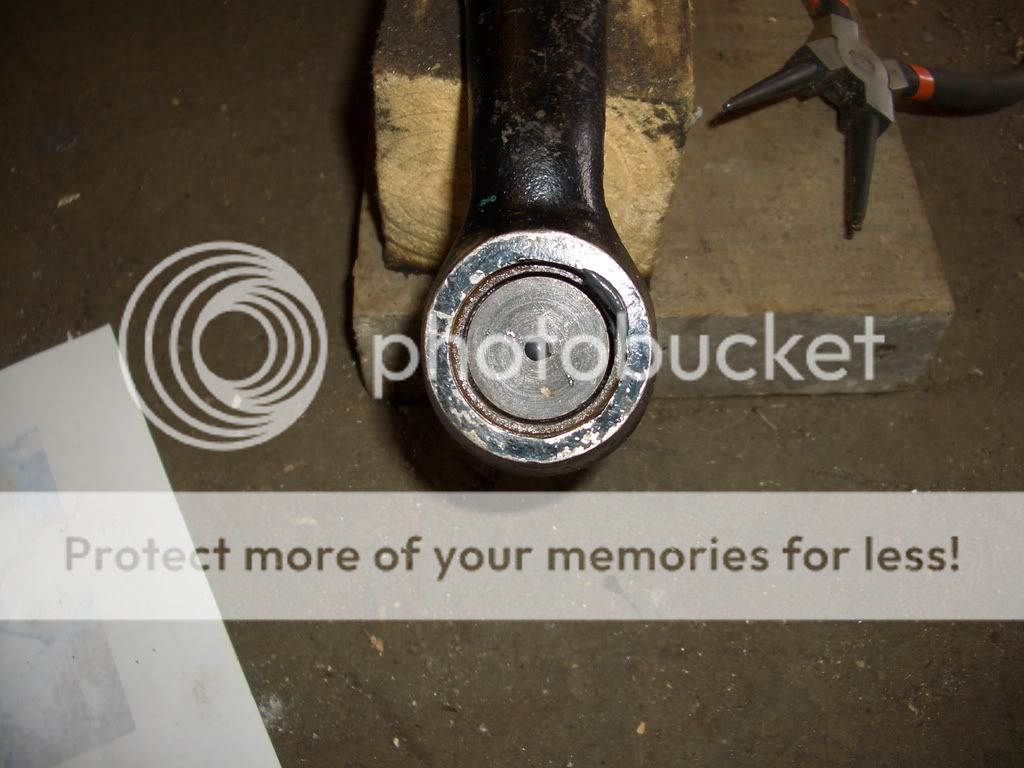
and then put the top socket in...
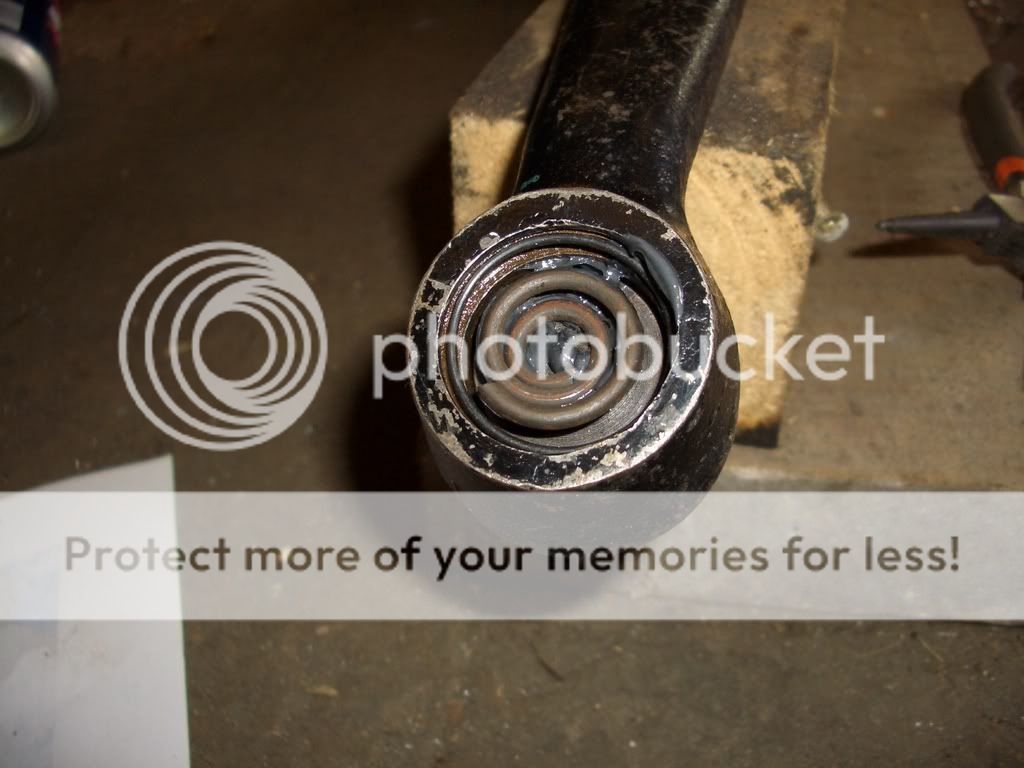
next put the spring in makin' sure ye put the small coil against the top socket....
Put the cover plate on next ( note the grease nipple)...
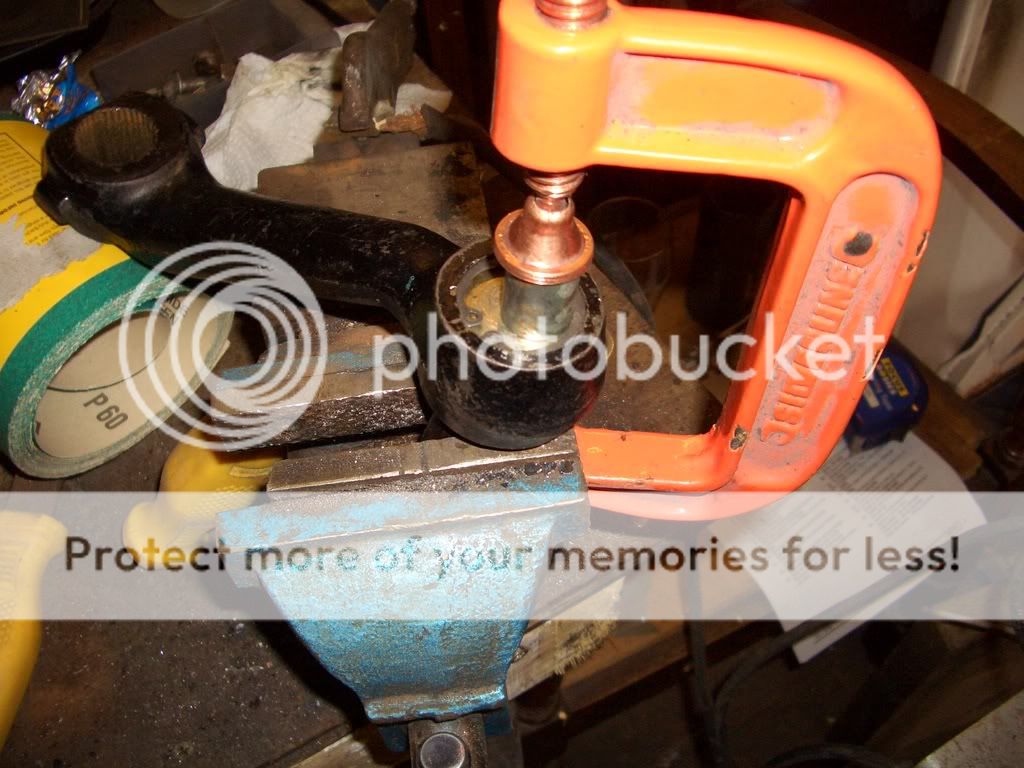
Stick the drop am in a vice, and using a G-clamp, squash the cover plate down so's ye can get the circlip back in...
put the dust cover on and secure it with the 'clamps' provided....
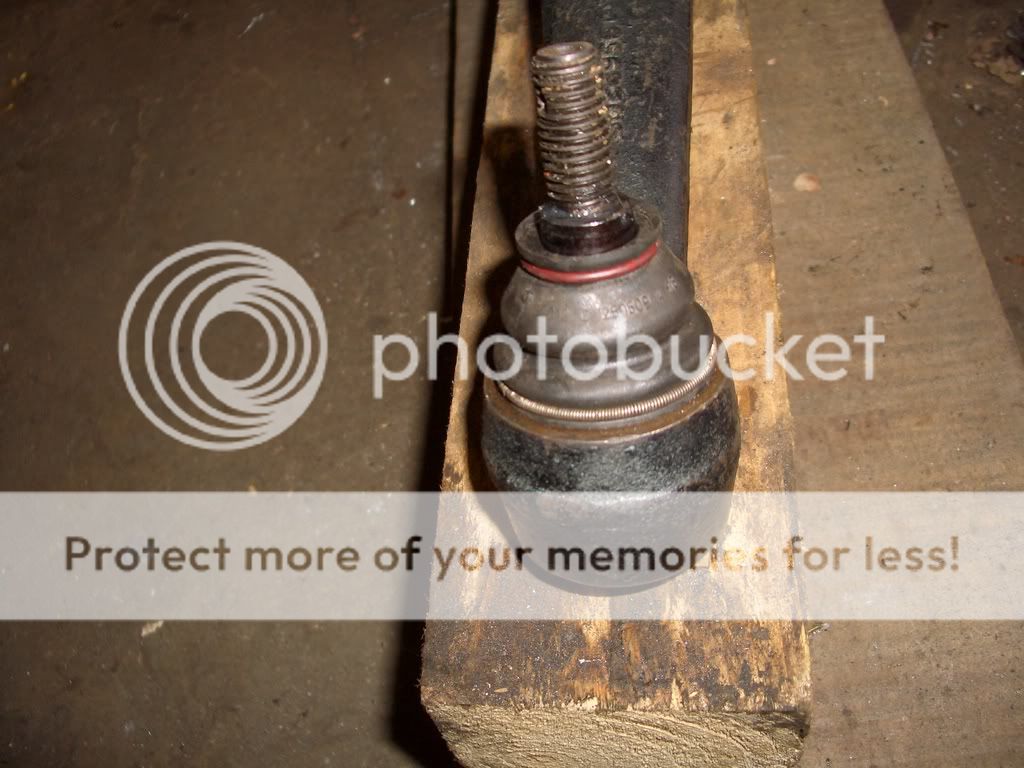
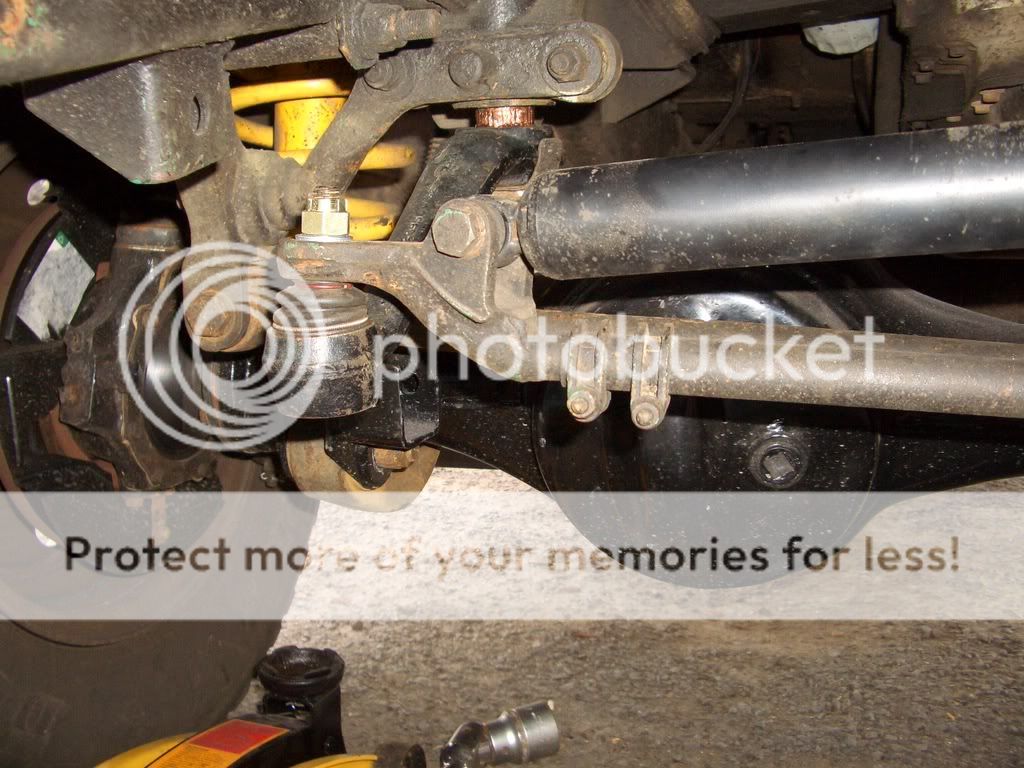
Put yer drop arm back on the splines, then the lockin' washer thingy and then tighten up the nut to the recomended torque, re attach yer steerin' damper etc bracket, stick on the castle nut, toque it up and stick in a split pin....
Job done
This is how ah did it...
(at some point it got to be a PITA for me, but hopefully ye's can get yer drop arm off!!!
)The drop arm and ball joint....
remove the split pin first then undo casle nut....
Take off the bracket for the steerin' damper etc and tie it up out of the way....
and remove the dust cover...
Accordin' to the workshop manual- "warning: personal injury could result if the circlip is removed without pressure being applied and maintained to the cover plate" so ah used a jack and one of them spark plug remover type things just in case. Must admit, it made removin' the circlip a bit easier
....
then ah slowly let down the jack to remove the cover plate and spring....
the top socket and the ball pin fell out quite easily to reveal this, the bottom socket mount ...
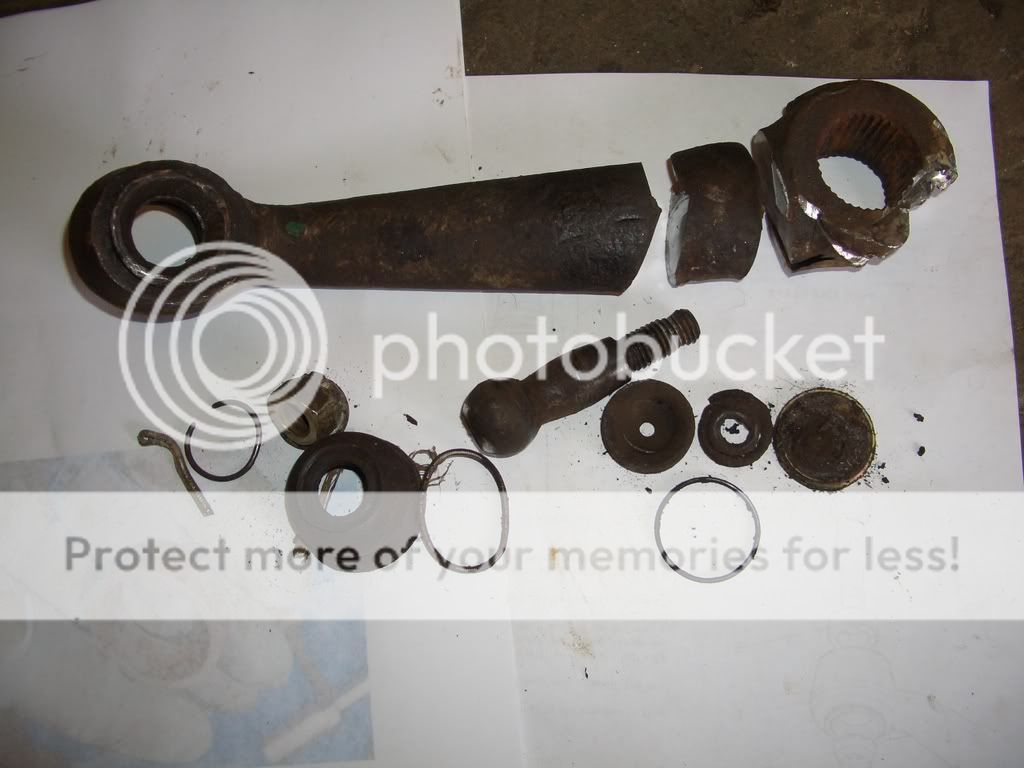
This is when the fun and games started!!!! Ah couldn't get this out as it had worn away and was quite flush with the drop arm! Had a few suggestions but nothin' worked, so it was take the drop arm off time!! Tried umpteen ways to get it free, but with no joy, so ah decided to cut it off!!!....
After a while, this is what ah ended up with....
Here's a pic of the new kit ( note the cover plate with a grease nipple on it, ah nicked this from the other bus... makes sense
)...
and one with the other drop arm...
Luckily enuff the other drop arm had been reconditioned before. so ah didn't have to put the bottom socket in with a vice and socket (making sure it went in straight)....
Once that's in place, dunk the ball pin in some grease....
and then put the top socket in...
next put the spring in makin' sure ye put the small coil against the top socket....
Put the cover plate on next ( note the grease nipple)...
Stick the drop am in a vice, and using a G-clamp, squash the cover plate down so's ye can get the circlip back in...
put the dust cover on and secure it with the 'clamps' provided....
Put yer drop arm back on the splines, then the lockin' washer thingy and then tighten up the nut to the recomended torque, re attach yer steerin' damper etc bracket, stick on the castle nut, toque it up and stick in a split pin....
Job done