Arctic2
Well-Known Member
- Posts
- 2,454
- Location
- Westmidlands
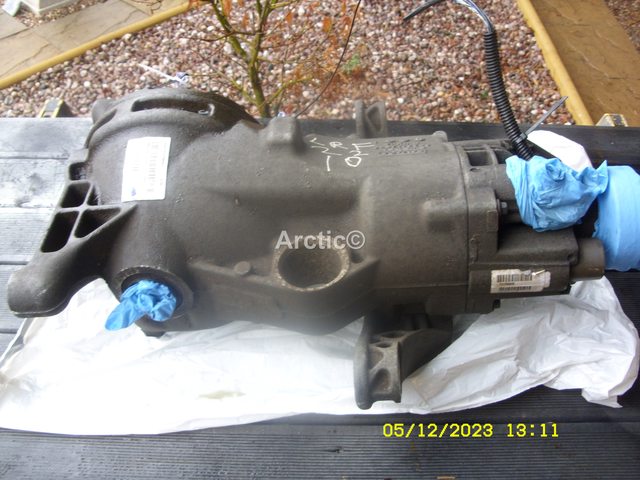
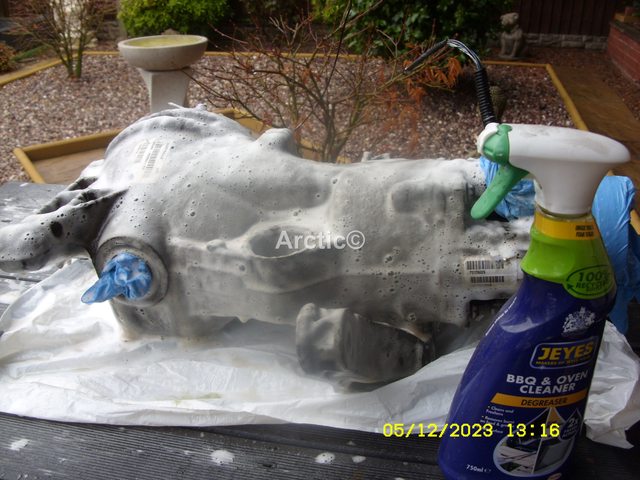
Today i got another job out of the way on the ORK FL2 SD4 the rear diff oil was changed.
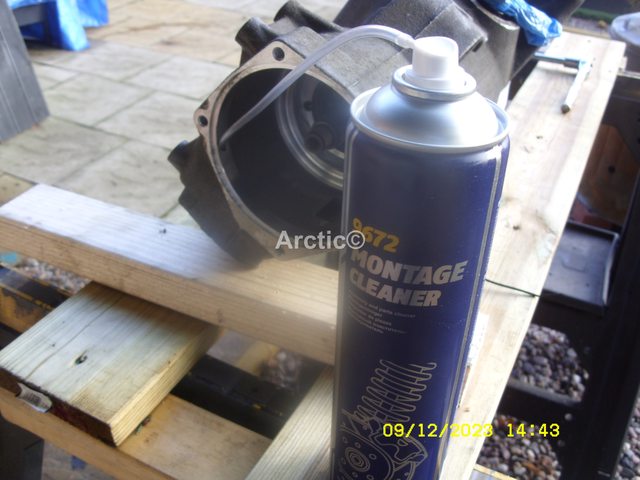
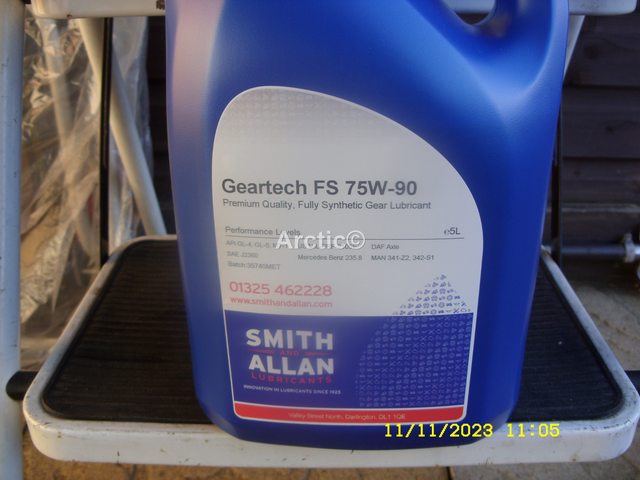
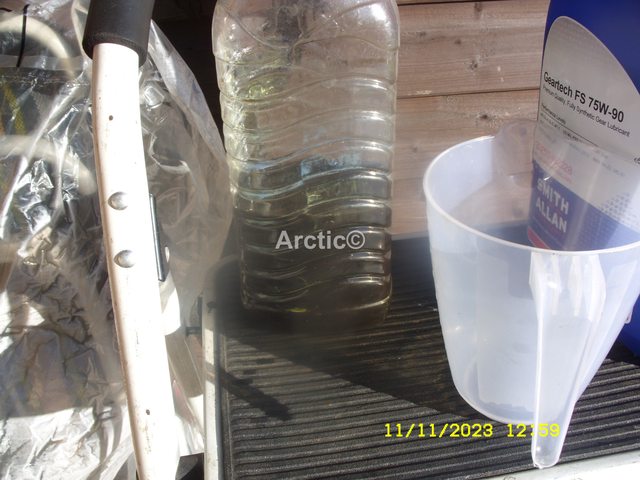
The oil that was used was Smith & Allan FS 75w/90
 1
1
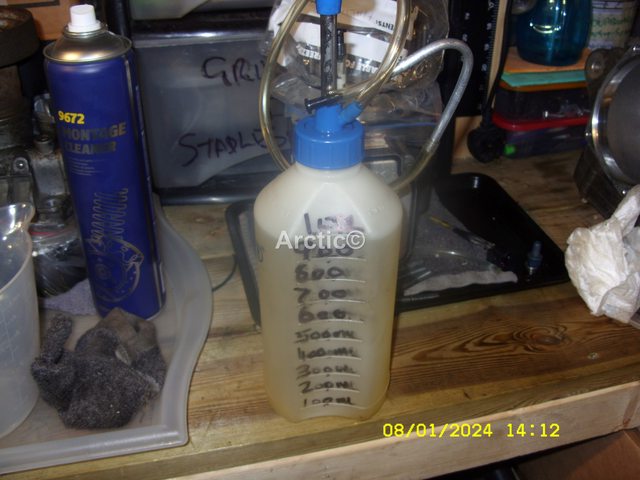
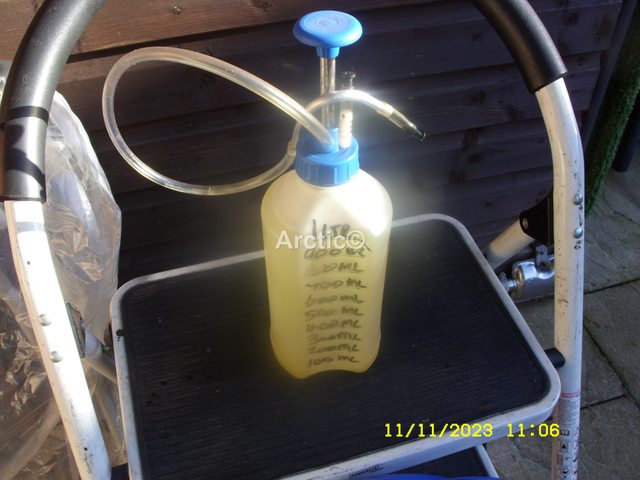
This was added to my hand pump 1ltr even though the rear diff takes 0.7litres, it helps when pumping if you are not sucking up the dregs at the bottom of the container.
 2
2
 3
3
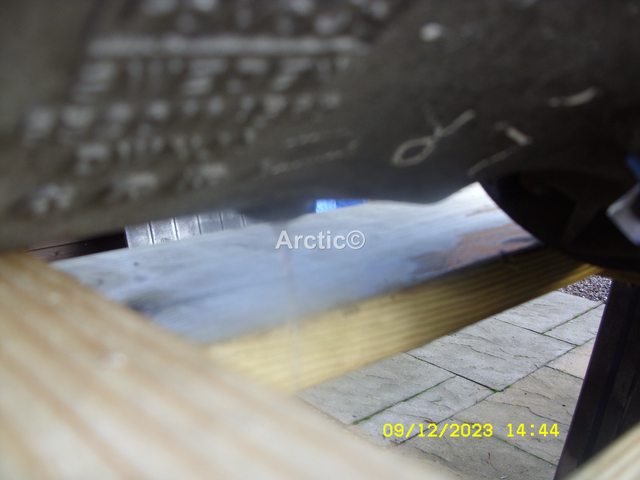
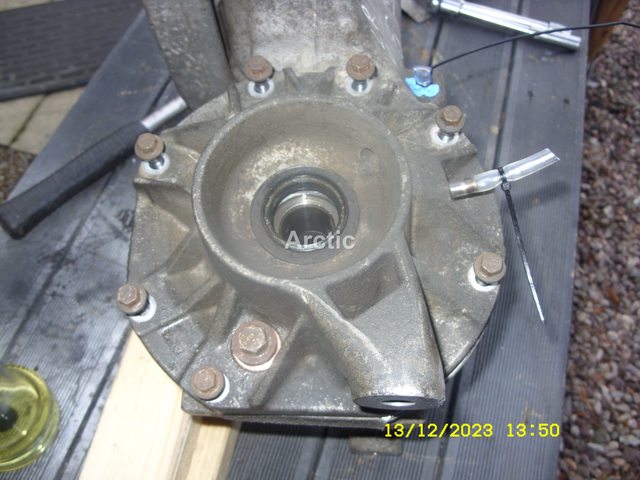
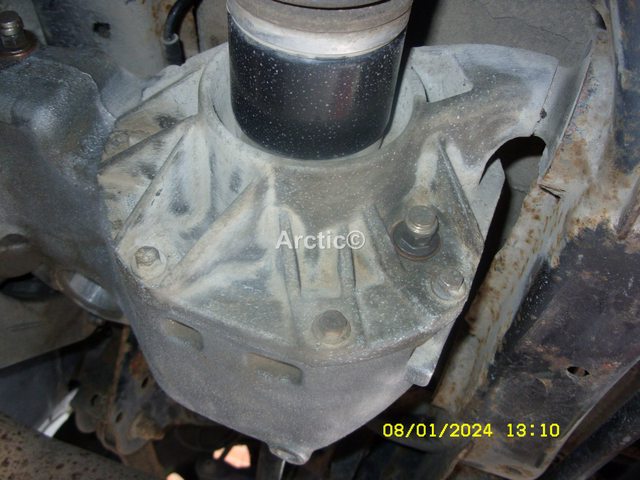
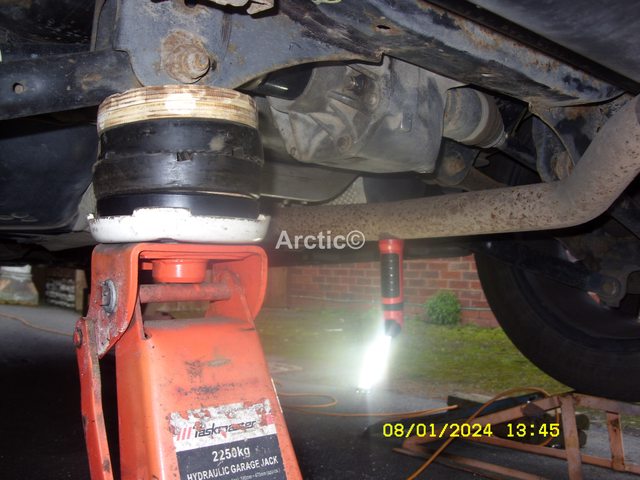
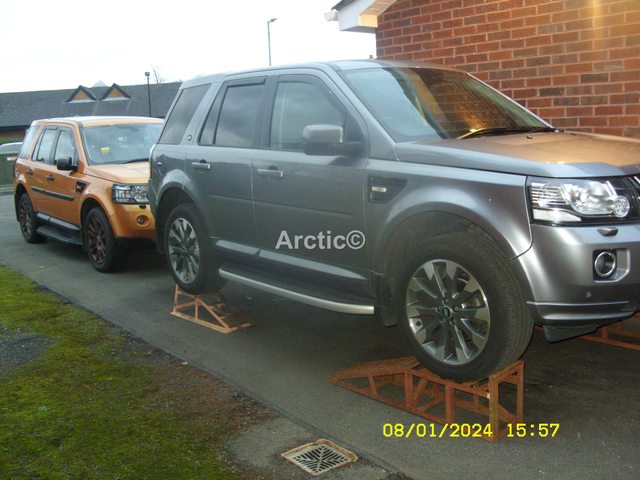
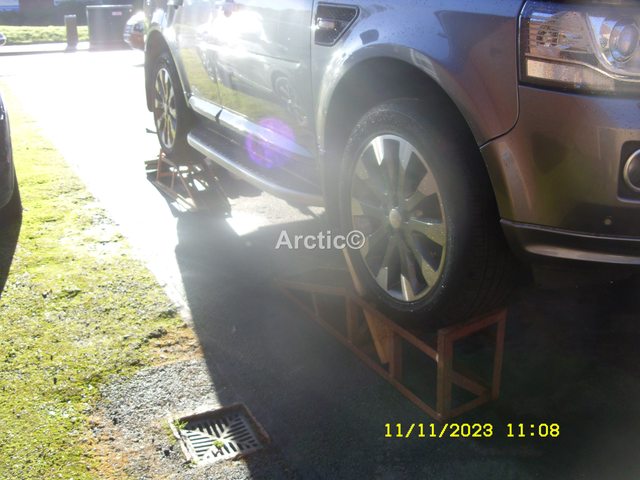
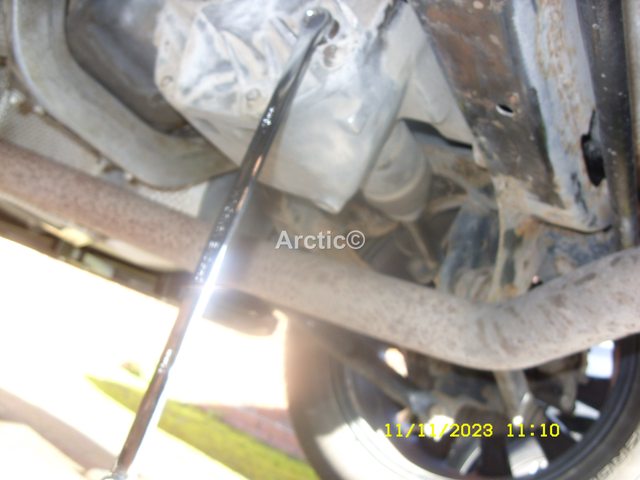
The FL was already on the four ramps which are always used when working under the car.
 4
4
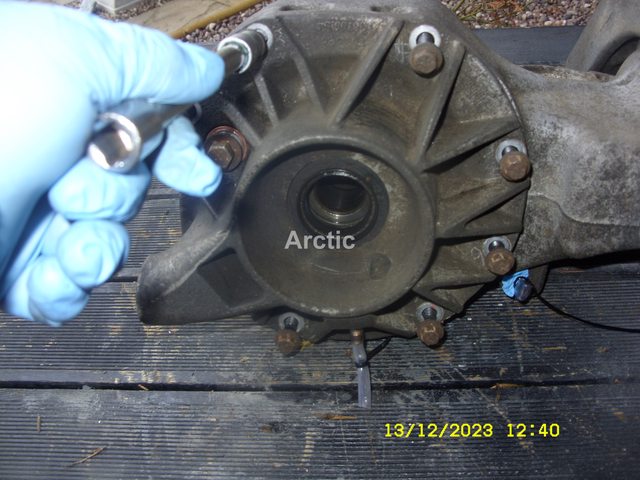
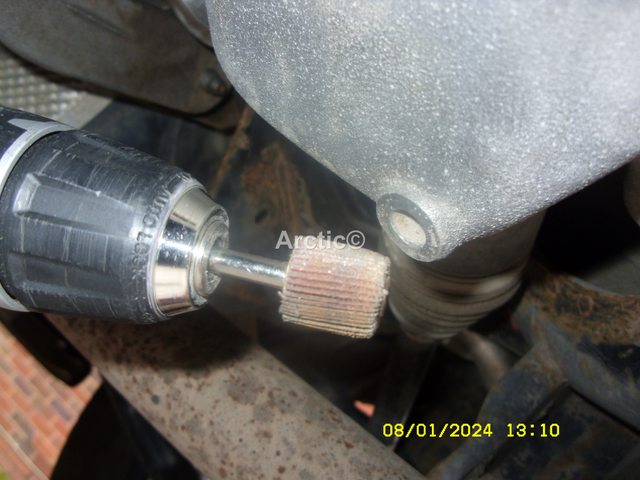
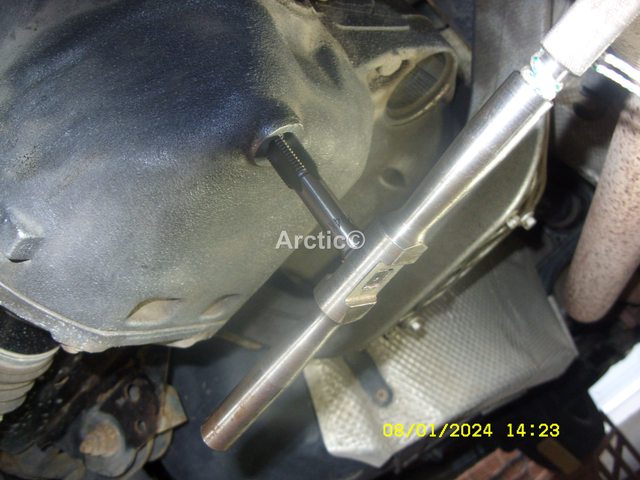
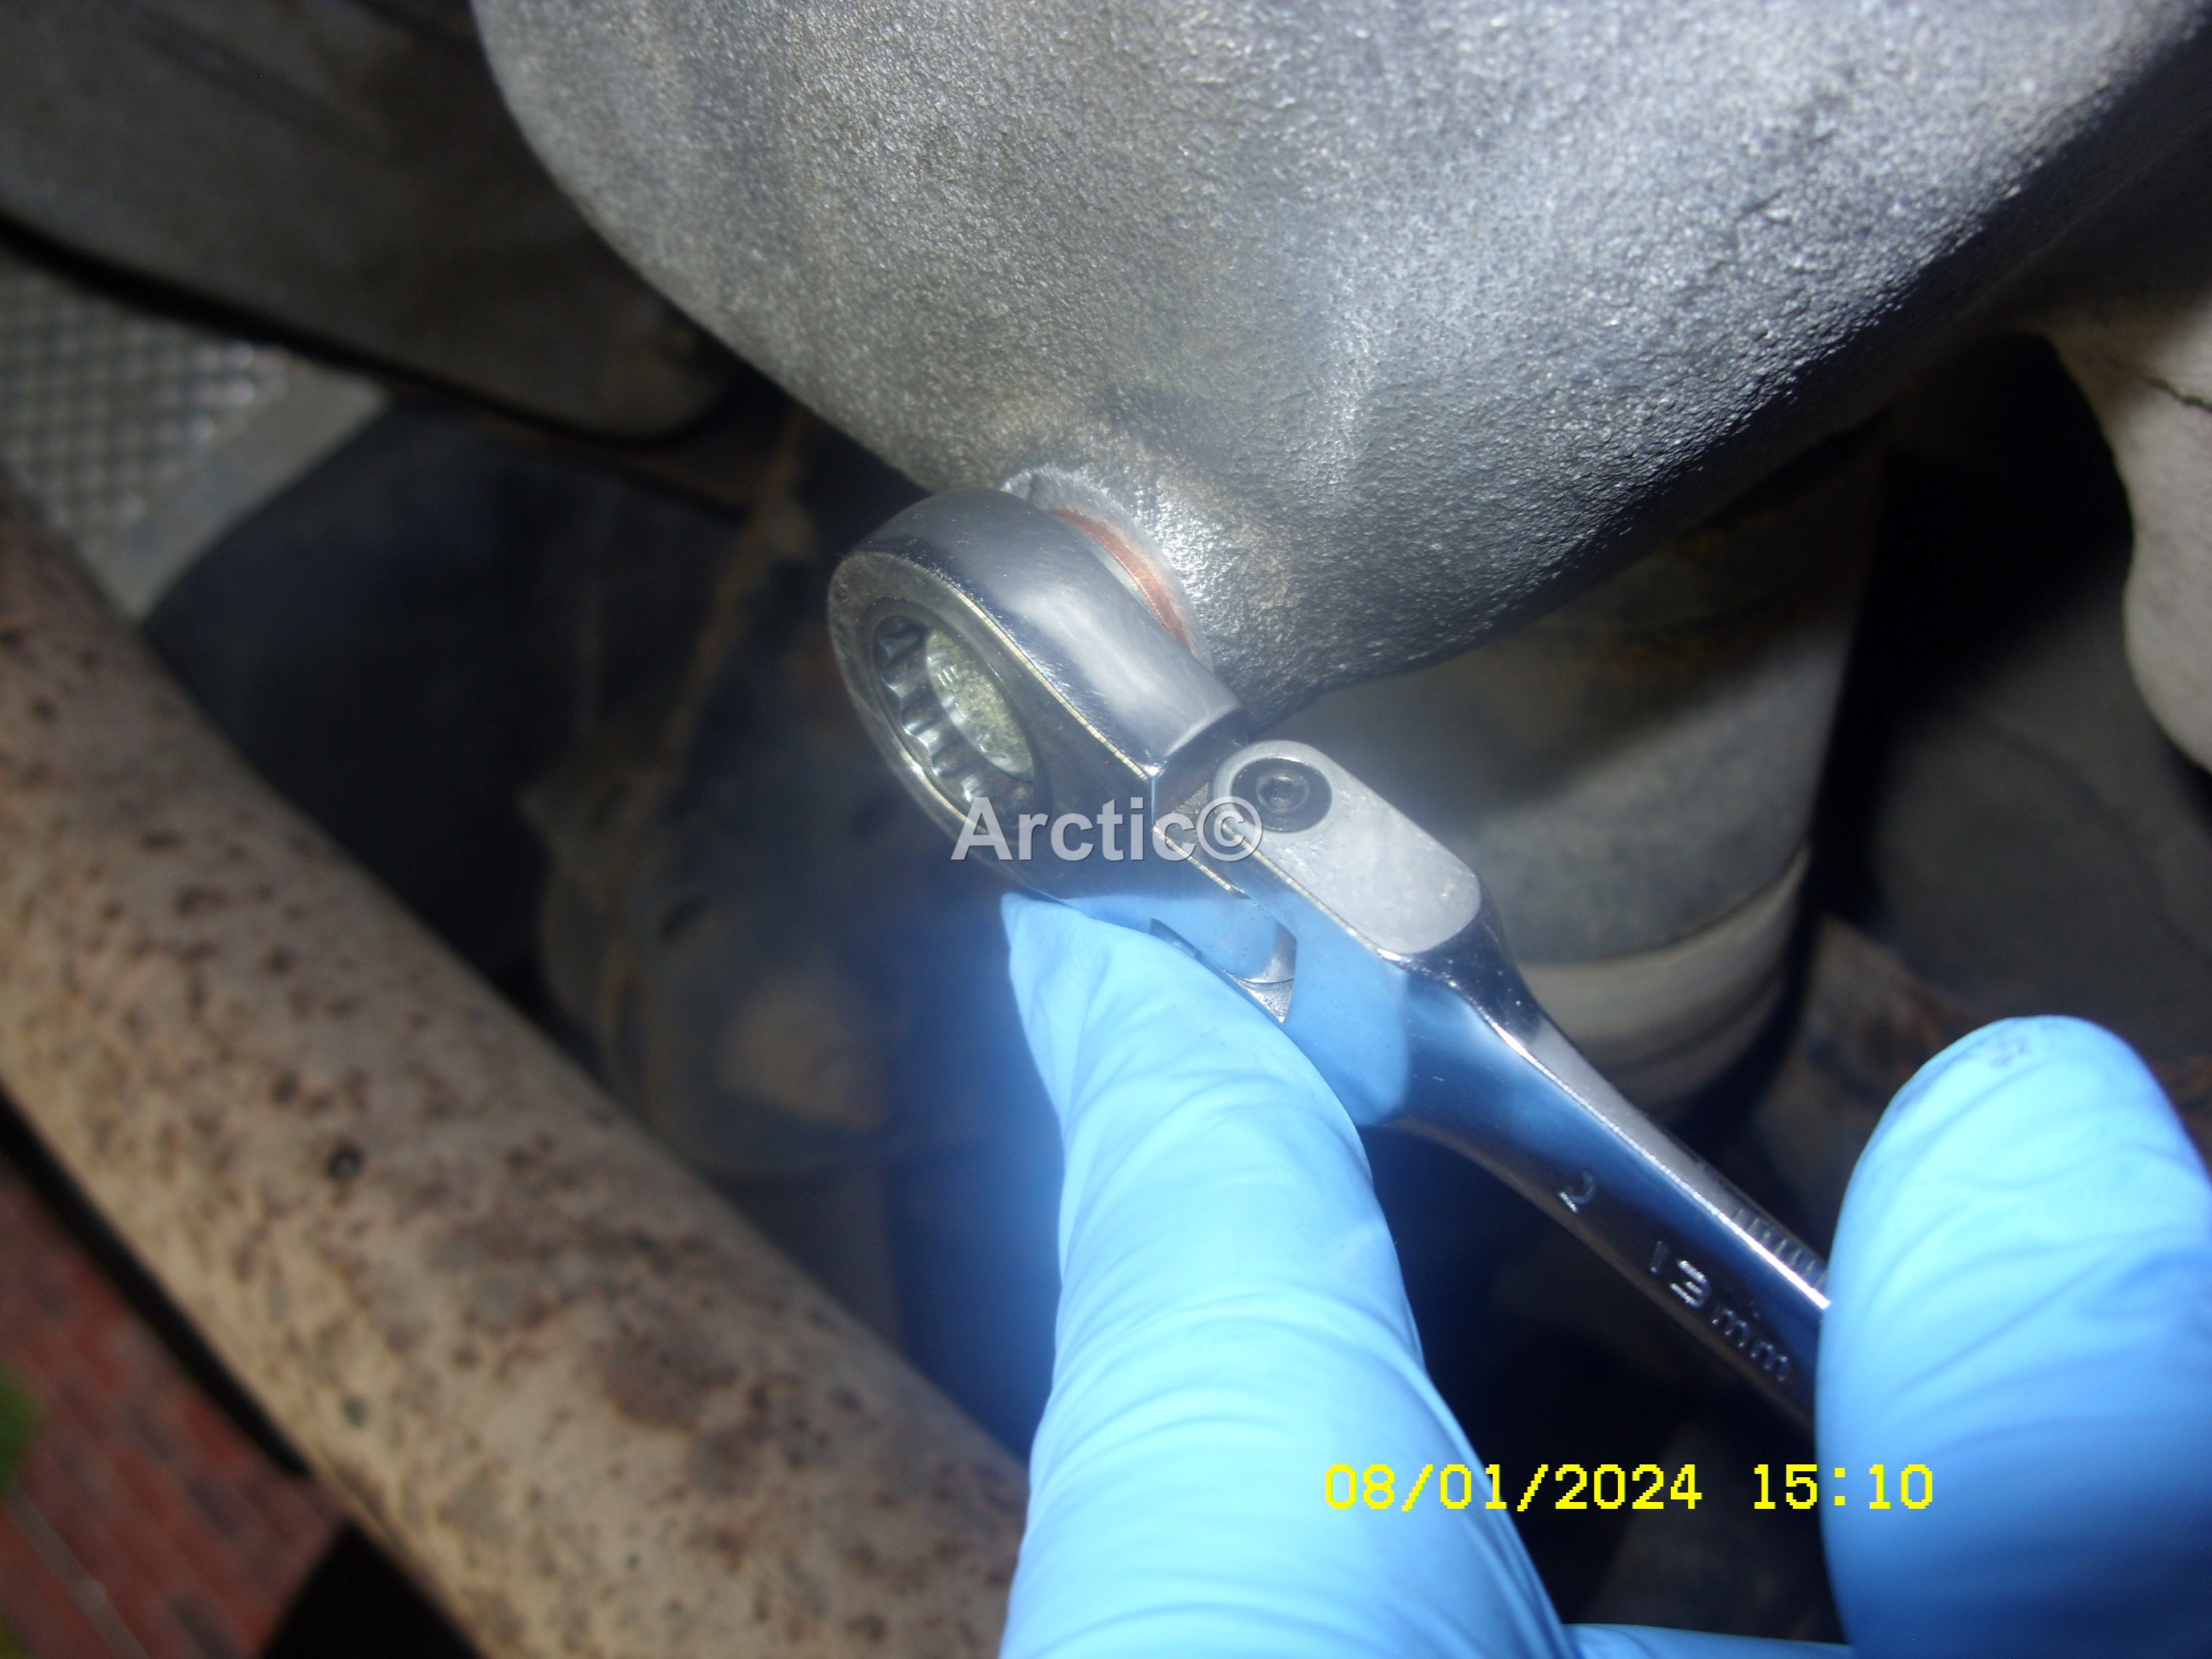
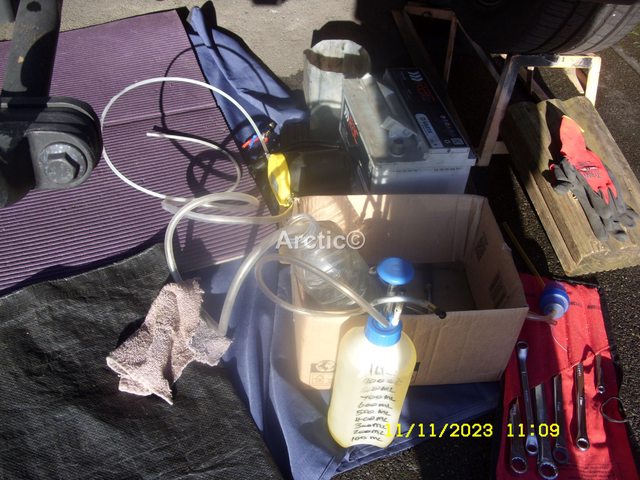
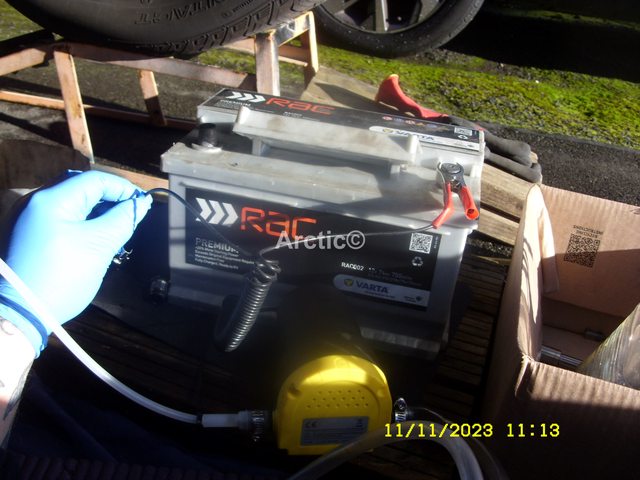
The little suction pumps and the battery were also ready under the rear of the FL, along with my 13mm aviation spanner & socket ratchet.
 5
5
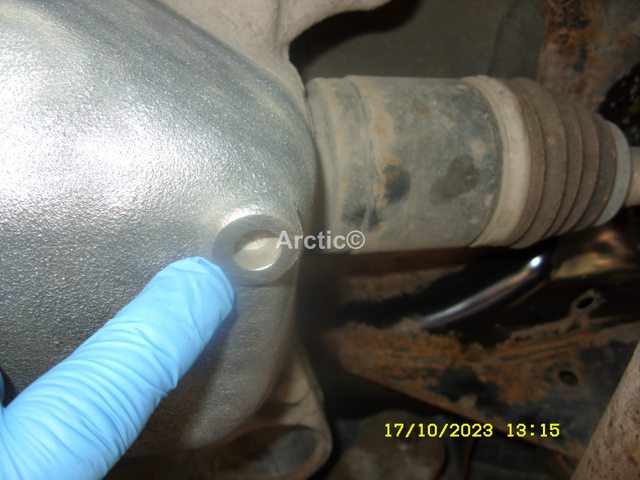
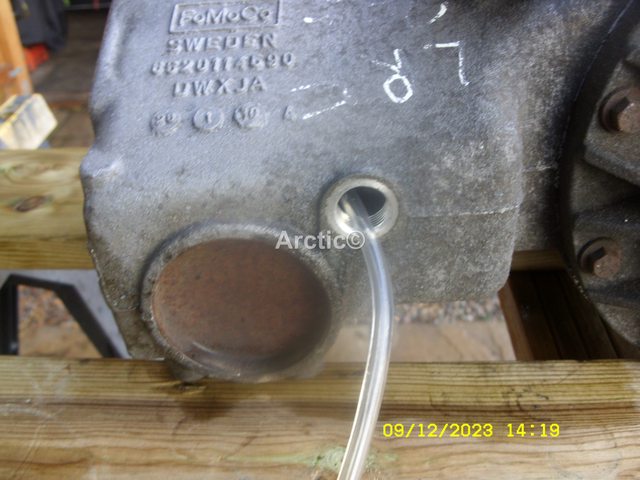
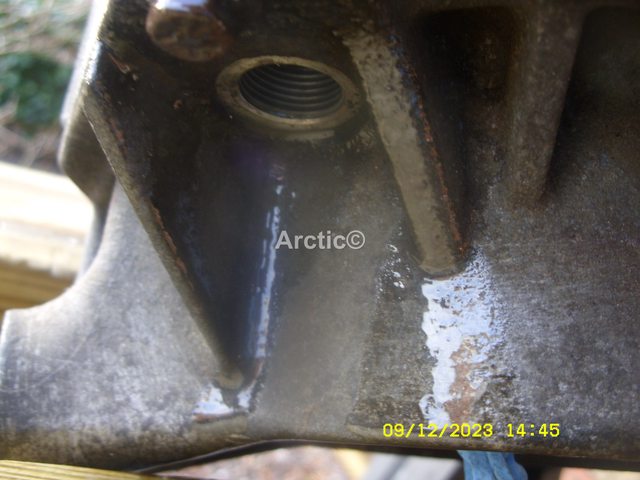
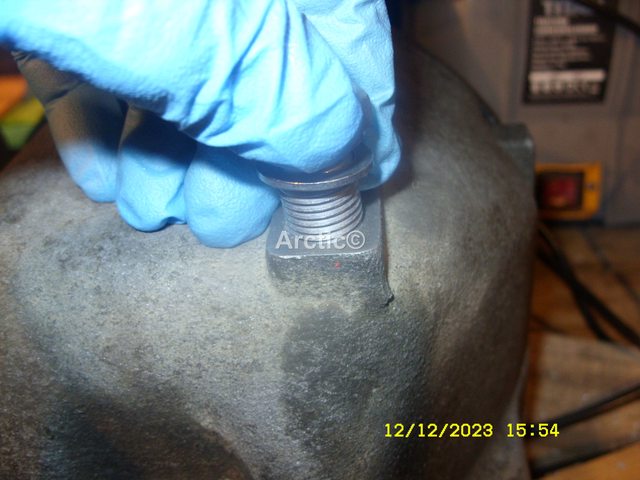
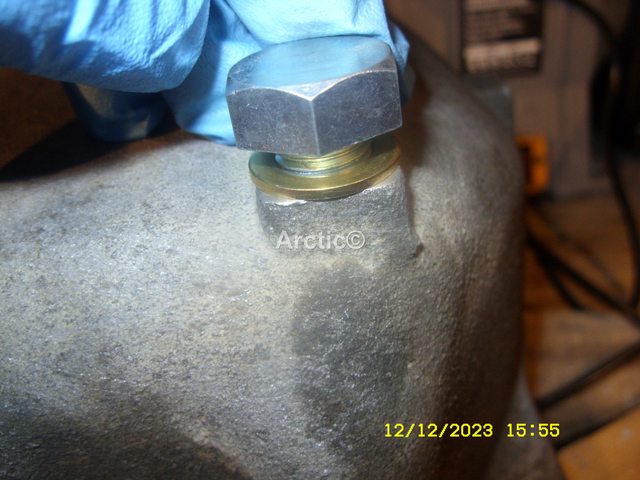
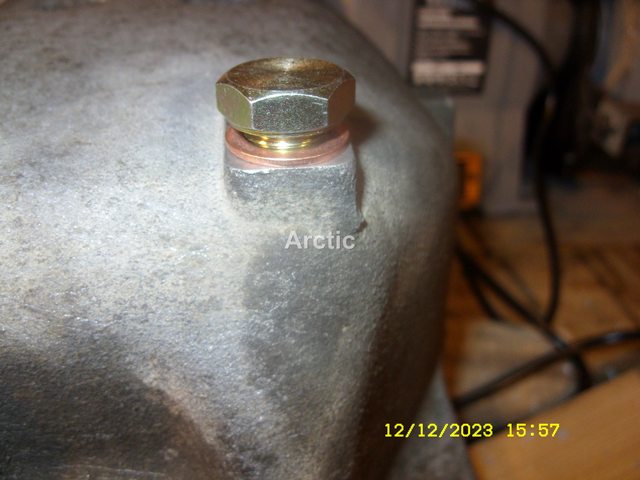
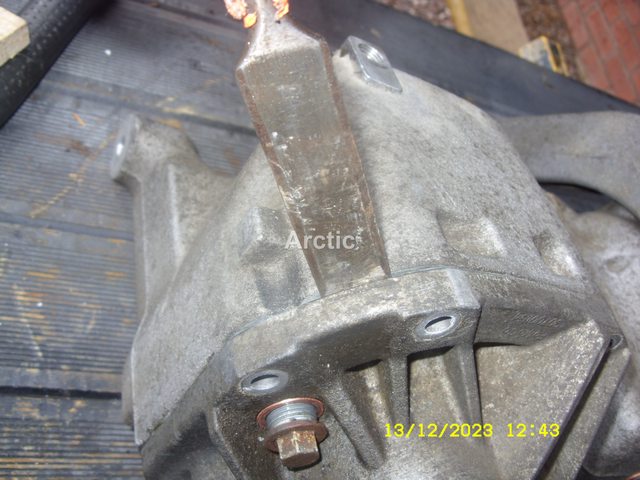
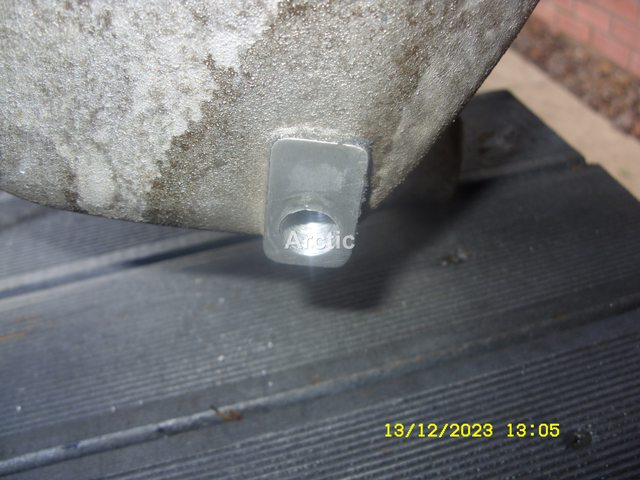
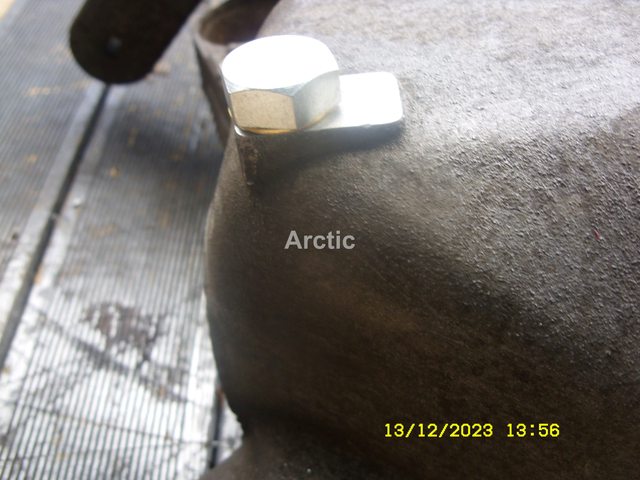
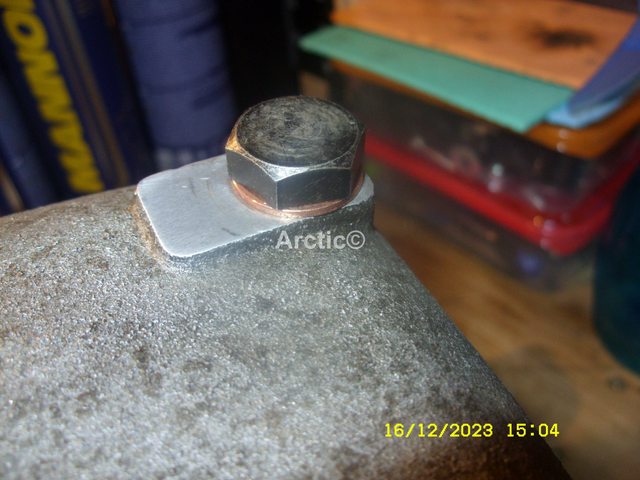
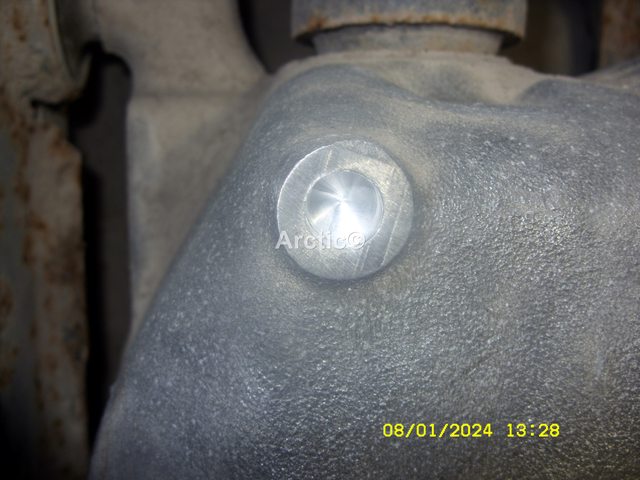
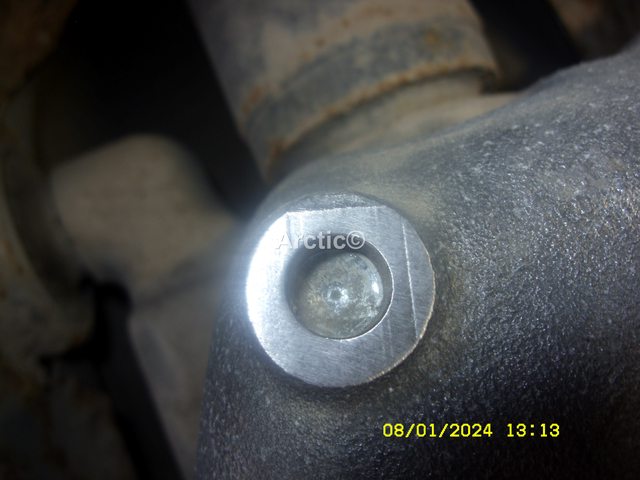
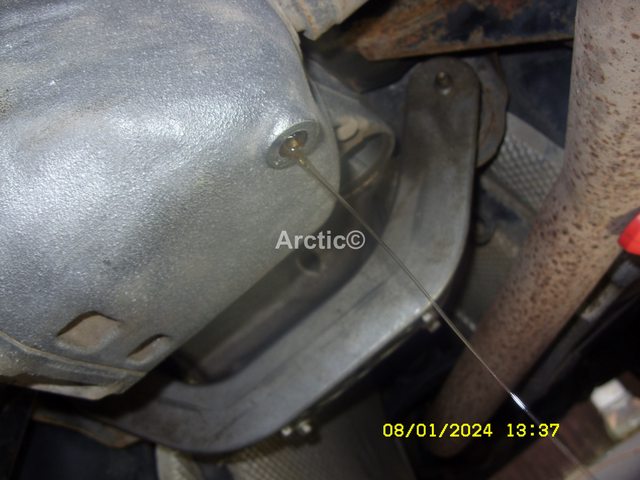
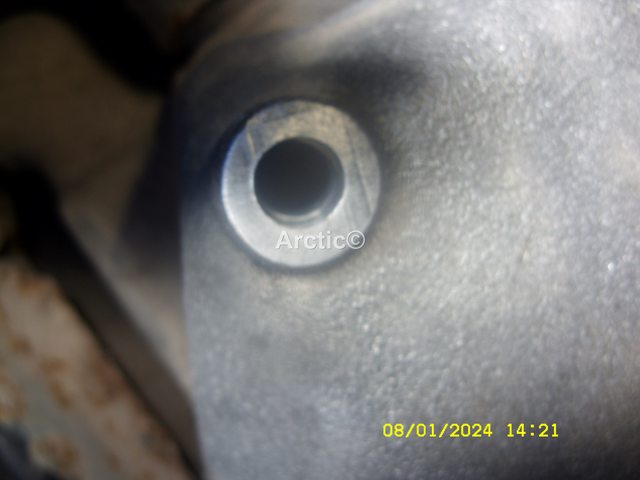
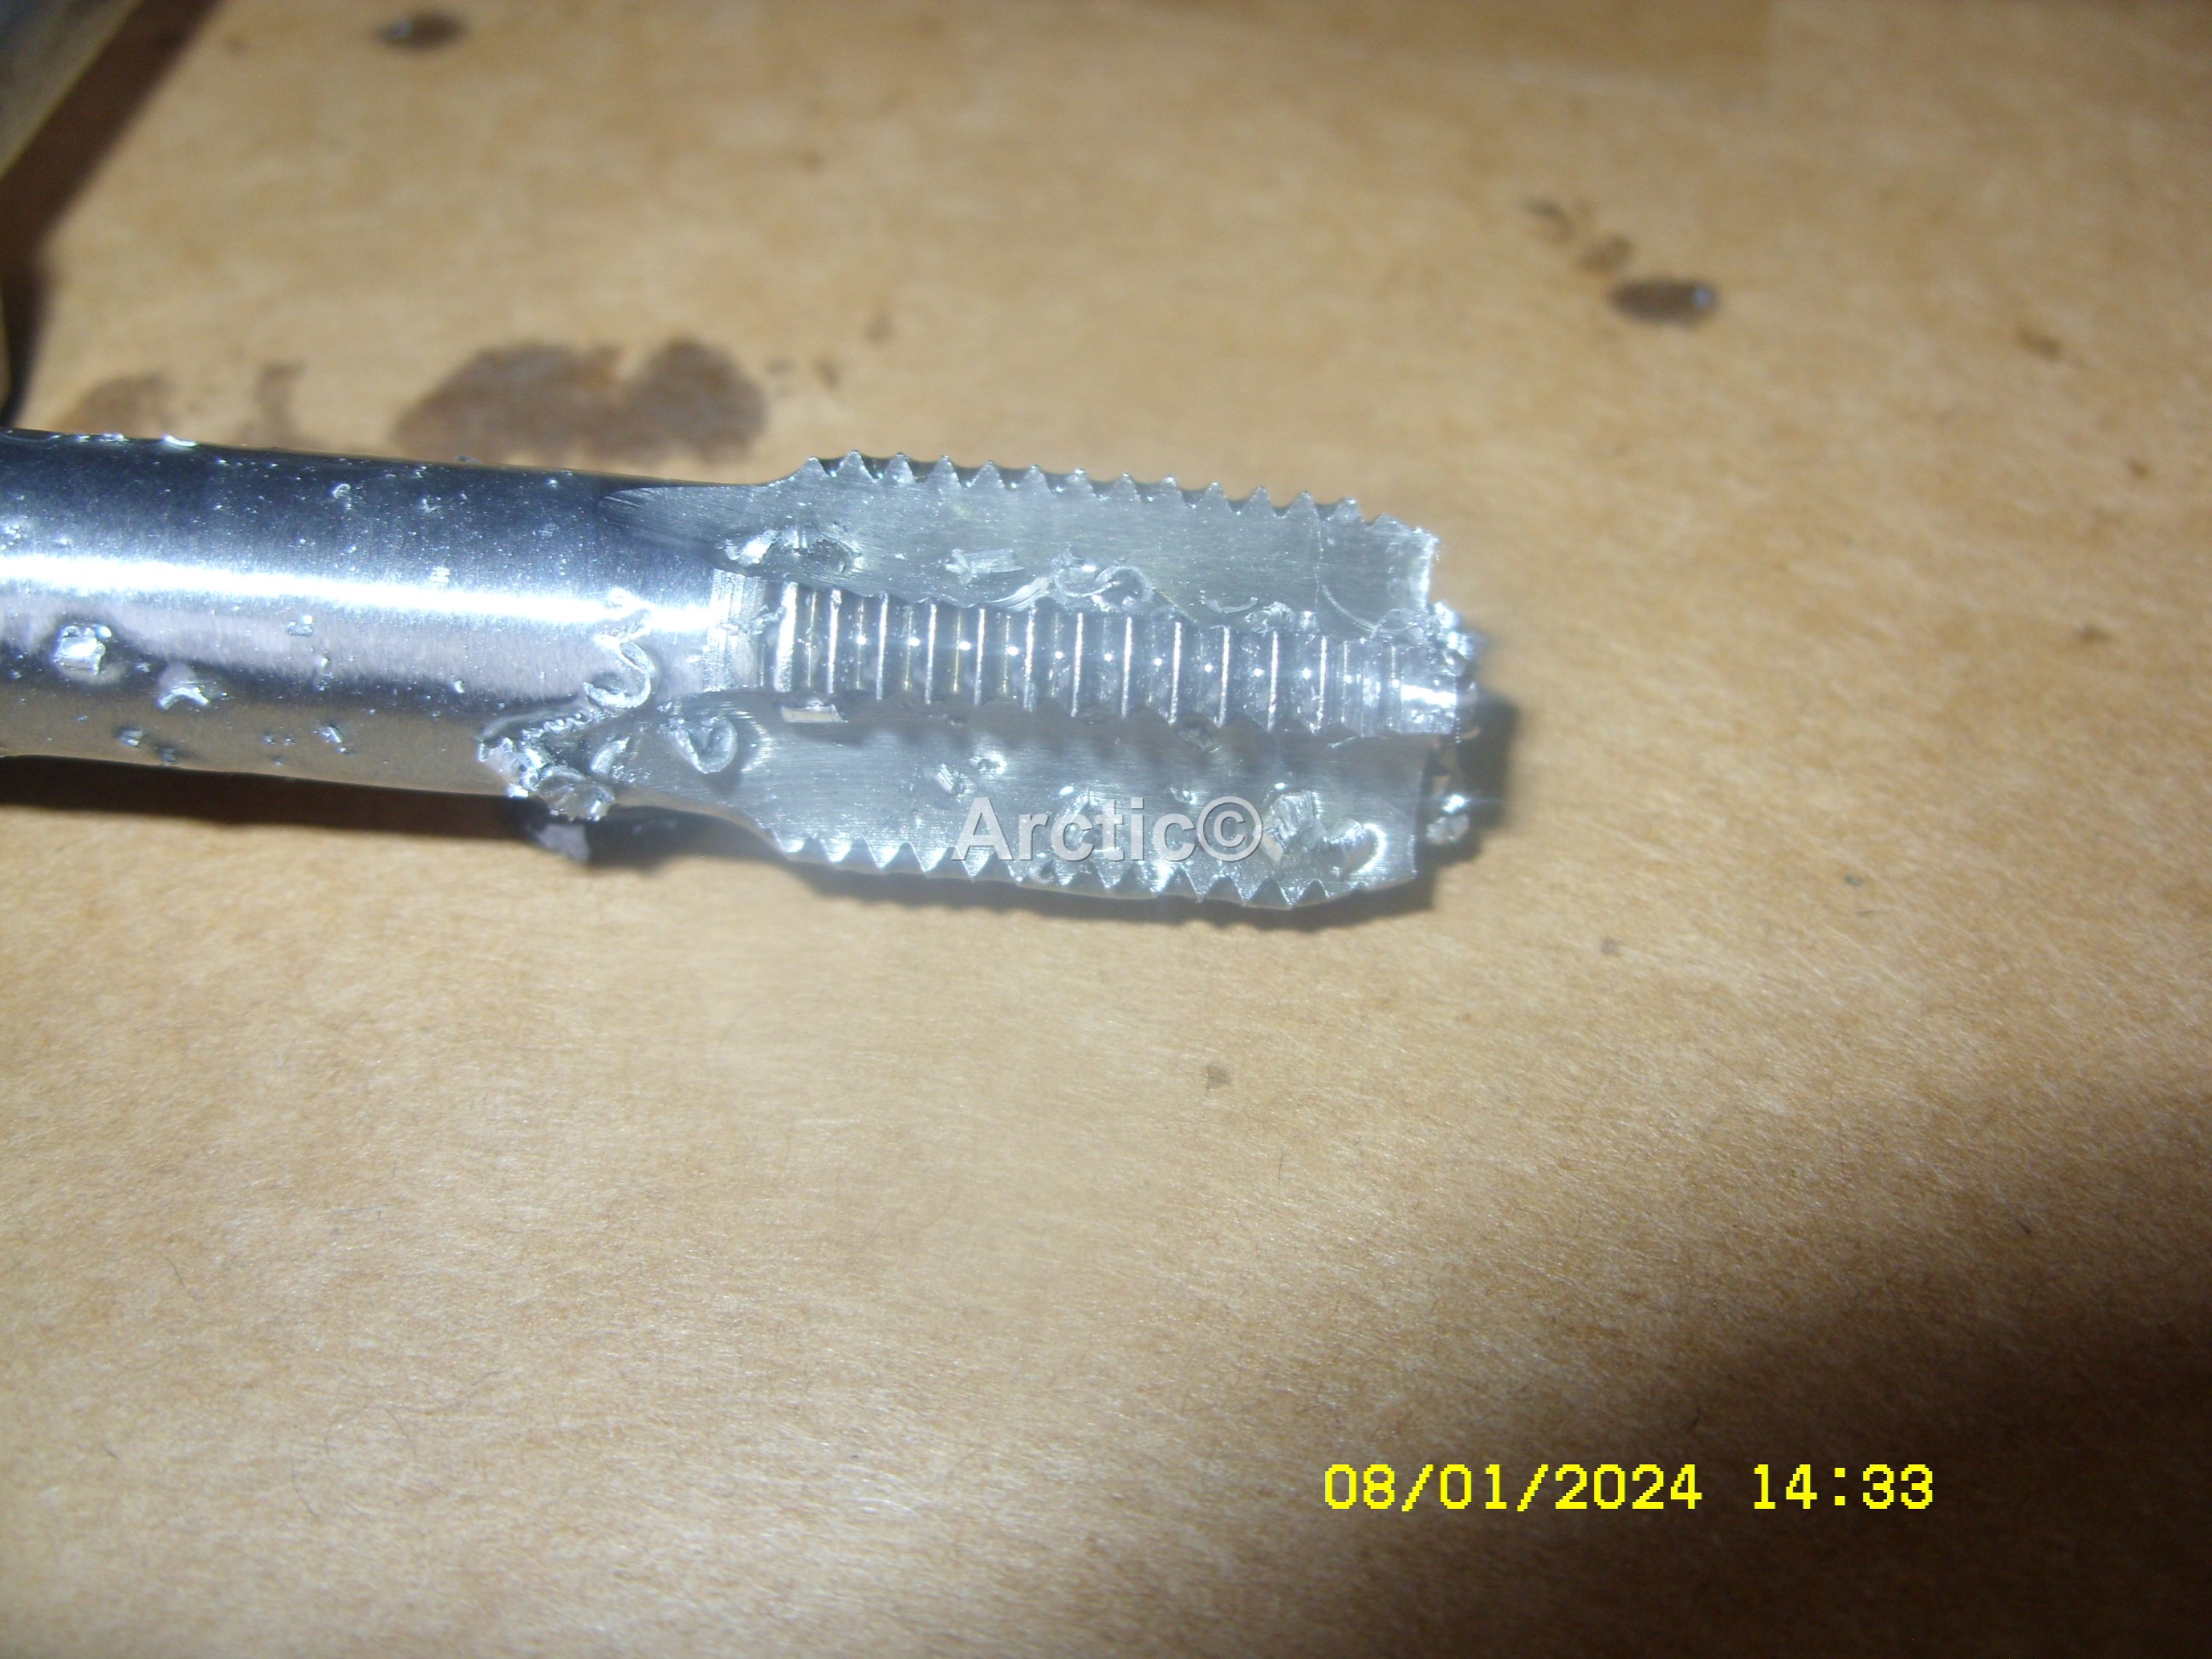
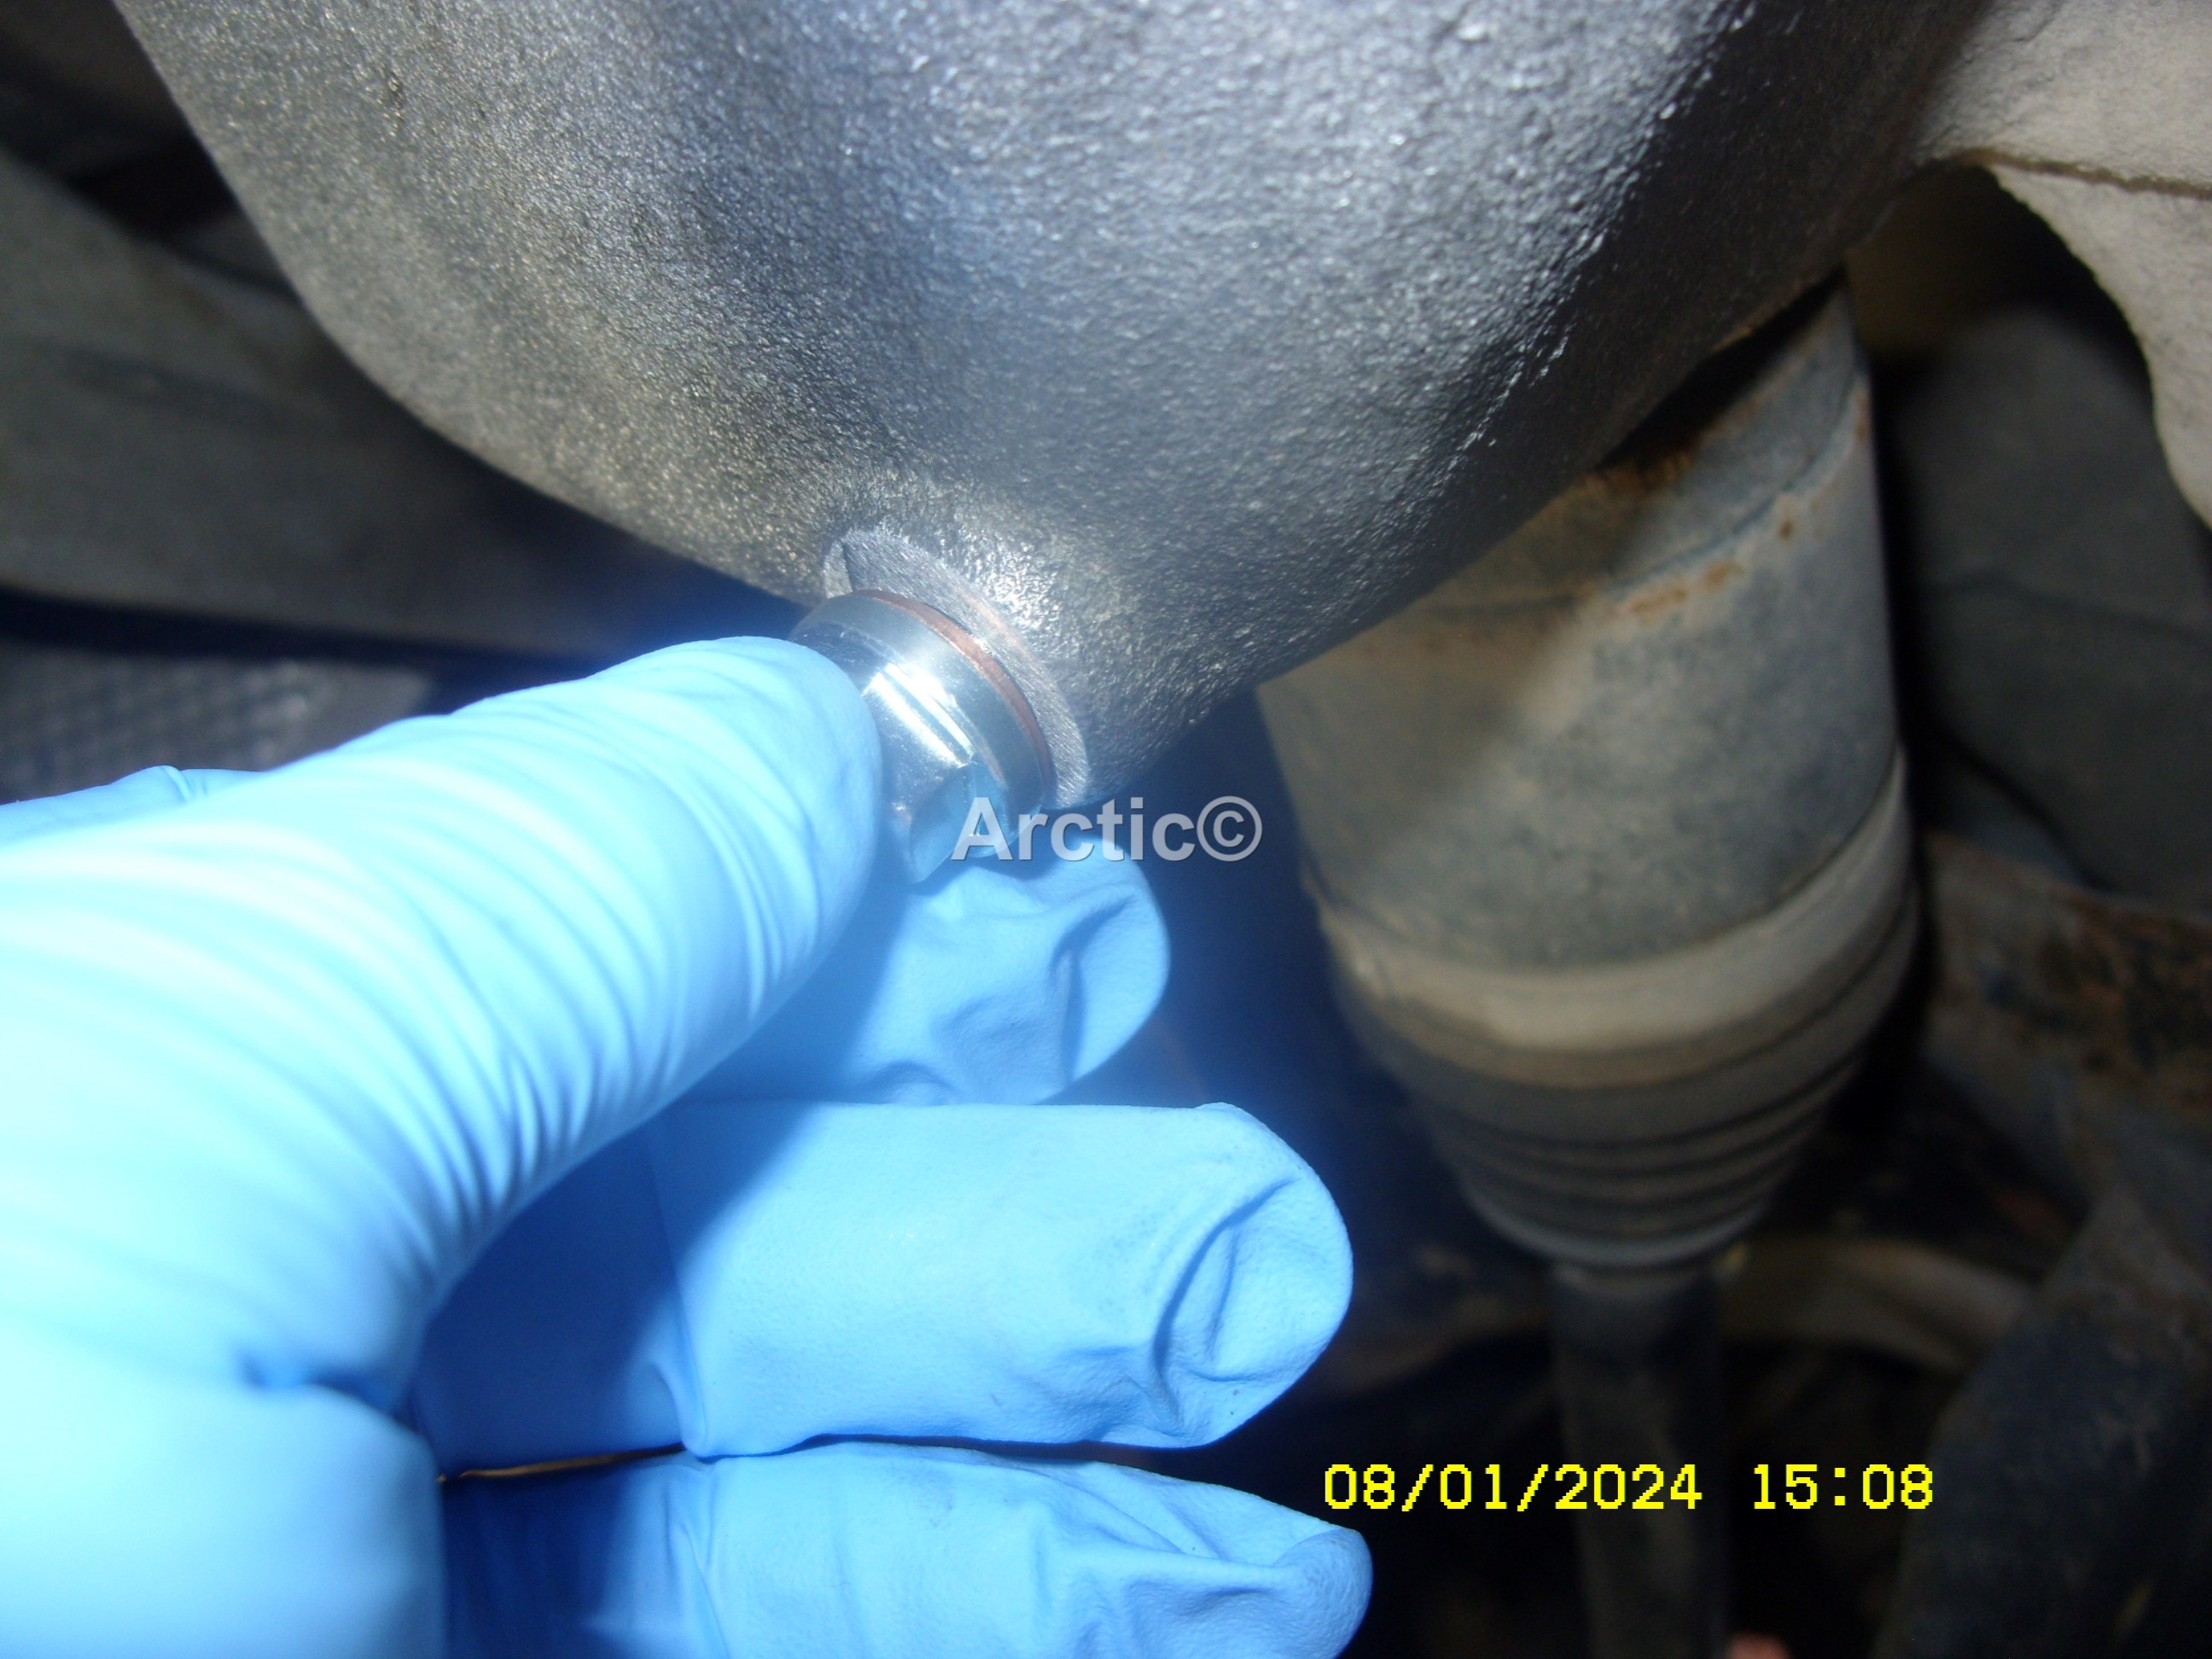
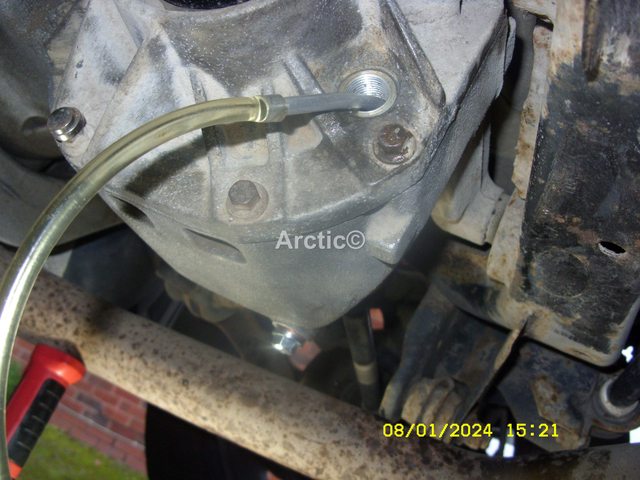
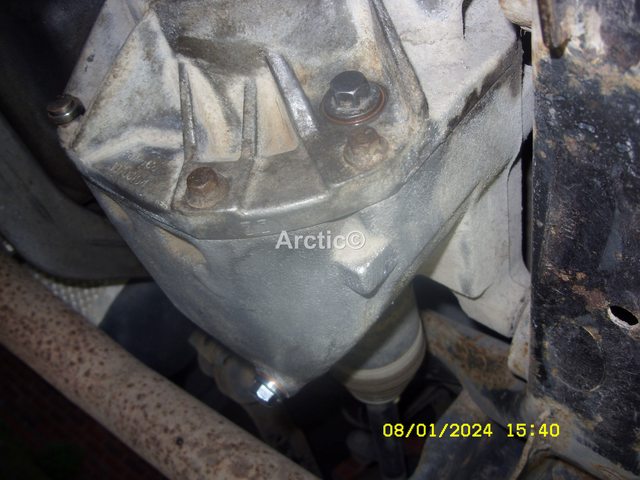
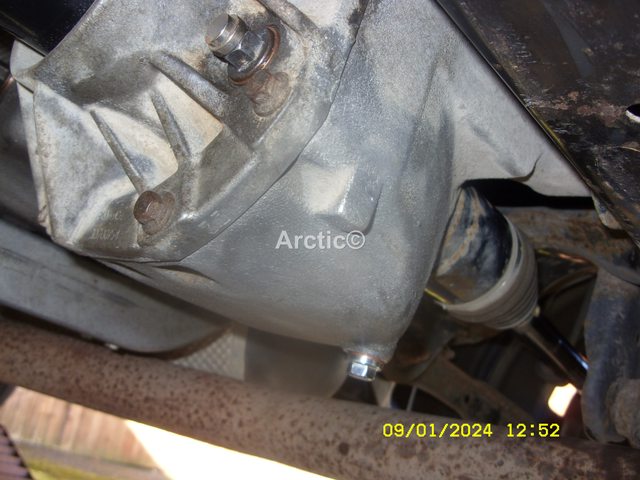
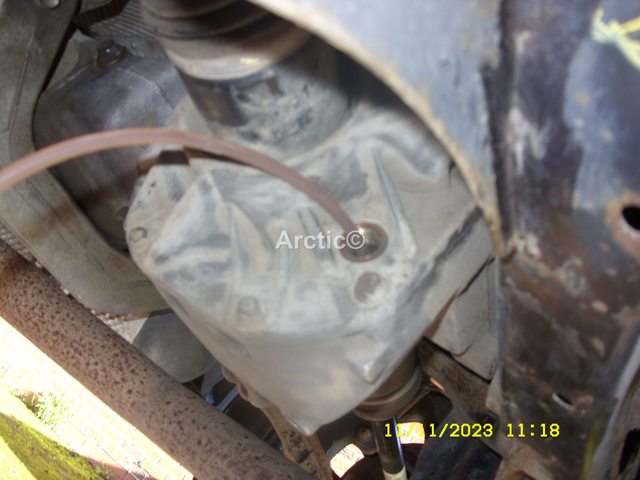
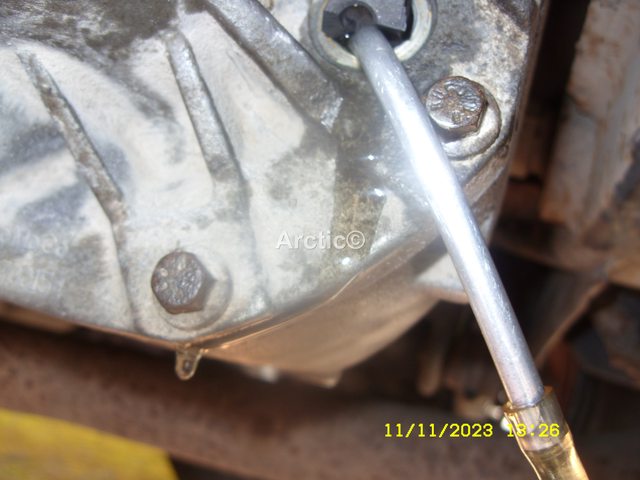
Cracked the filler plug open, with the aviation spanner excellent to get that little more leverage.
 6
6
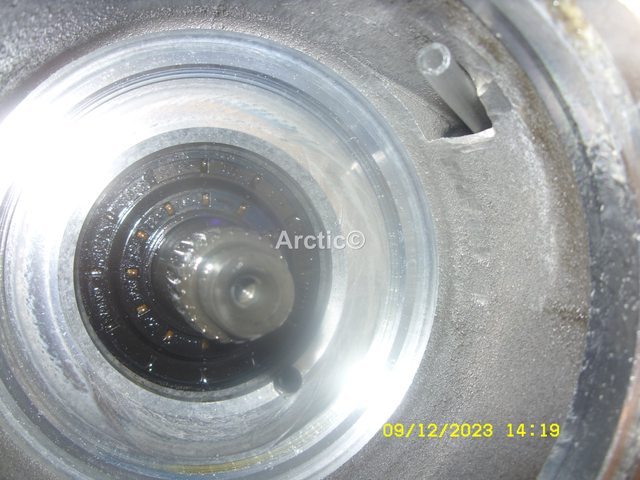
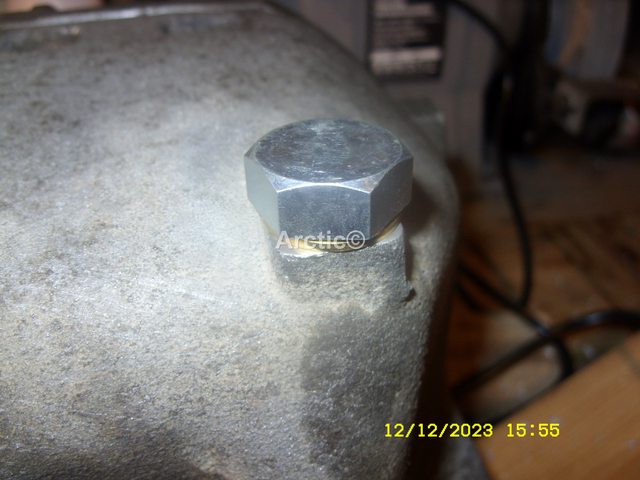
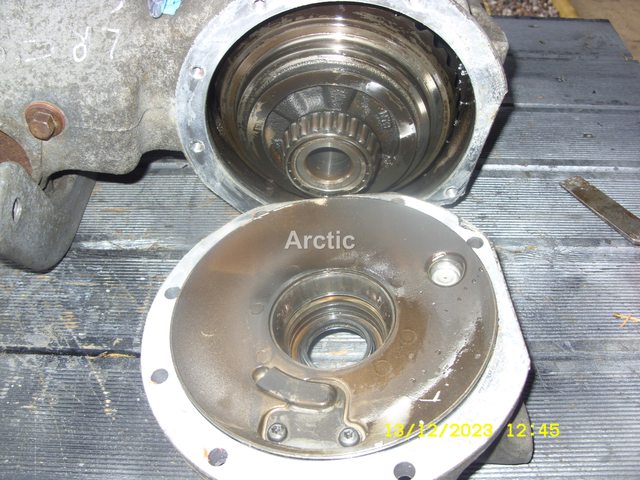
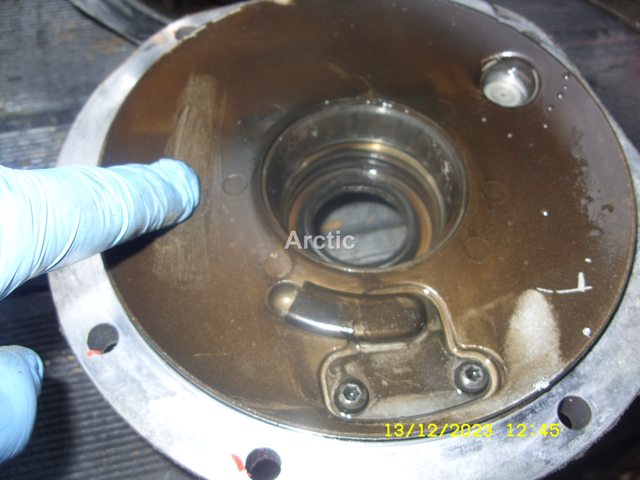
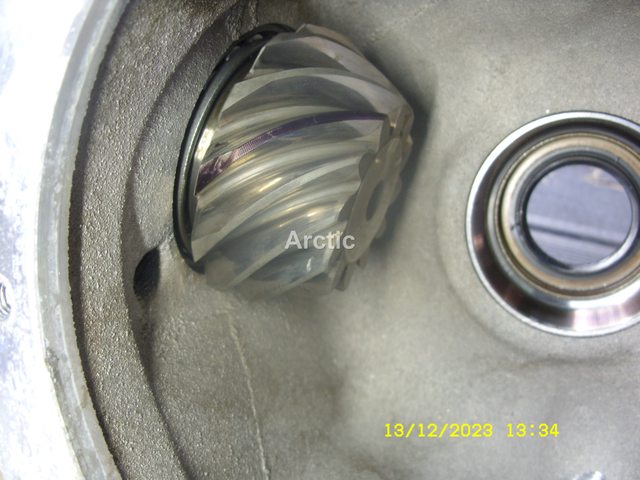
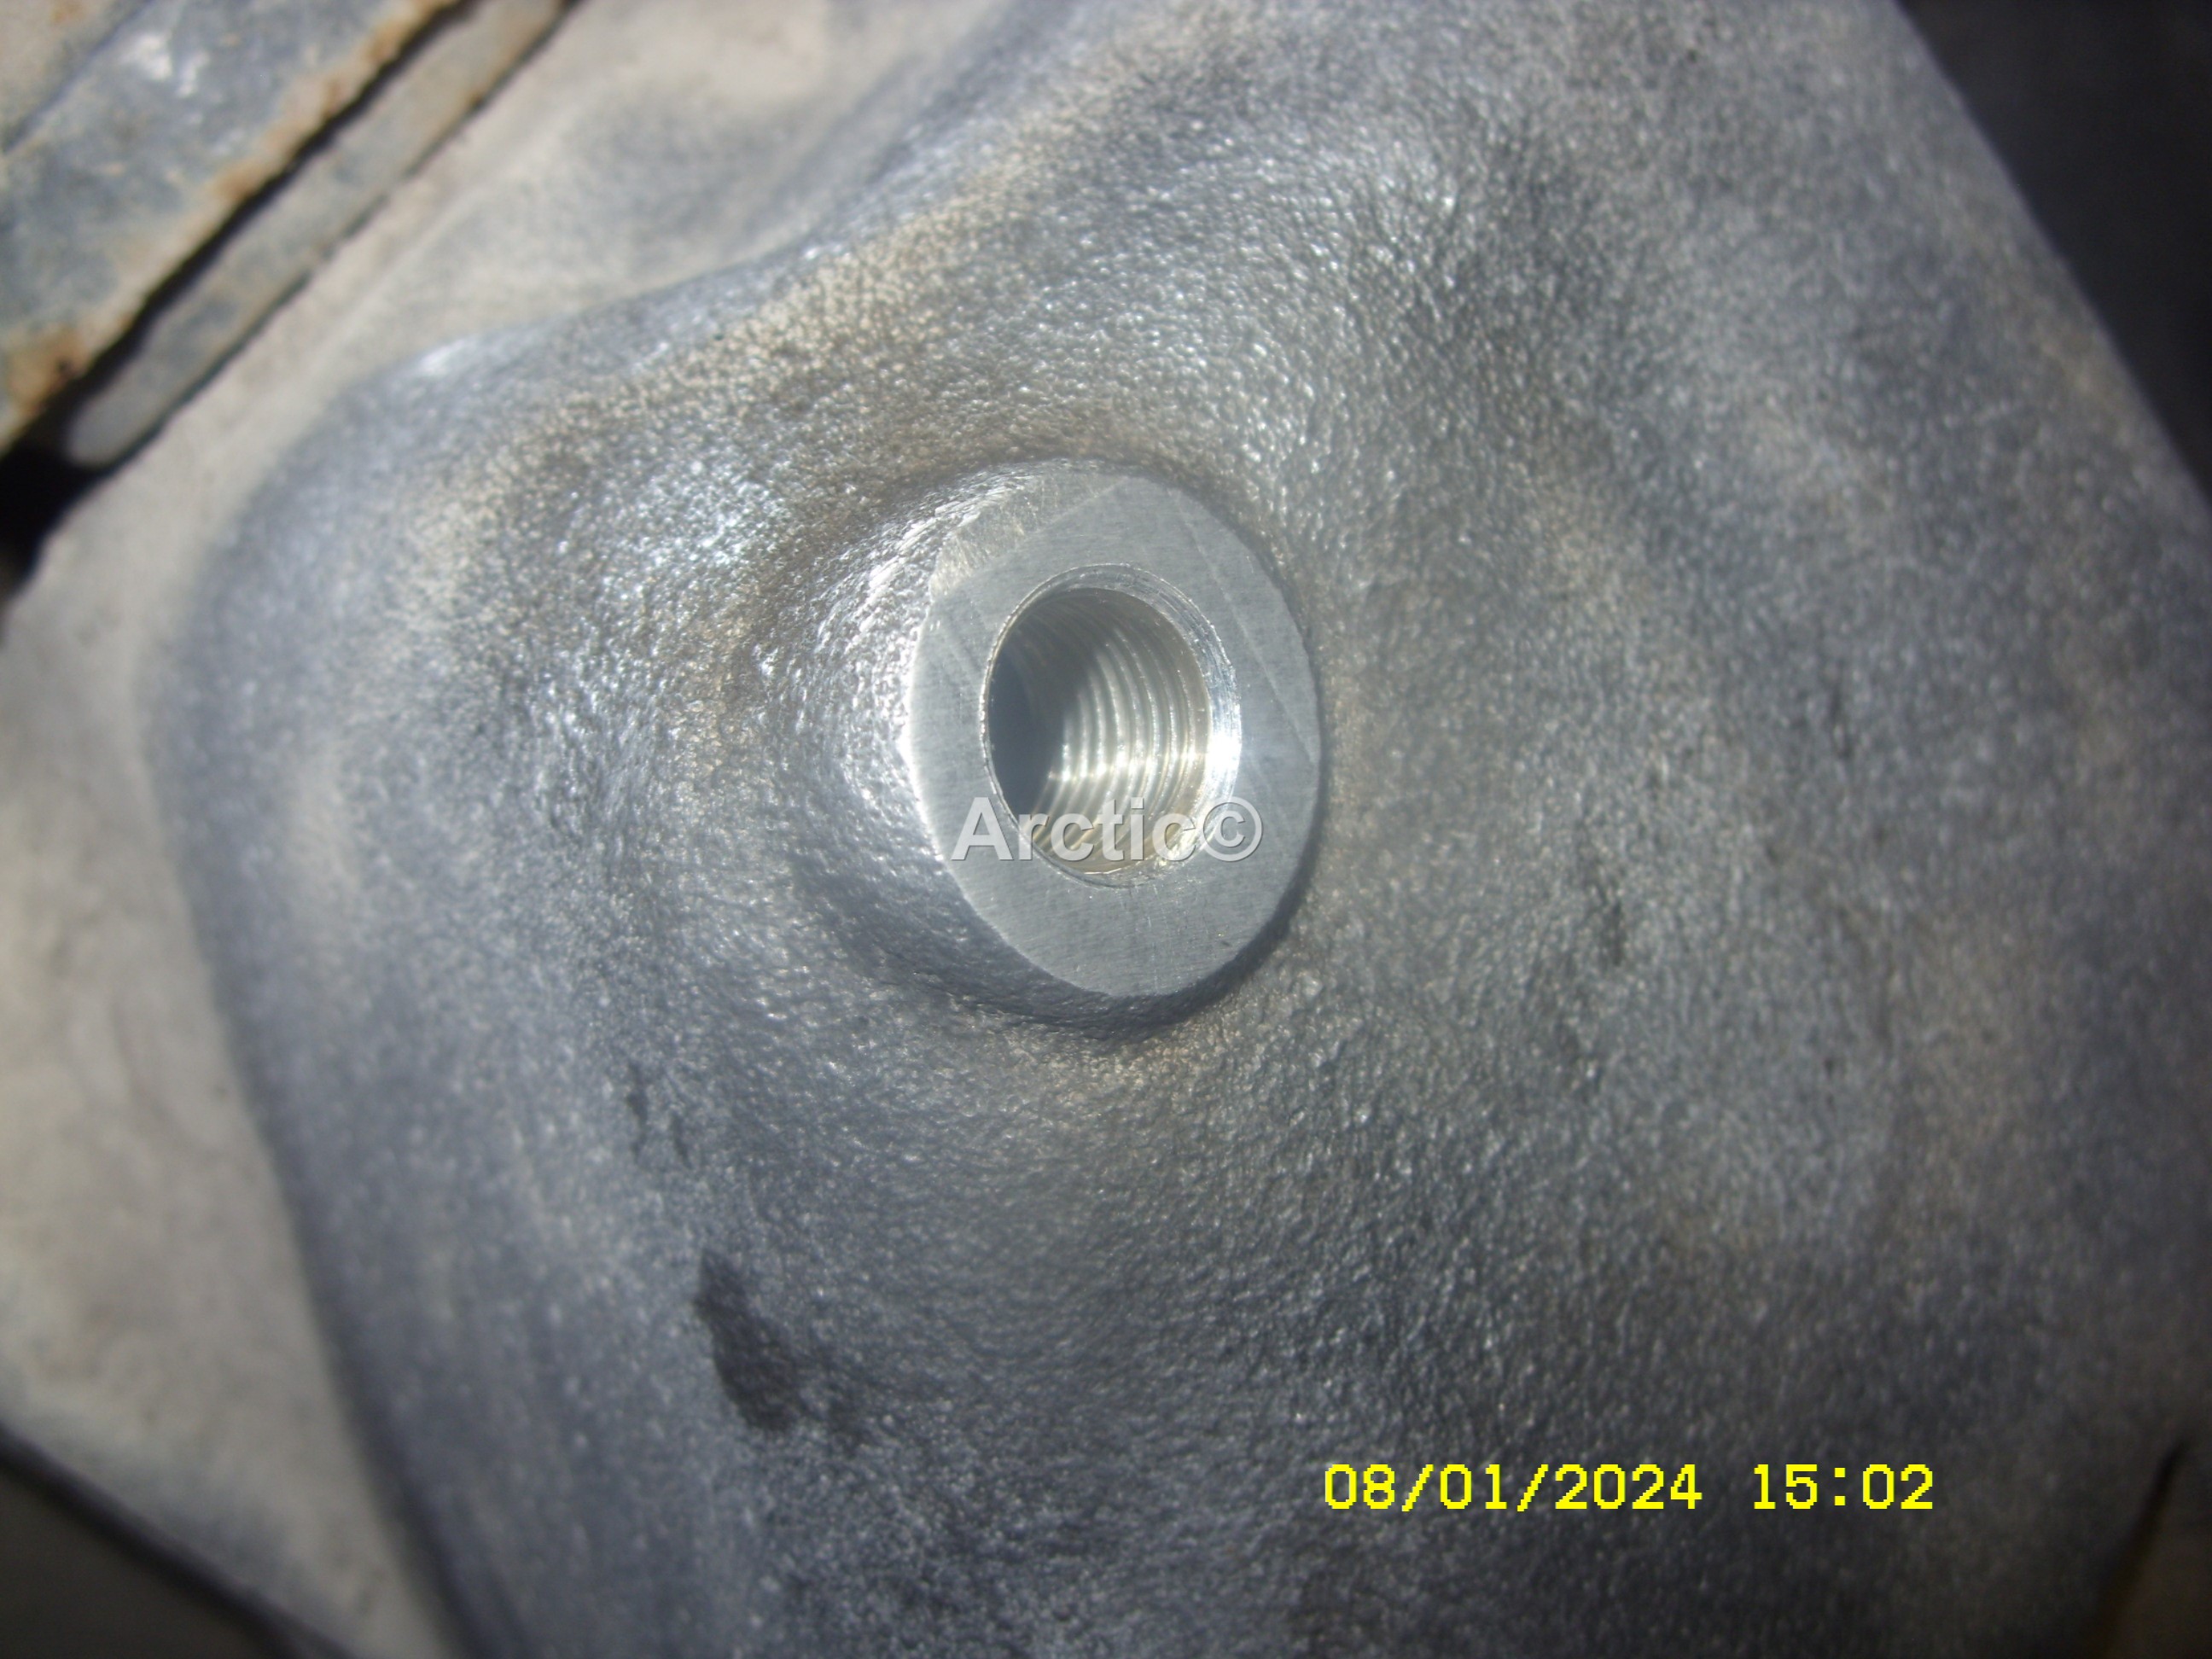
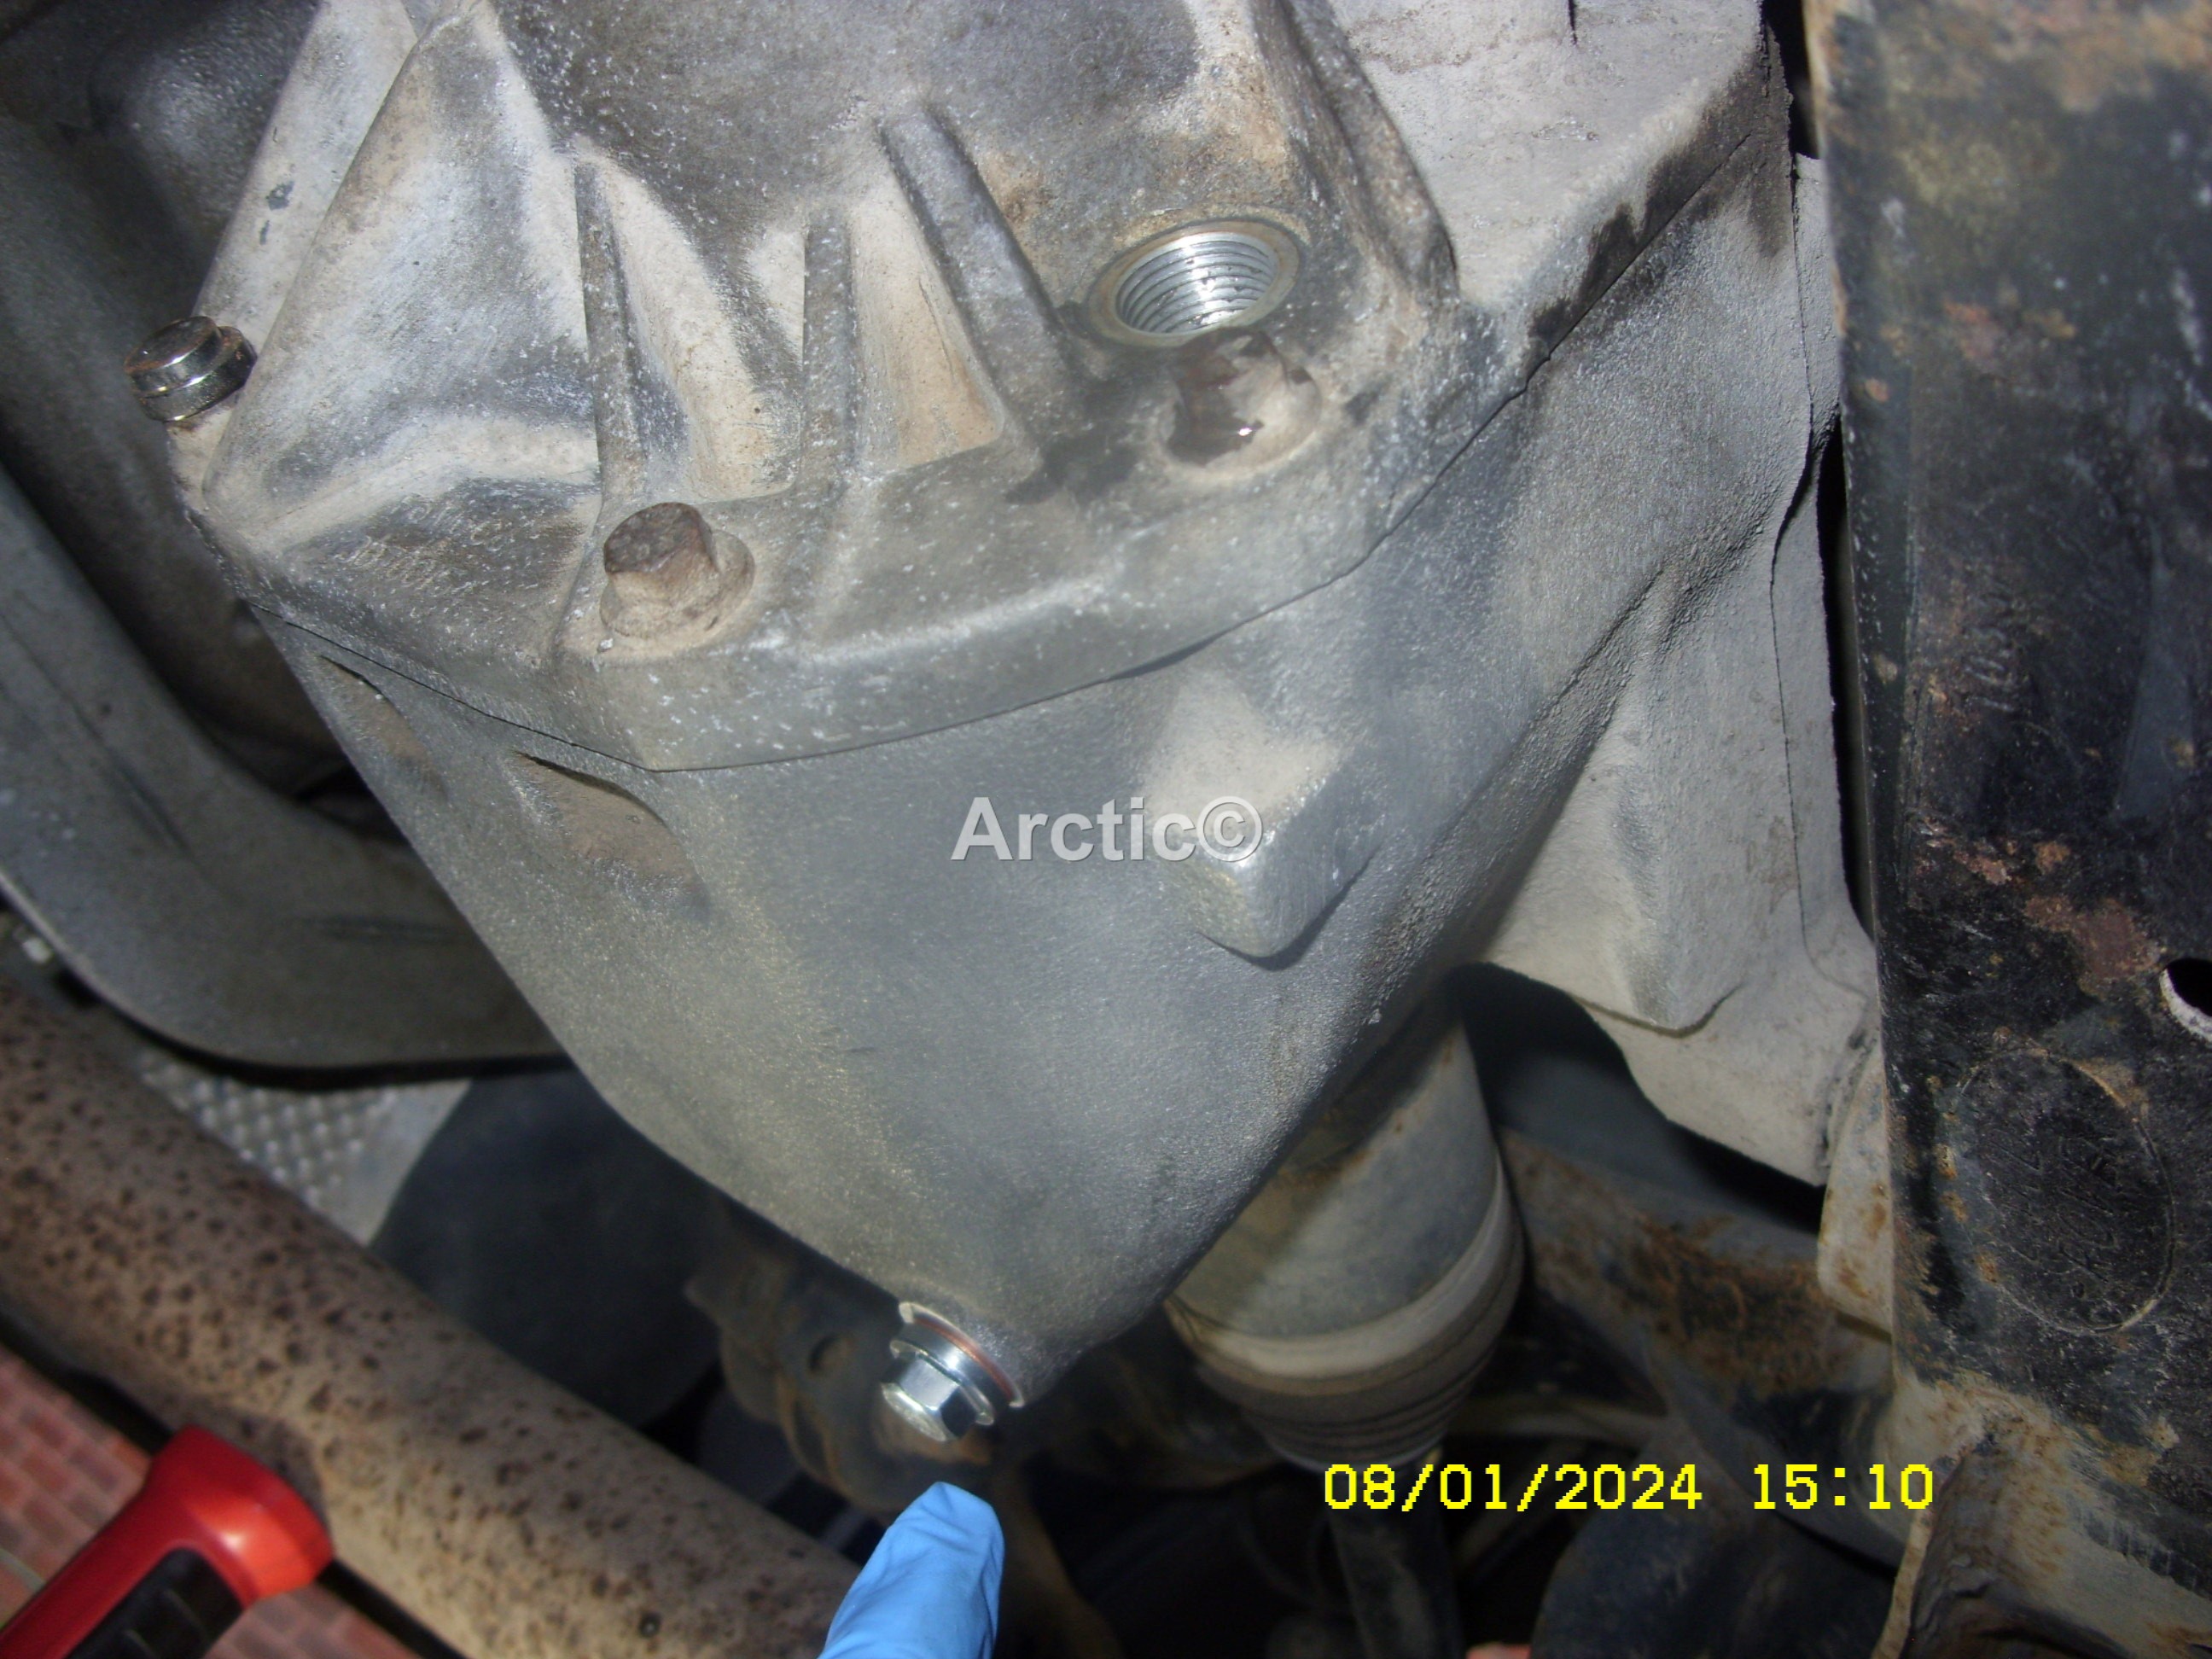
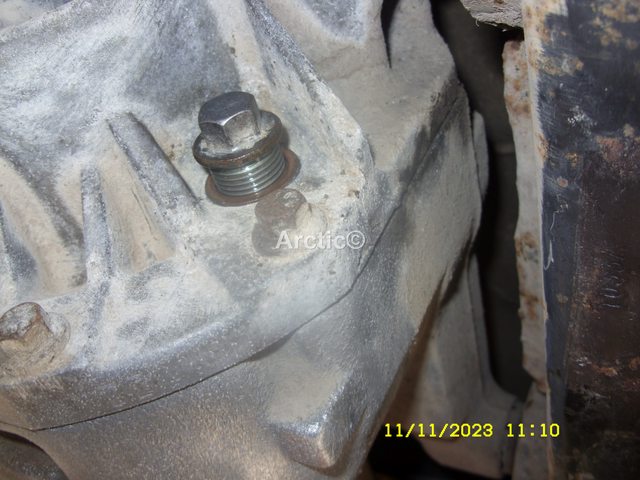
Turned the filler plug out slowly with my hand, i was expecting a little oil to drip out but nowt.
 7
7
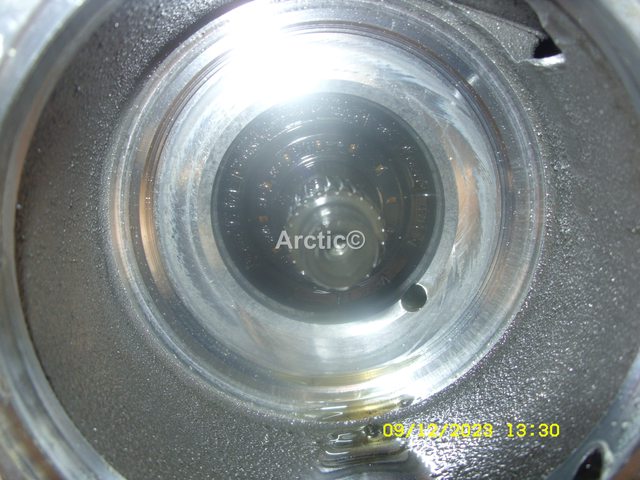
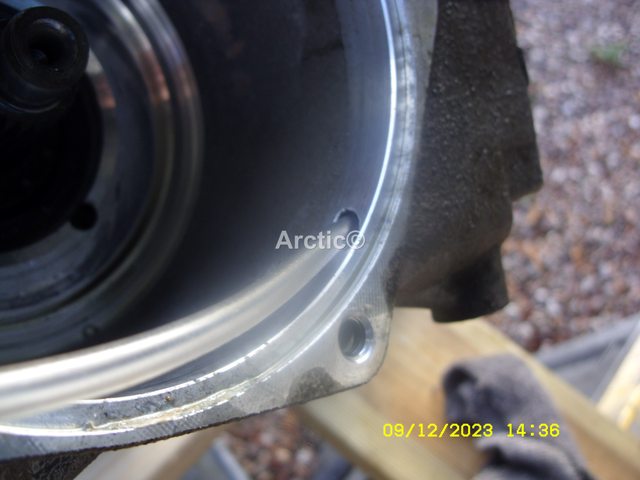
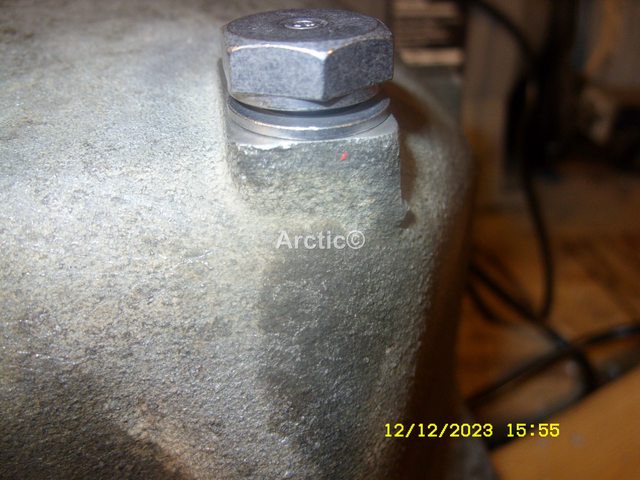
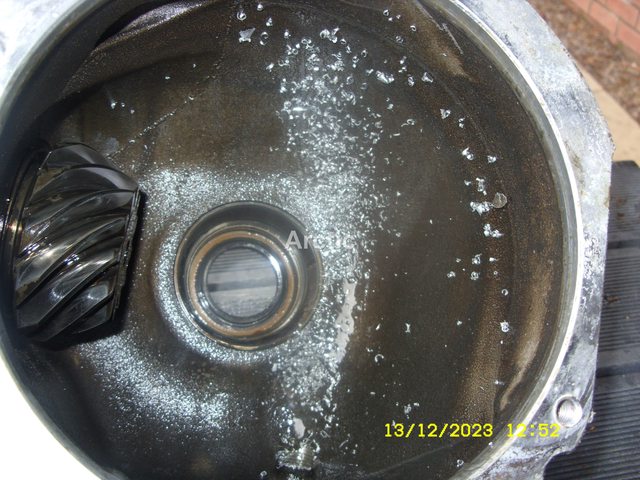
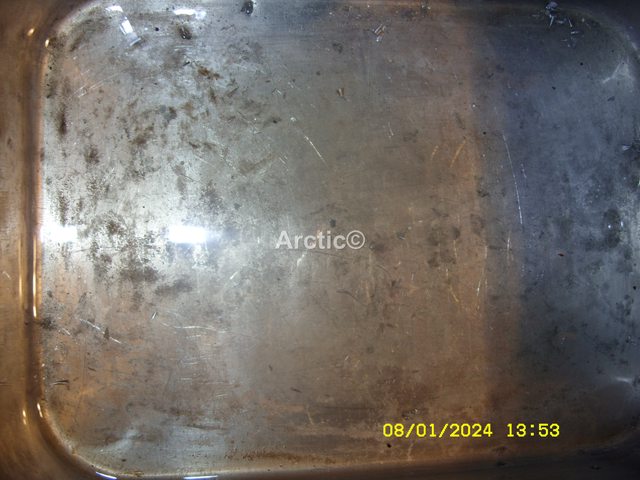
A bit mucky but not really bad.
 8
8
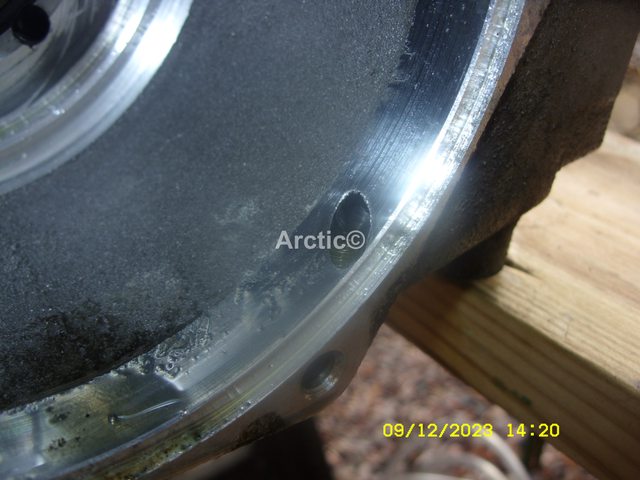
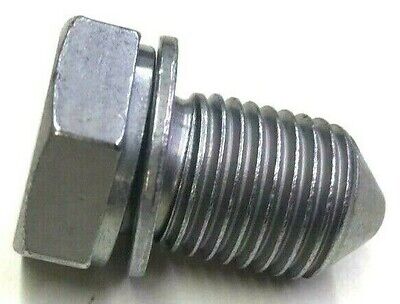
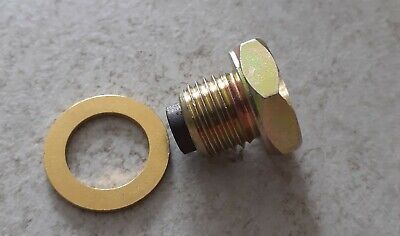
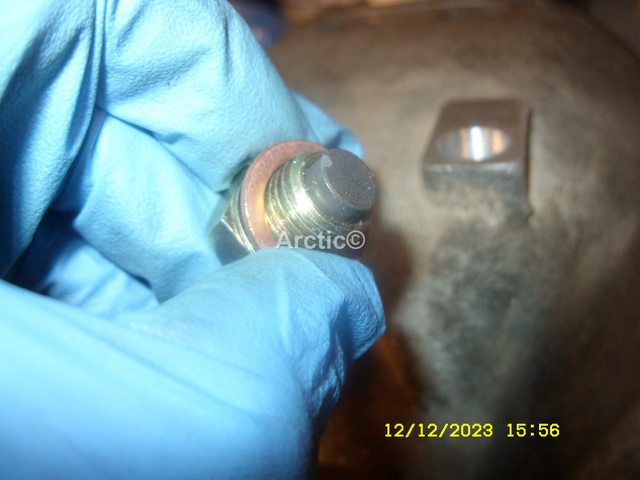
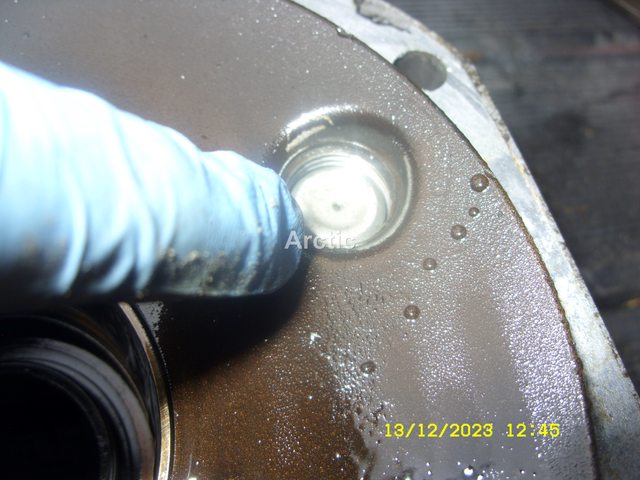
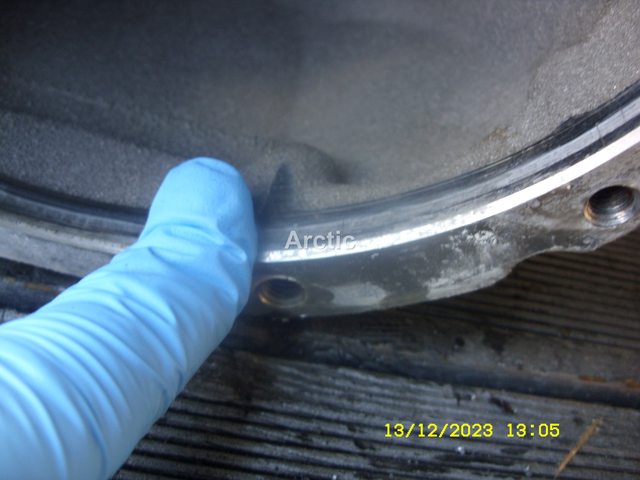
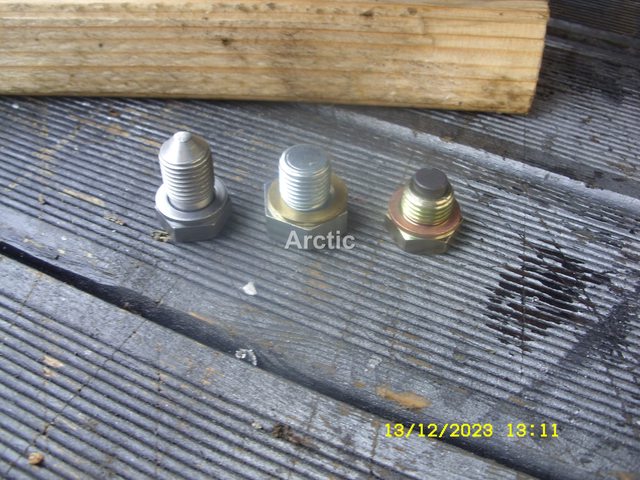
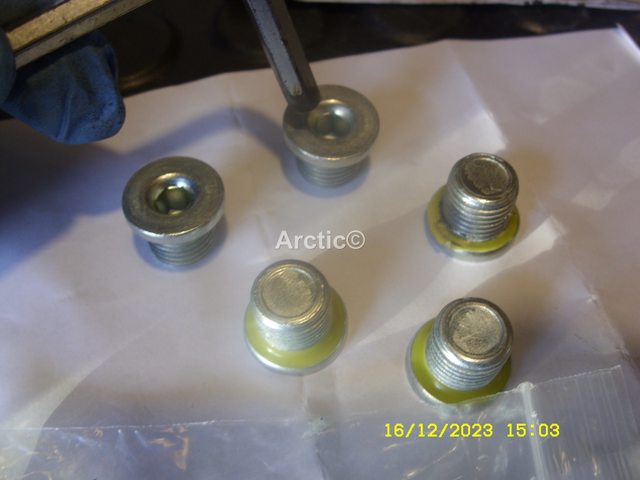
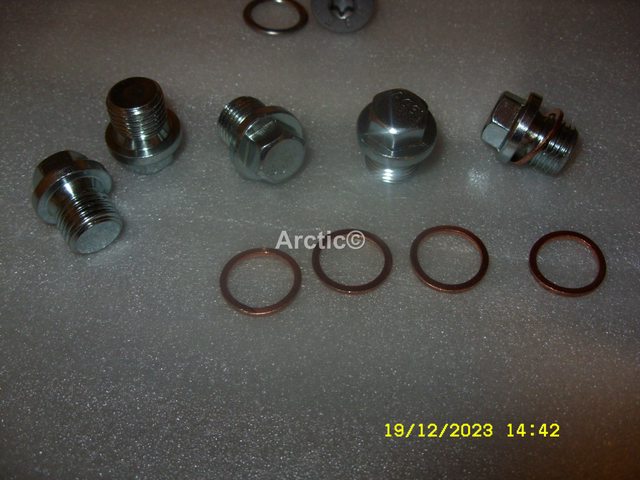
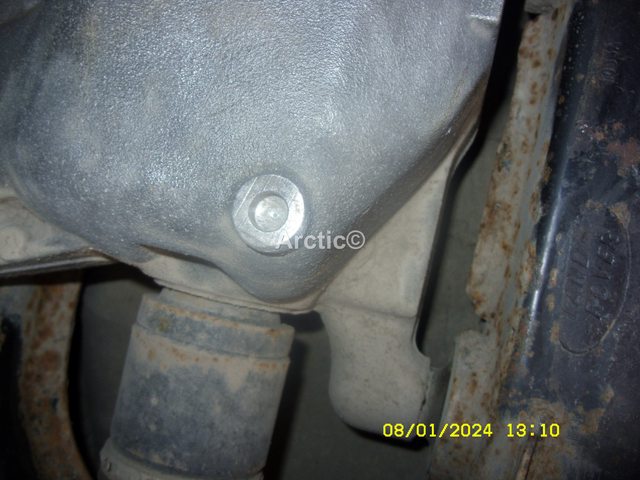
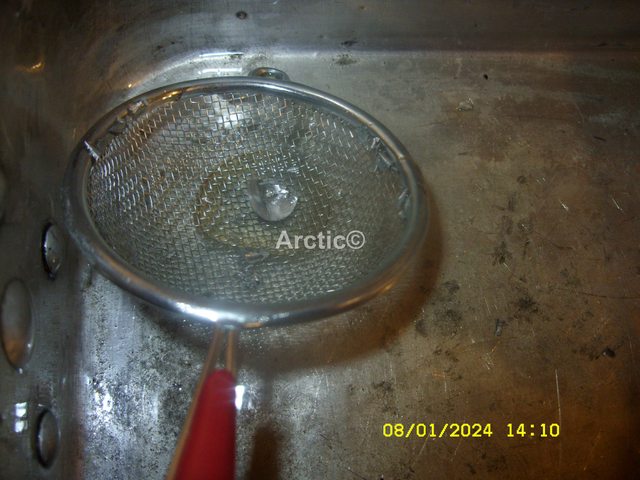
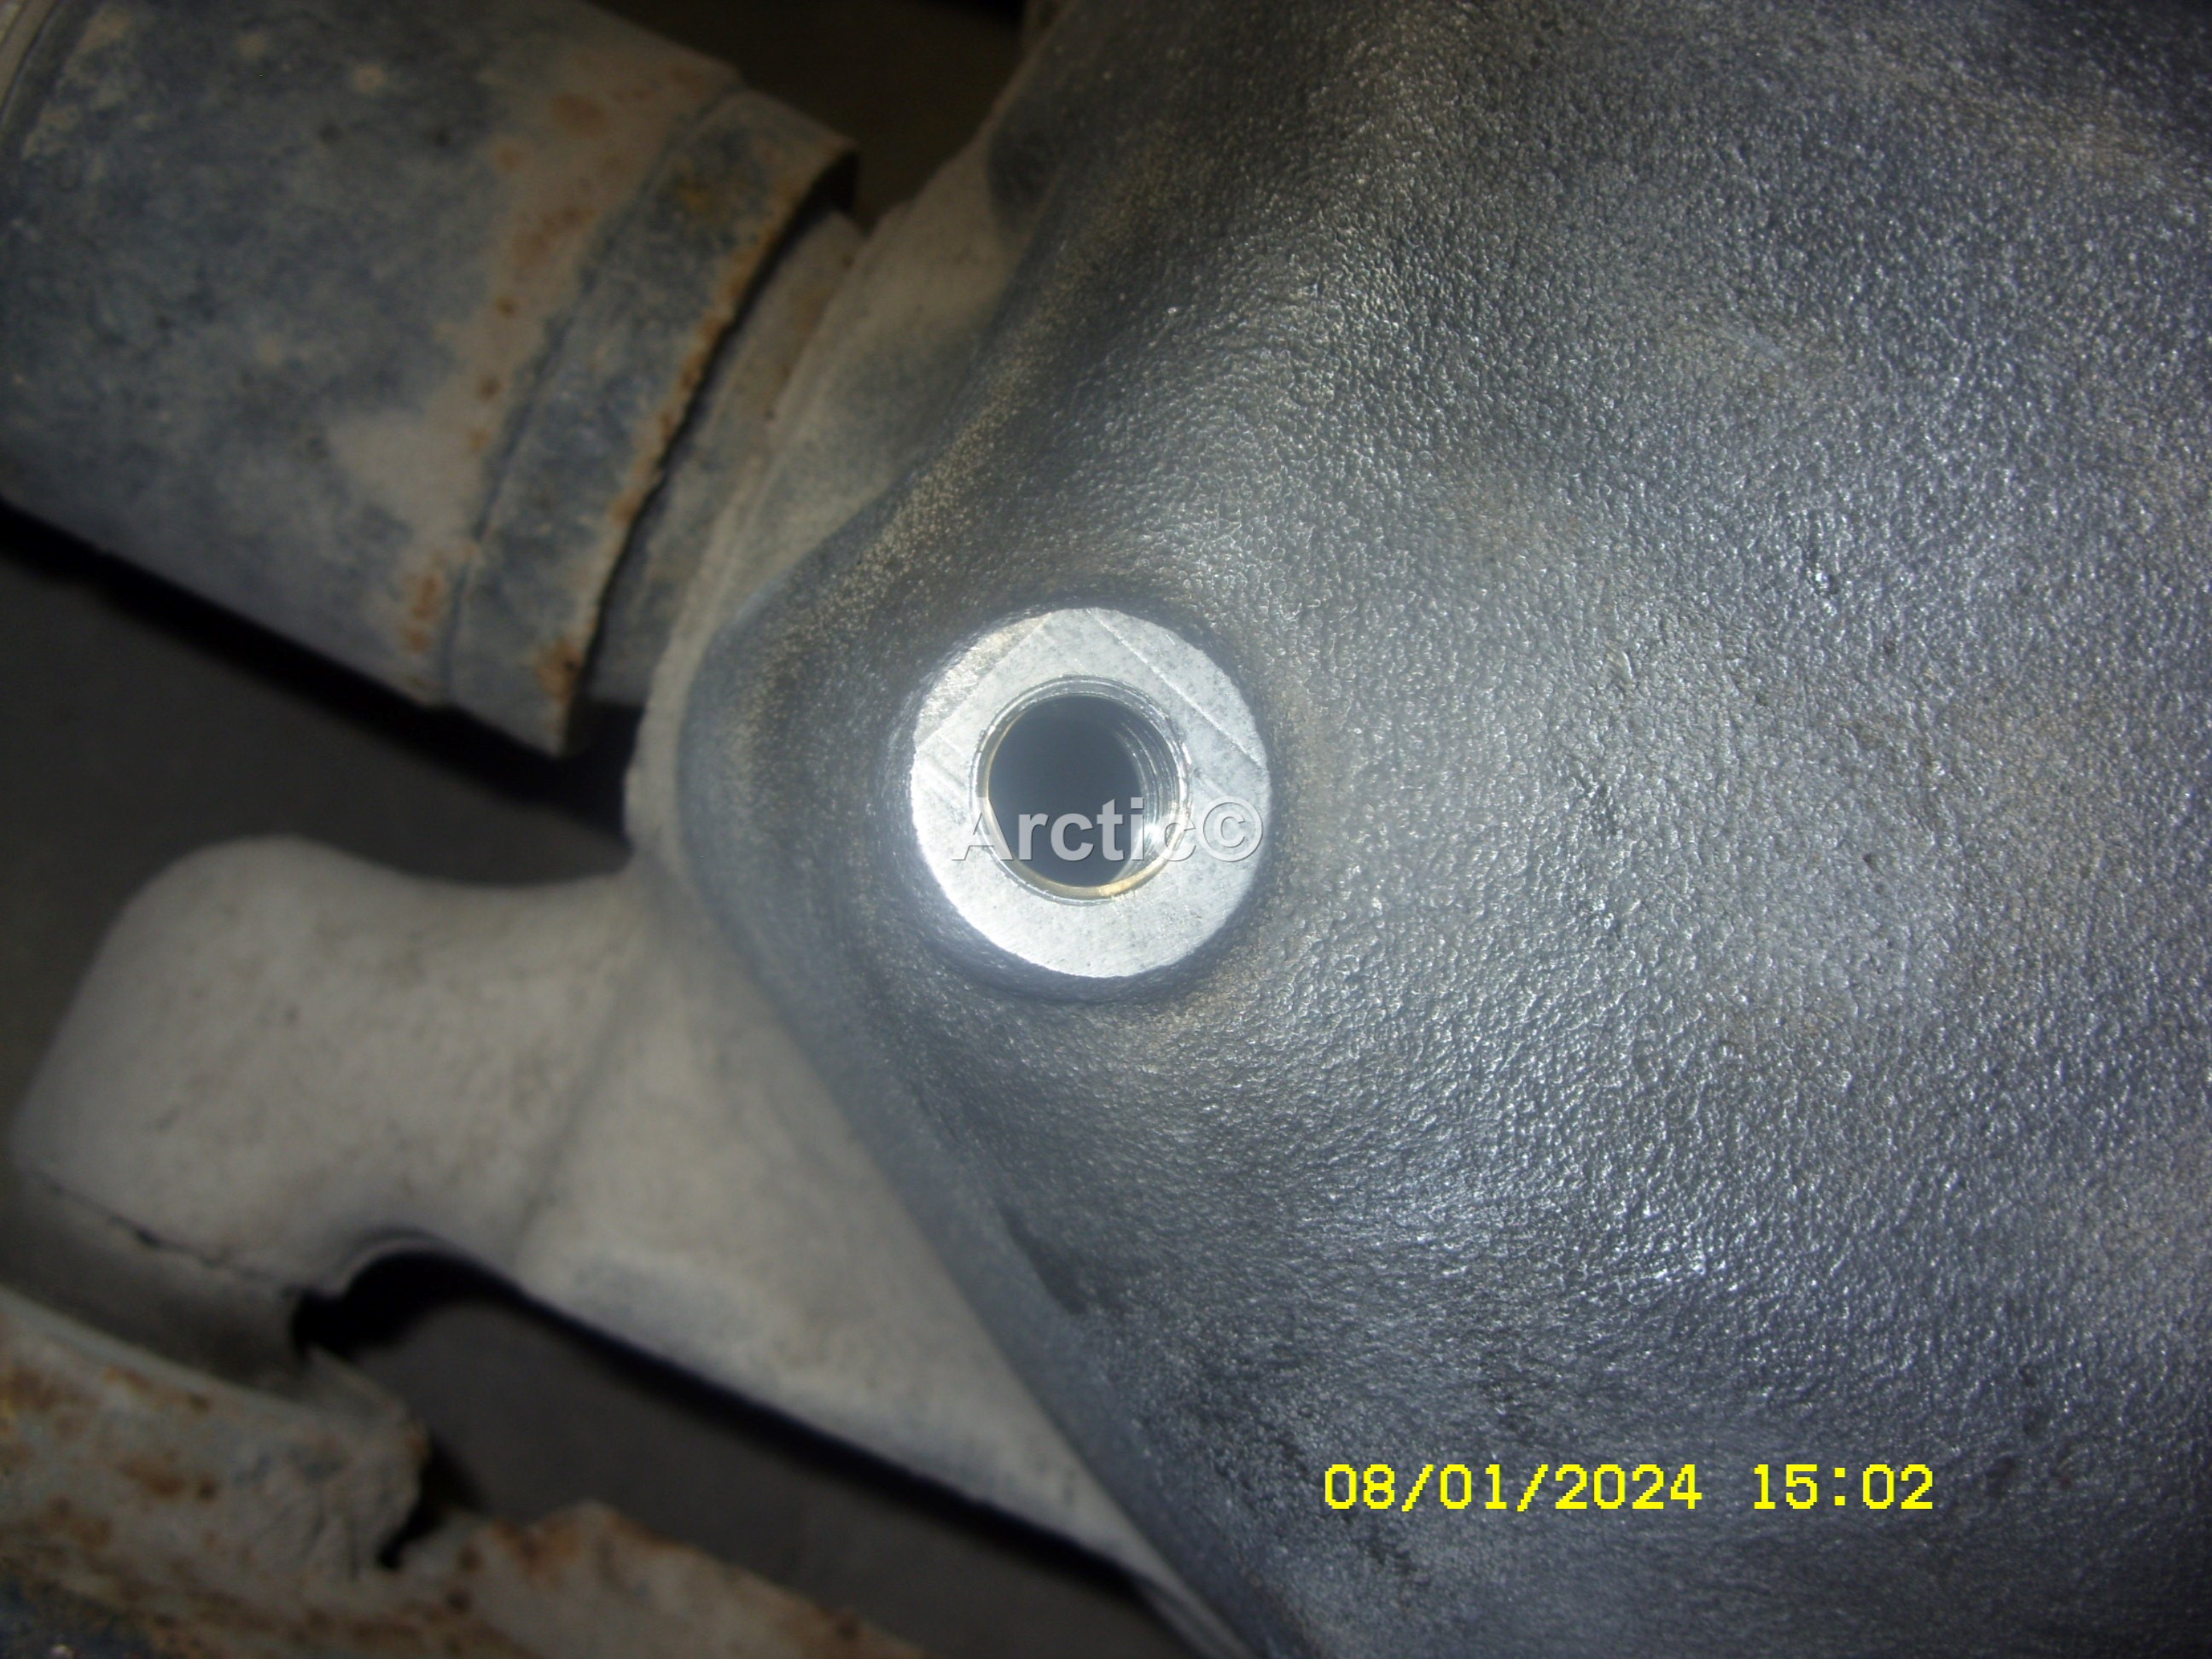
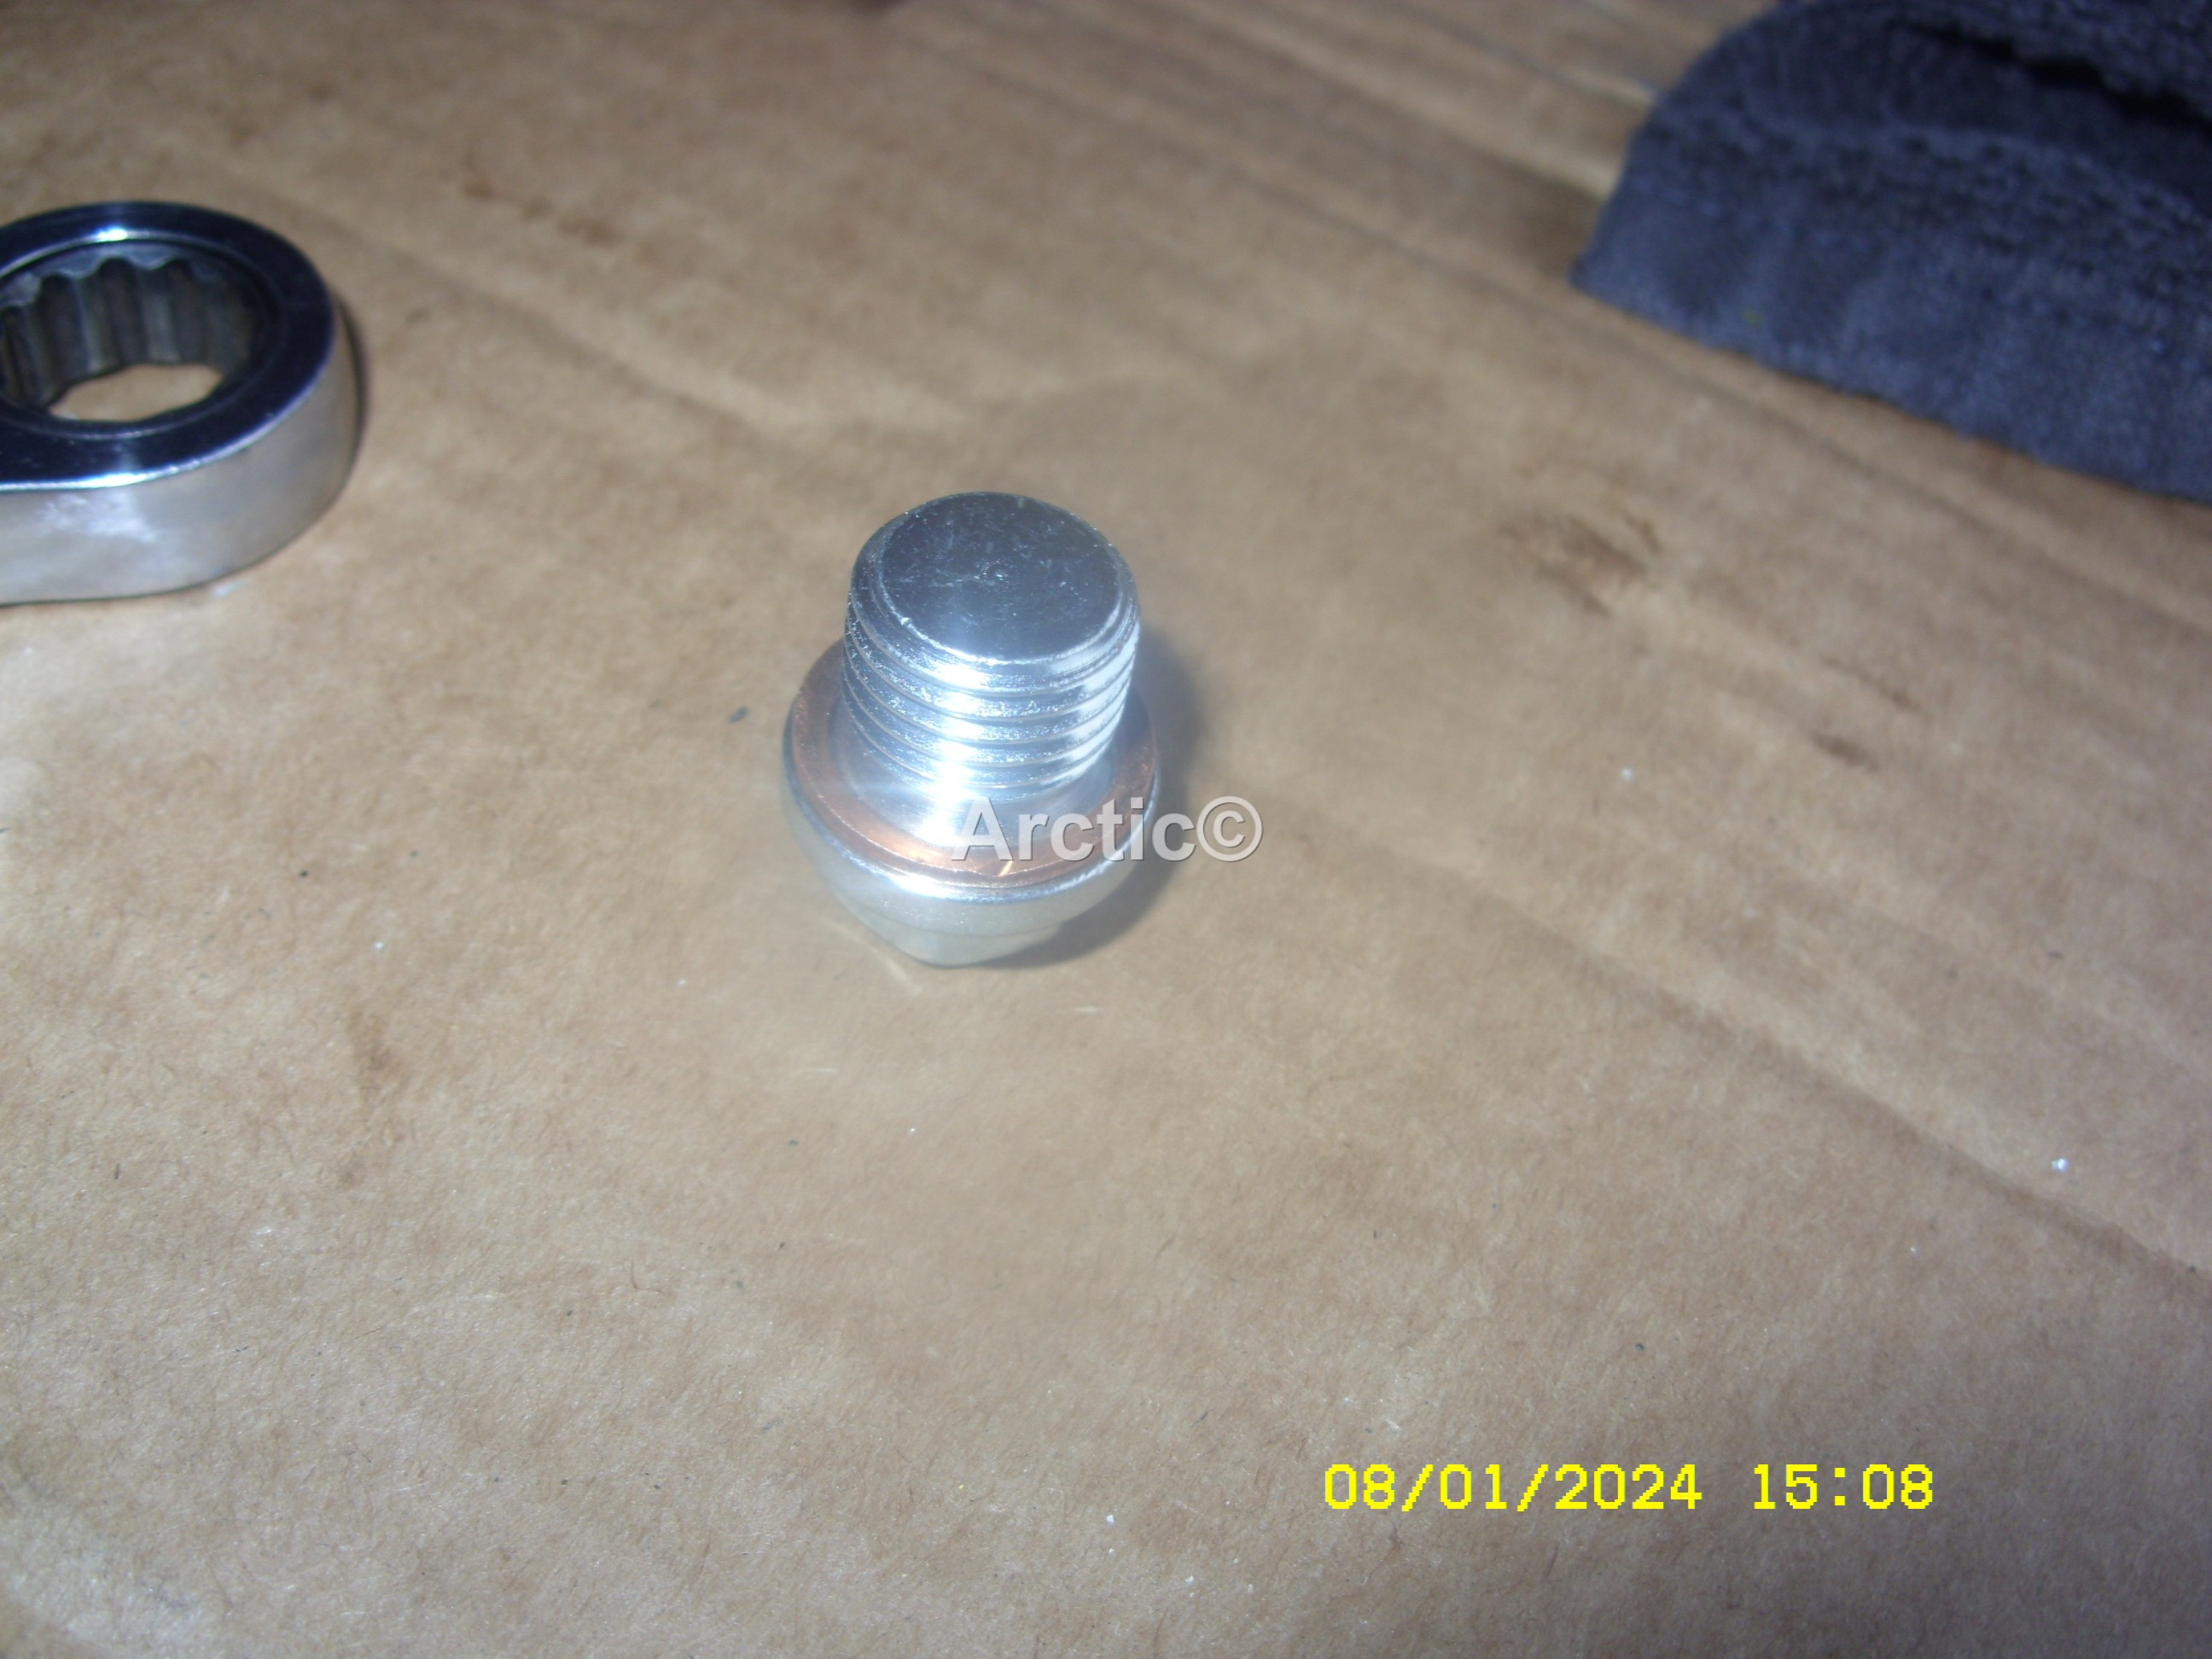
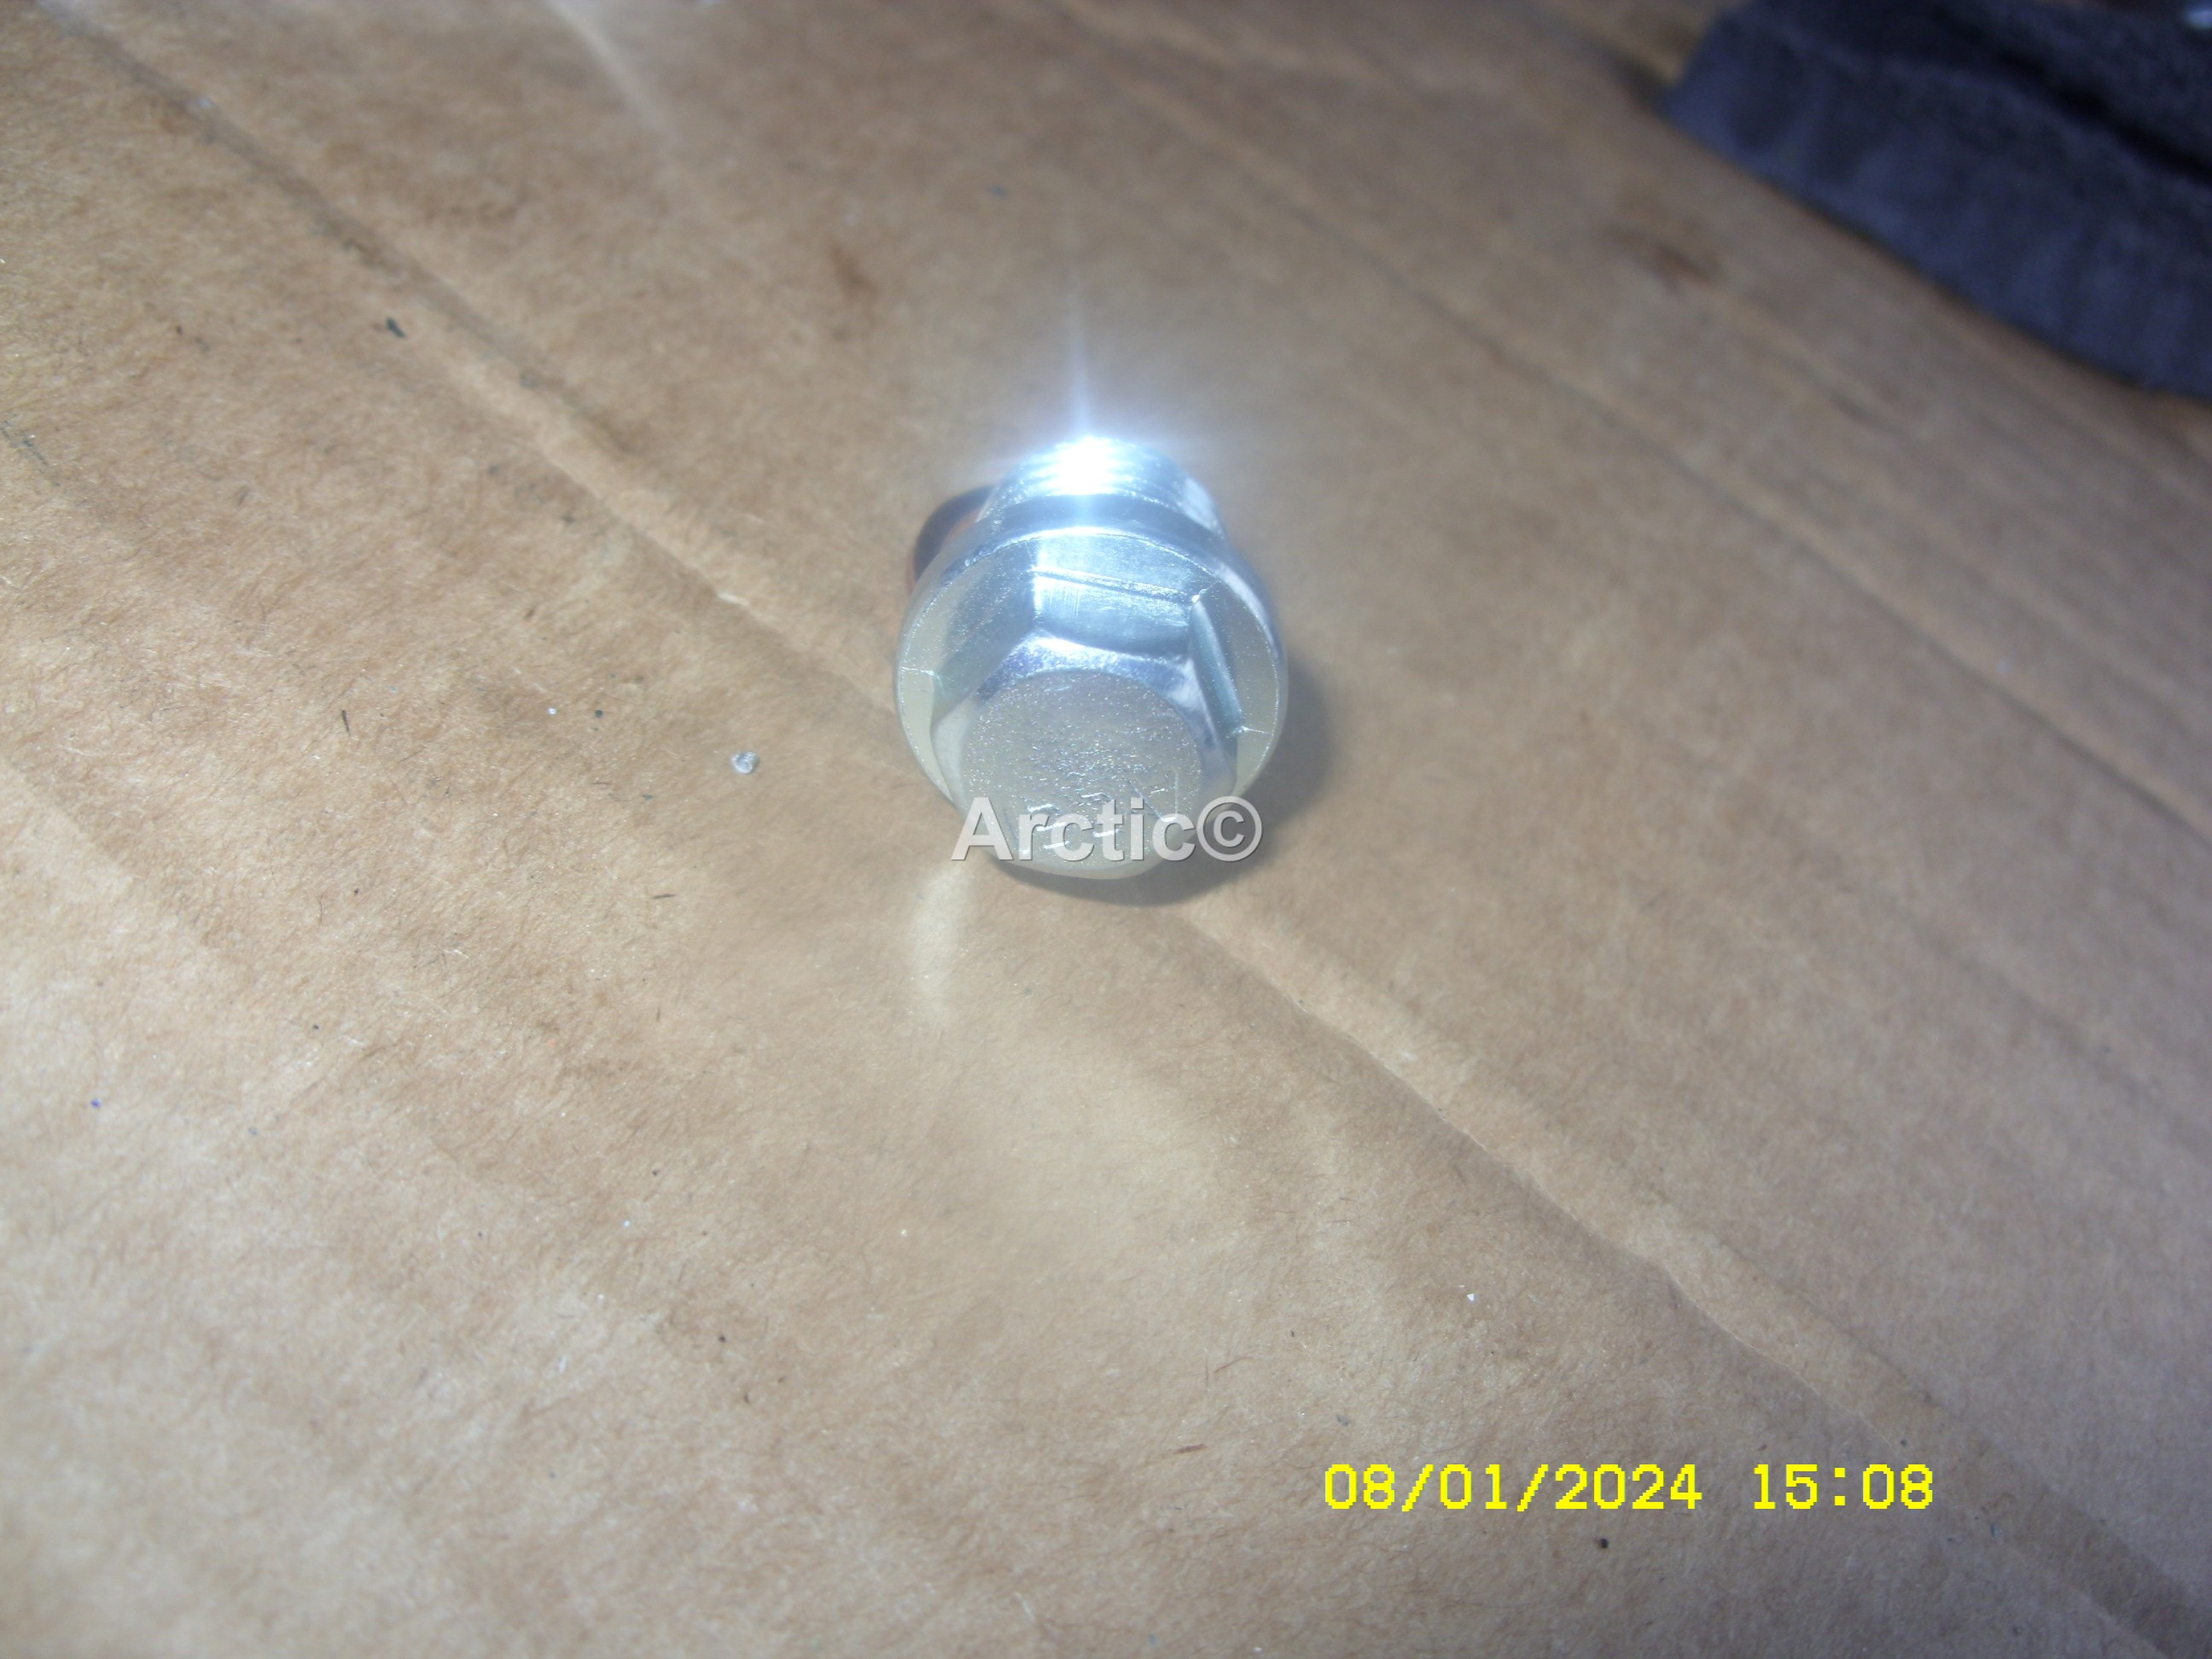
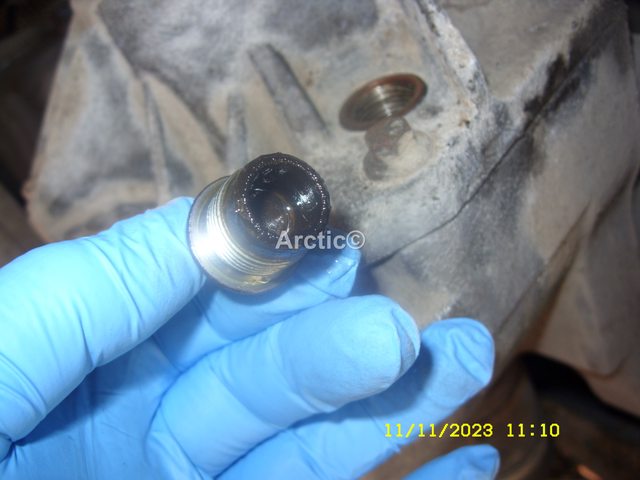
The copper washer was left behind, which was removed has a new one is going to be fitted.
 9
9
Hooked the pump up to the battery which was fully charged.
 10
10
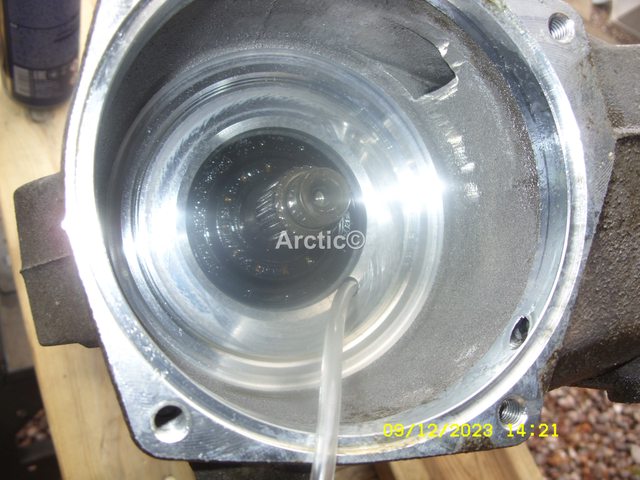
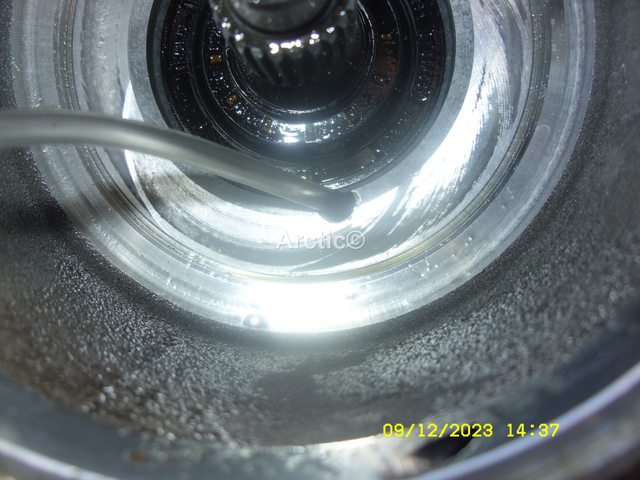
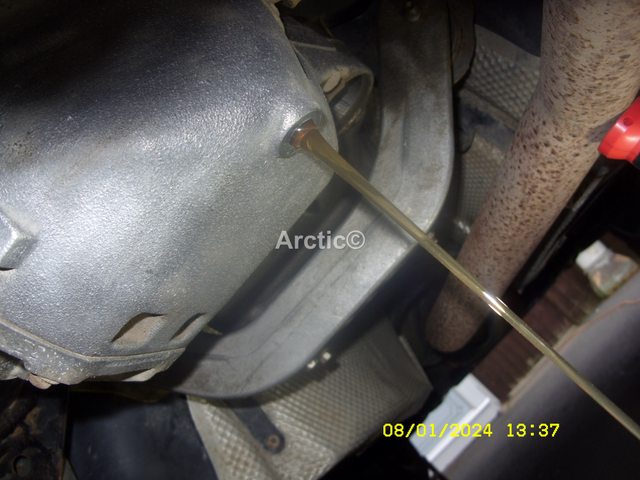
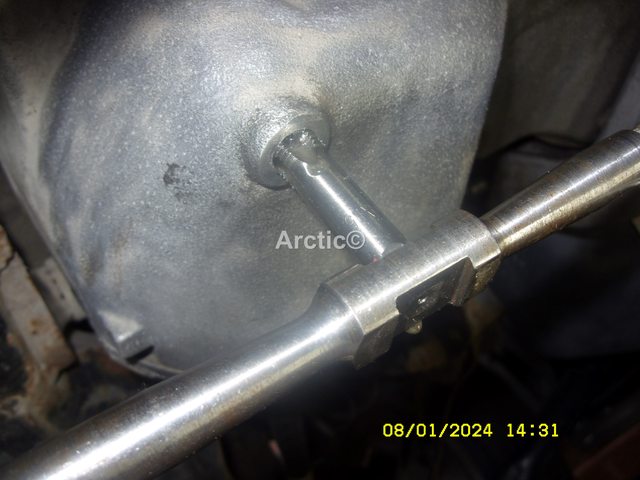
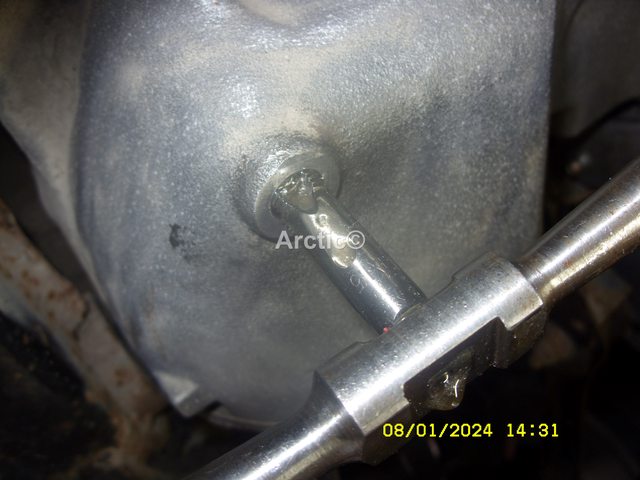
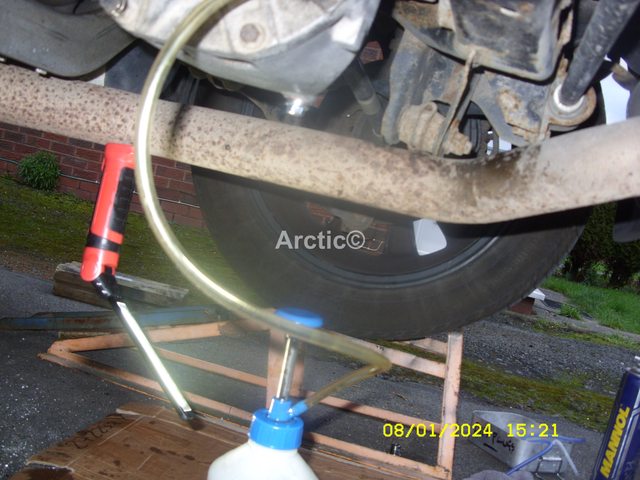
The pump with it's little 5mm drain pipe was pushed into the diff and the removal of the oil was started.
 11
11
 12
12
This is a slow process because the volume of withdrawal is not that fast, and towards the end it slows down even more, the first 10 minutes is not to bad.
 13
13
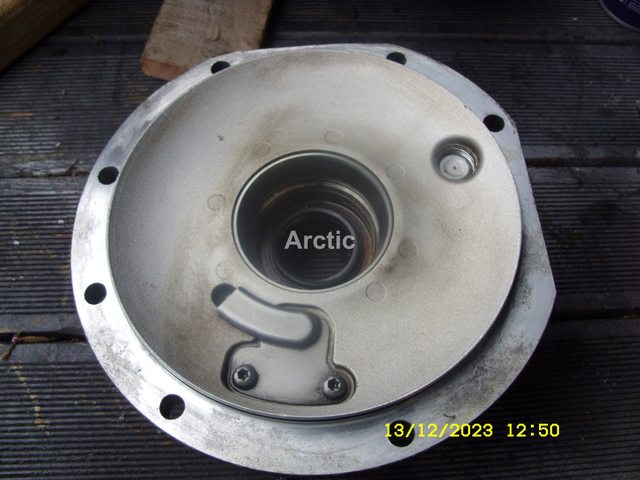
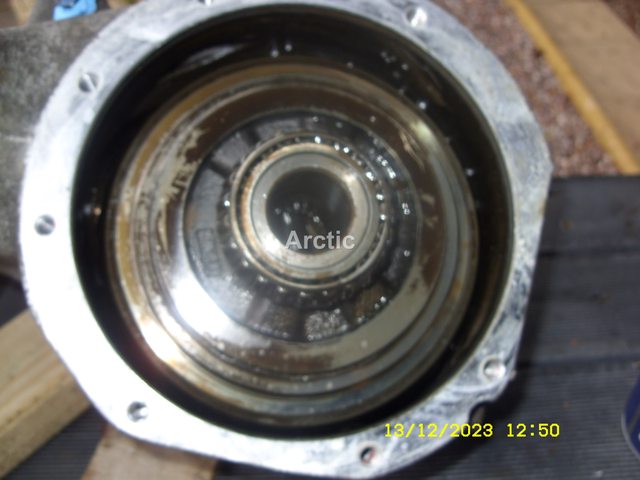
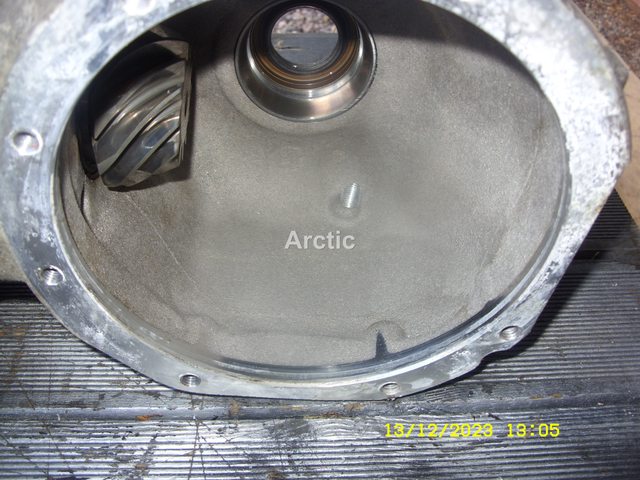
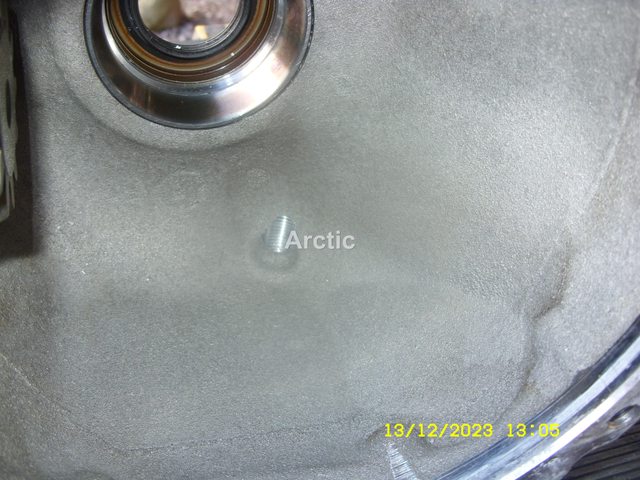
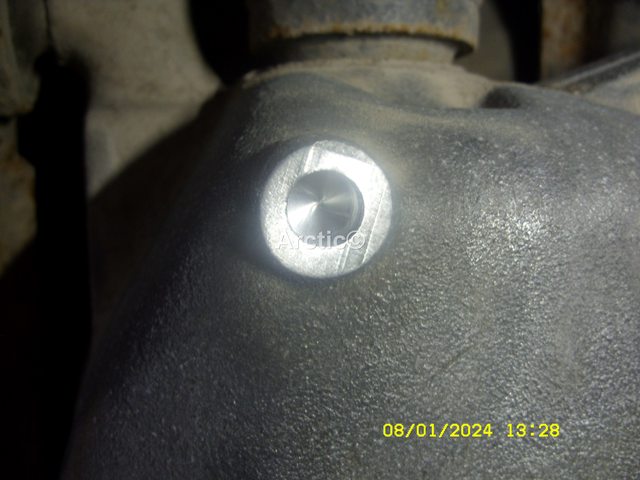
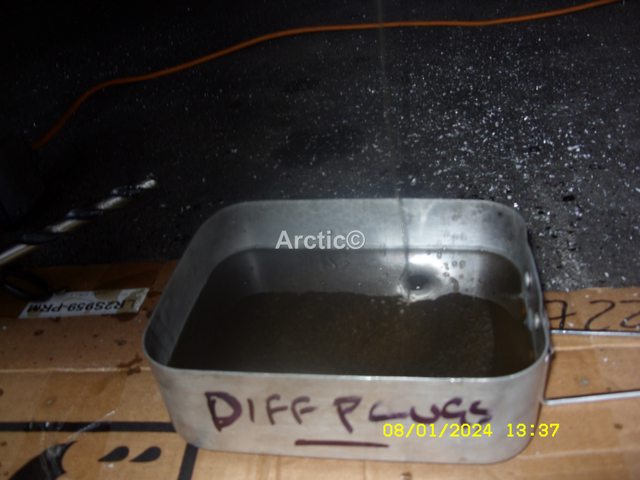
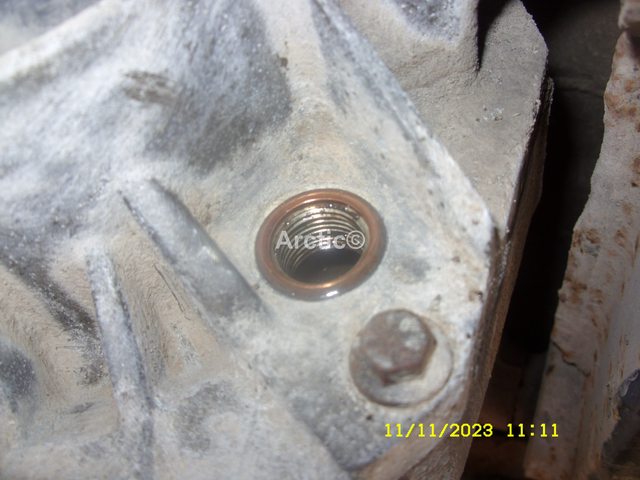
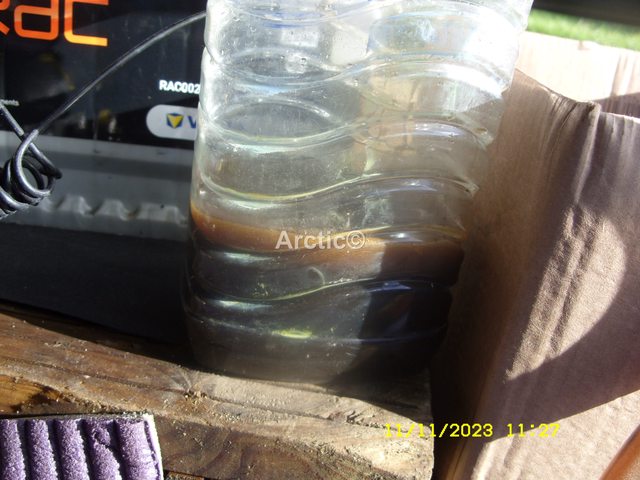
Maybe about 400ml removed in the first 10mins then you have to start moving the suction pipe about in the diff, by 12.28pm most if not all the oil was removed, copper washer removed cleaned up around the filler entrance.
 14
14
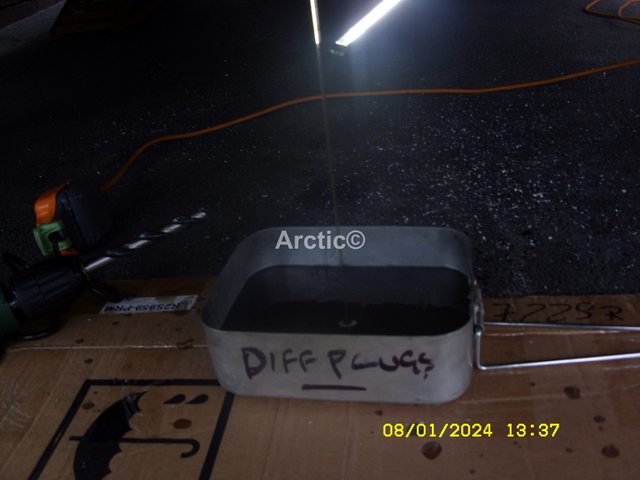
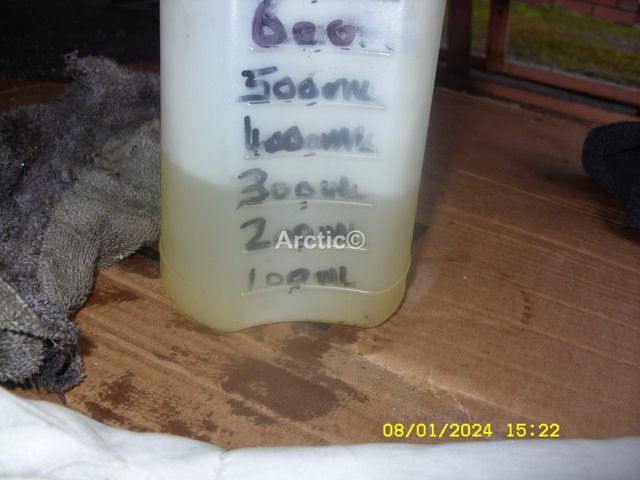
This is the amount that was sucked out.
 15
15
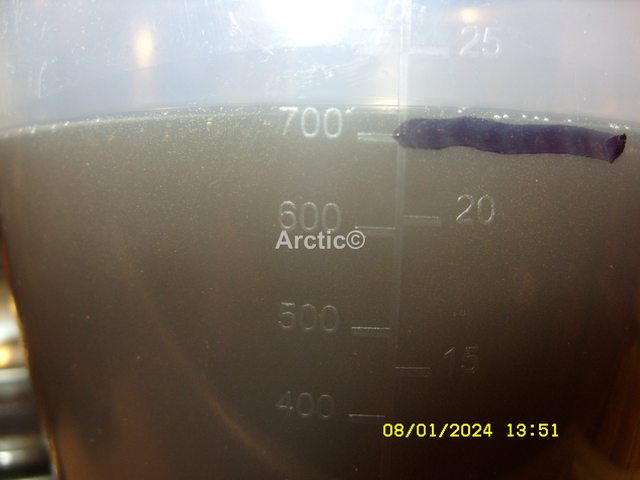
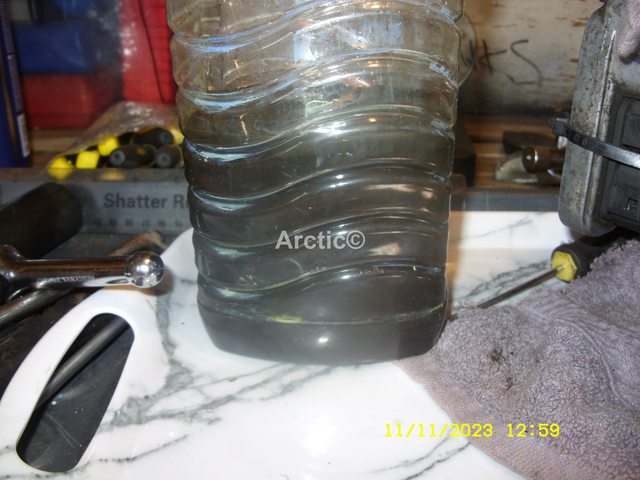
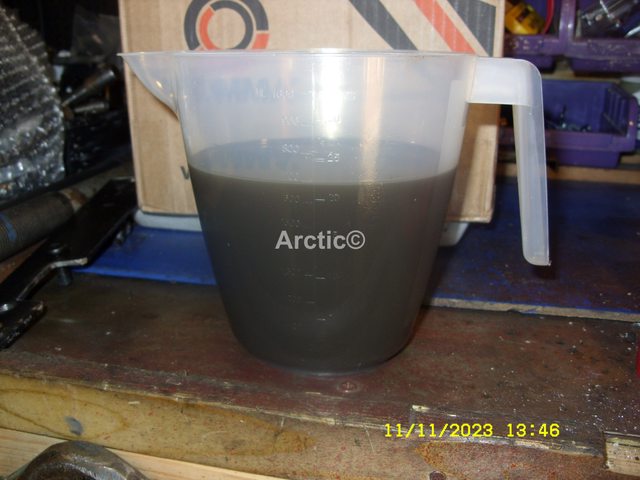
You can clearly see it's very dark brown as opposed the the nice golden colour.
 16
16
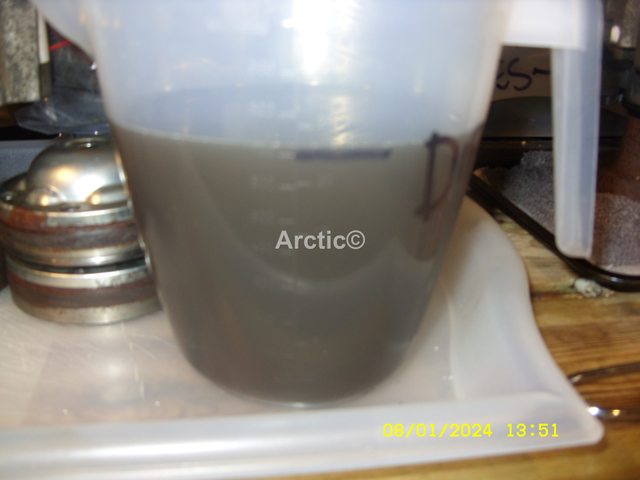
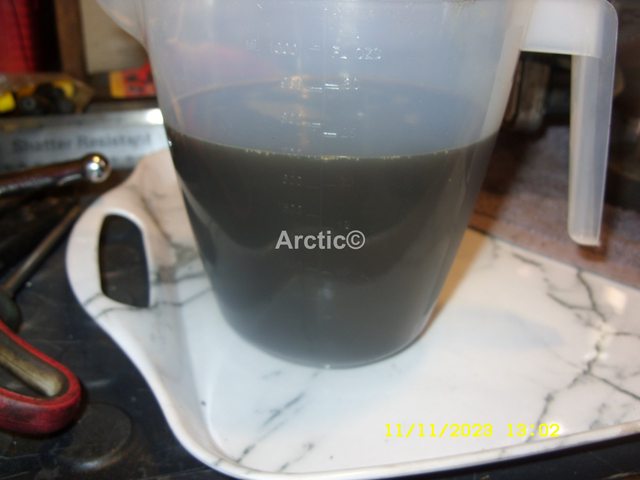
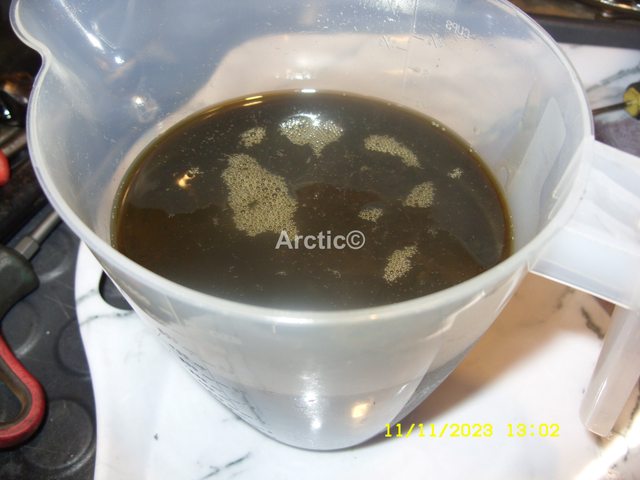
This was then poured into a measuring jug.
 17
17
 18
18
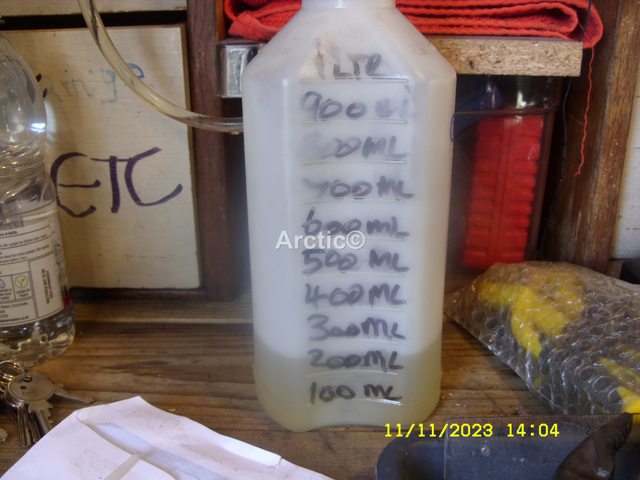
The total amount that was sucked out was 700ml
 19
19
Amounts from the owners book.
 20
20
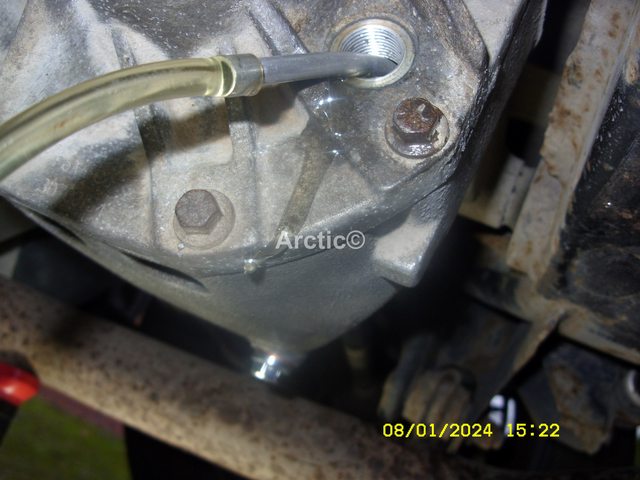
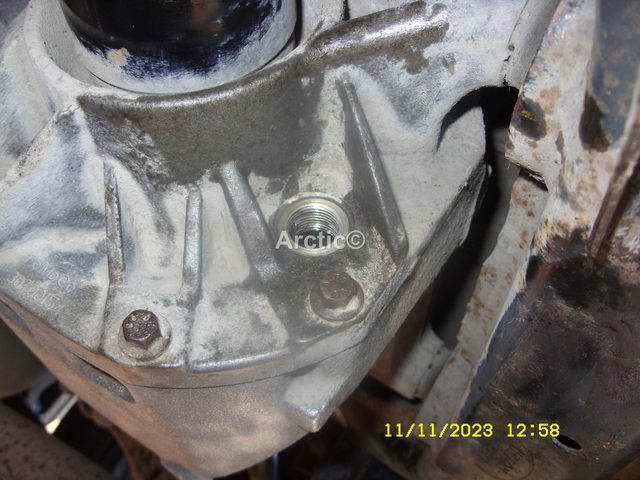
I hooked up my hand pump.
21
This was held in place with a rubber bung, once pumping had been commenced & oil was dribbling out i stopped.
 22
22
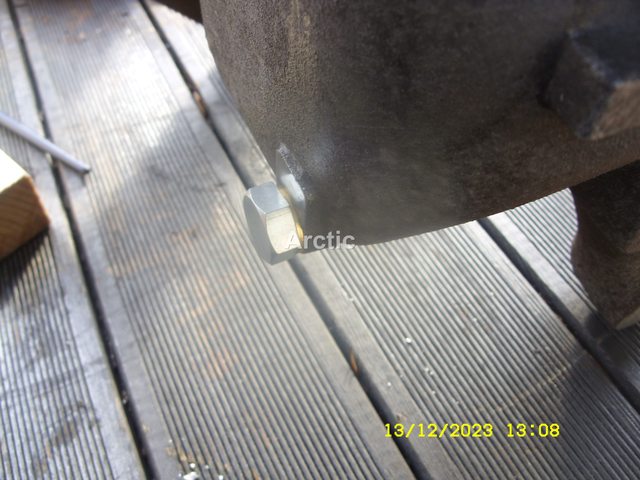
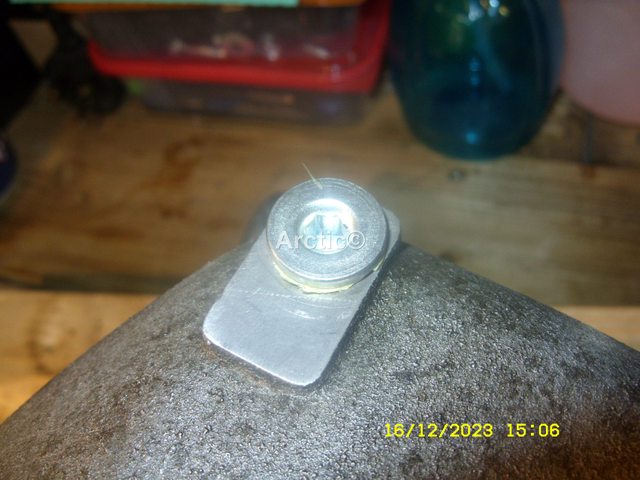
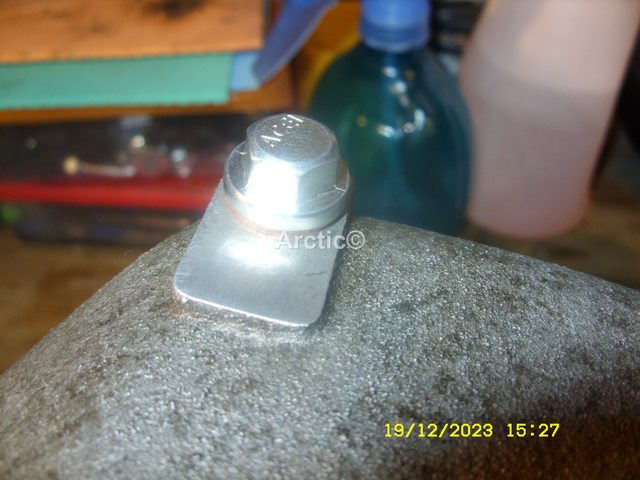
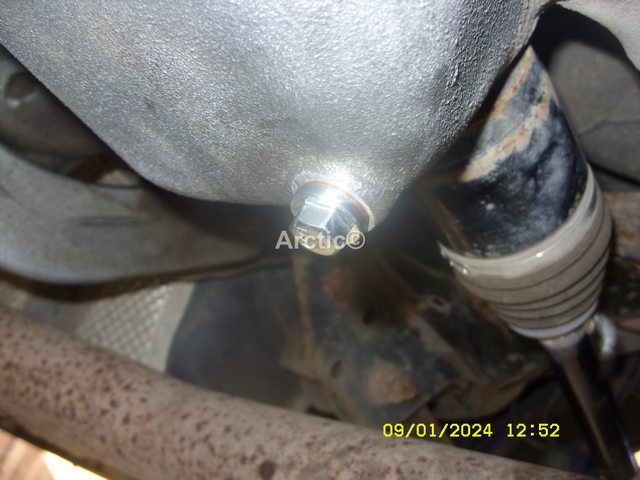
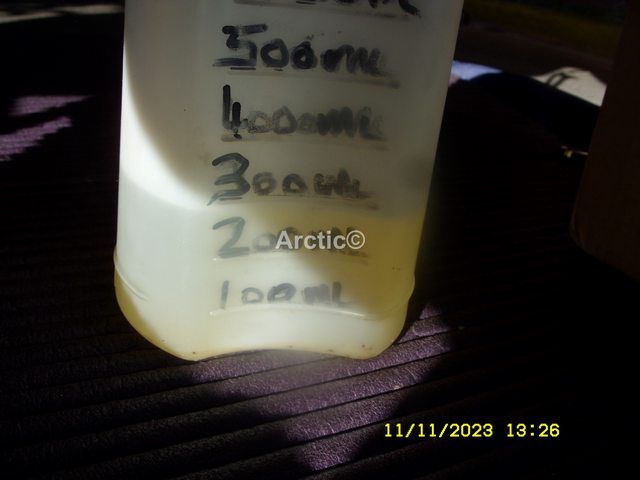
700ml back in the plug was fitted and i started the car for about 10mins.
 23
23
Plug removed added another 50ml until dripping again plug refitted job done, overall 750ml
 24
24
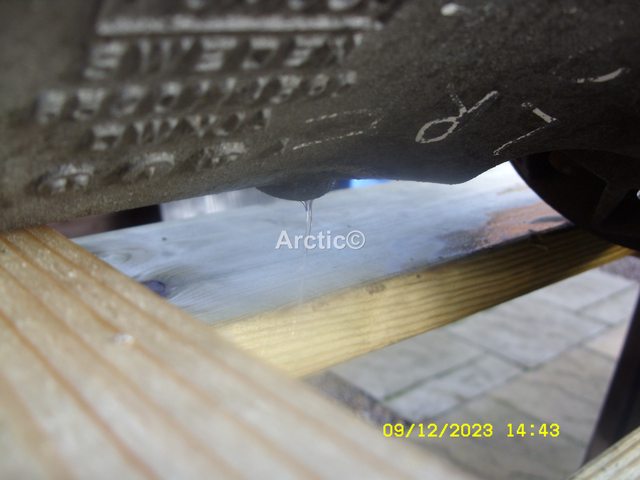
I will remove the plug again later today when i am doing the PTU if weather allows, to let it drip until it stops.
The oil that was used was Smith & Allan FS 75w/90
This was added to my hand pump 1ltr even though the rear diff takes 0.7litres, it helps when pumping if you are not sucking up the dregs at the bottom of the container.
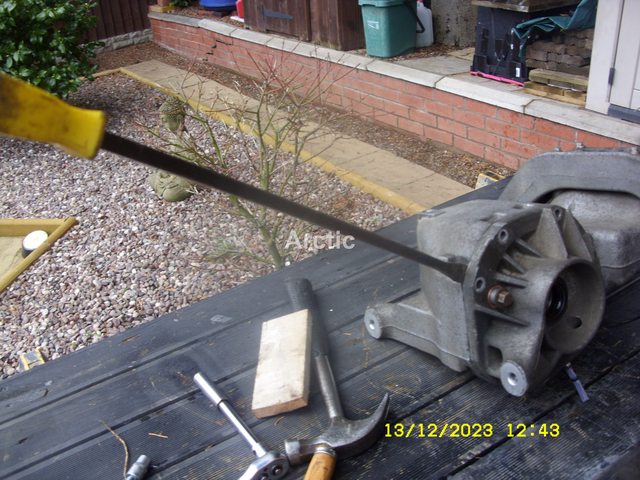
The FL was already on the four ramps which are always used when working under the car.
The little suction pumps and the battery were also ready under the rear of the FL, along with my 13mm aviation spanner & socket ratchet.
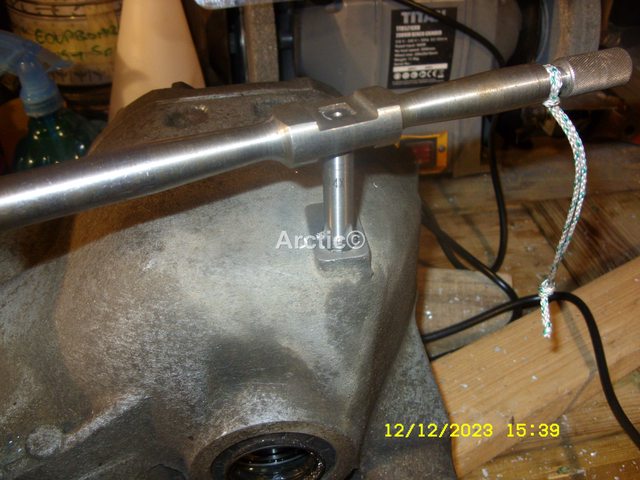
Cracked the filler plug open, with the aviation spanner excellent to get that little more leverage.
Turned the filler plug out slowly with my hand, i was expecting a little oil to drip out but nowt.
A bit mucky but not really bad.
The copper washer was left behind, which was removed has a new one is going to be fitted.
Hooked the pump up to the battery which was fully charged.
The pump with it's little 5mm drain pipe was pushed into the diff and the removal of the oil was started.
This is a slow process because the volume of withdrawal is not that fast, and towards the end it slows down even more, the first 10 minutes is not to bad.
Maybe about 400ml removed in the first 10mins then you have to start moving the suction pipe about in the diff, by 12.28pm most if not all the oil was removed, copper washer removed cleaned up around the filler entrance.
This is the amount that was sucked out.
You can clearly see it's very dark brown as opposed the the nice golden colour.
This was then poured into a measuring jug.
The total amount that was sucked out was 700ml
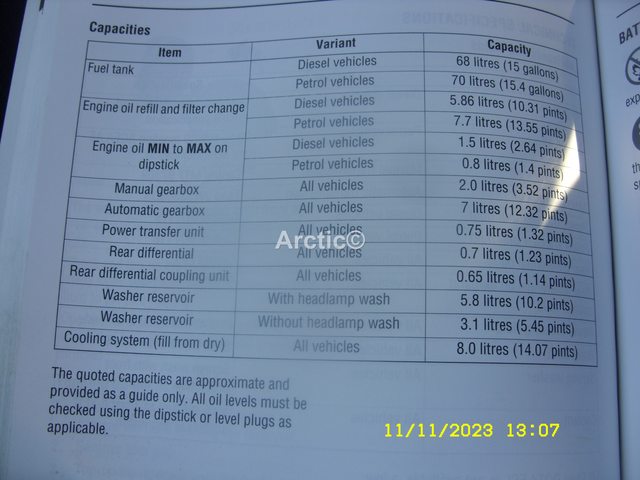
Amounts from the owners book.
I hooked up my hand pump.
This was held in place with a rubber bung, once pumping had been commenced & oil was dribbling out i stopped.
700ml back in the plug was fitted and i started the car for about 10mins.
Plug removed added another 50ml until dripping again plug refitted job done, overall 750ml
I will remove the plug again later today when i am doing the PTU if weather allows, to let it drip until it stops.
Last edited: