Alpinewoodsman
Well-Known Member
- Posts
- 151
- Location
- French Alps
I'm replacing the old style glass tube fuse box on my 1986 19J, so am doing a what to do/not do guide, so other people can avoid some mistakes.
You want:
A garage, or at least a few hours without it being too hot/cold/wet.
Crimpers and crimp terminals. Range of sizes, as you're going to have a range of wire sizes, and some with multiple wires to one fuse.
Sufficient, correct amperage, blade fuses for all the circuits you are putting in or replacing. You will feel very stupid if you're sure you've got enough about, and only find you haven't once the car isn't drivable. If you have any plans to add anything in the future, adding a few spare circuits now will save you time and cursing later.
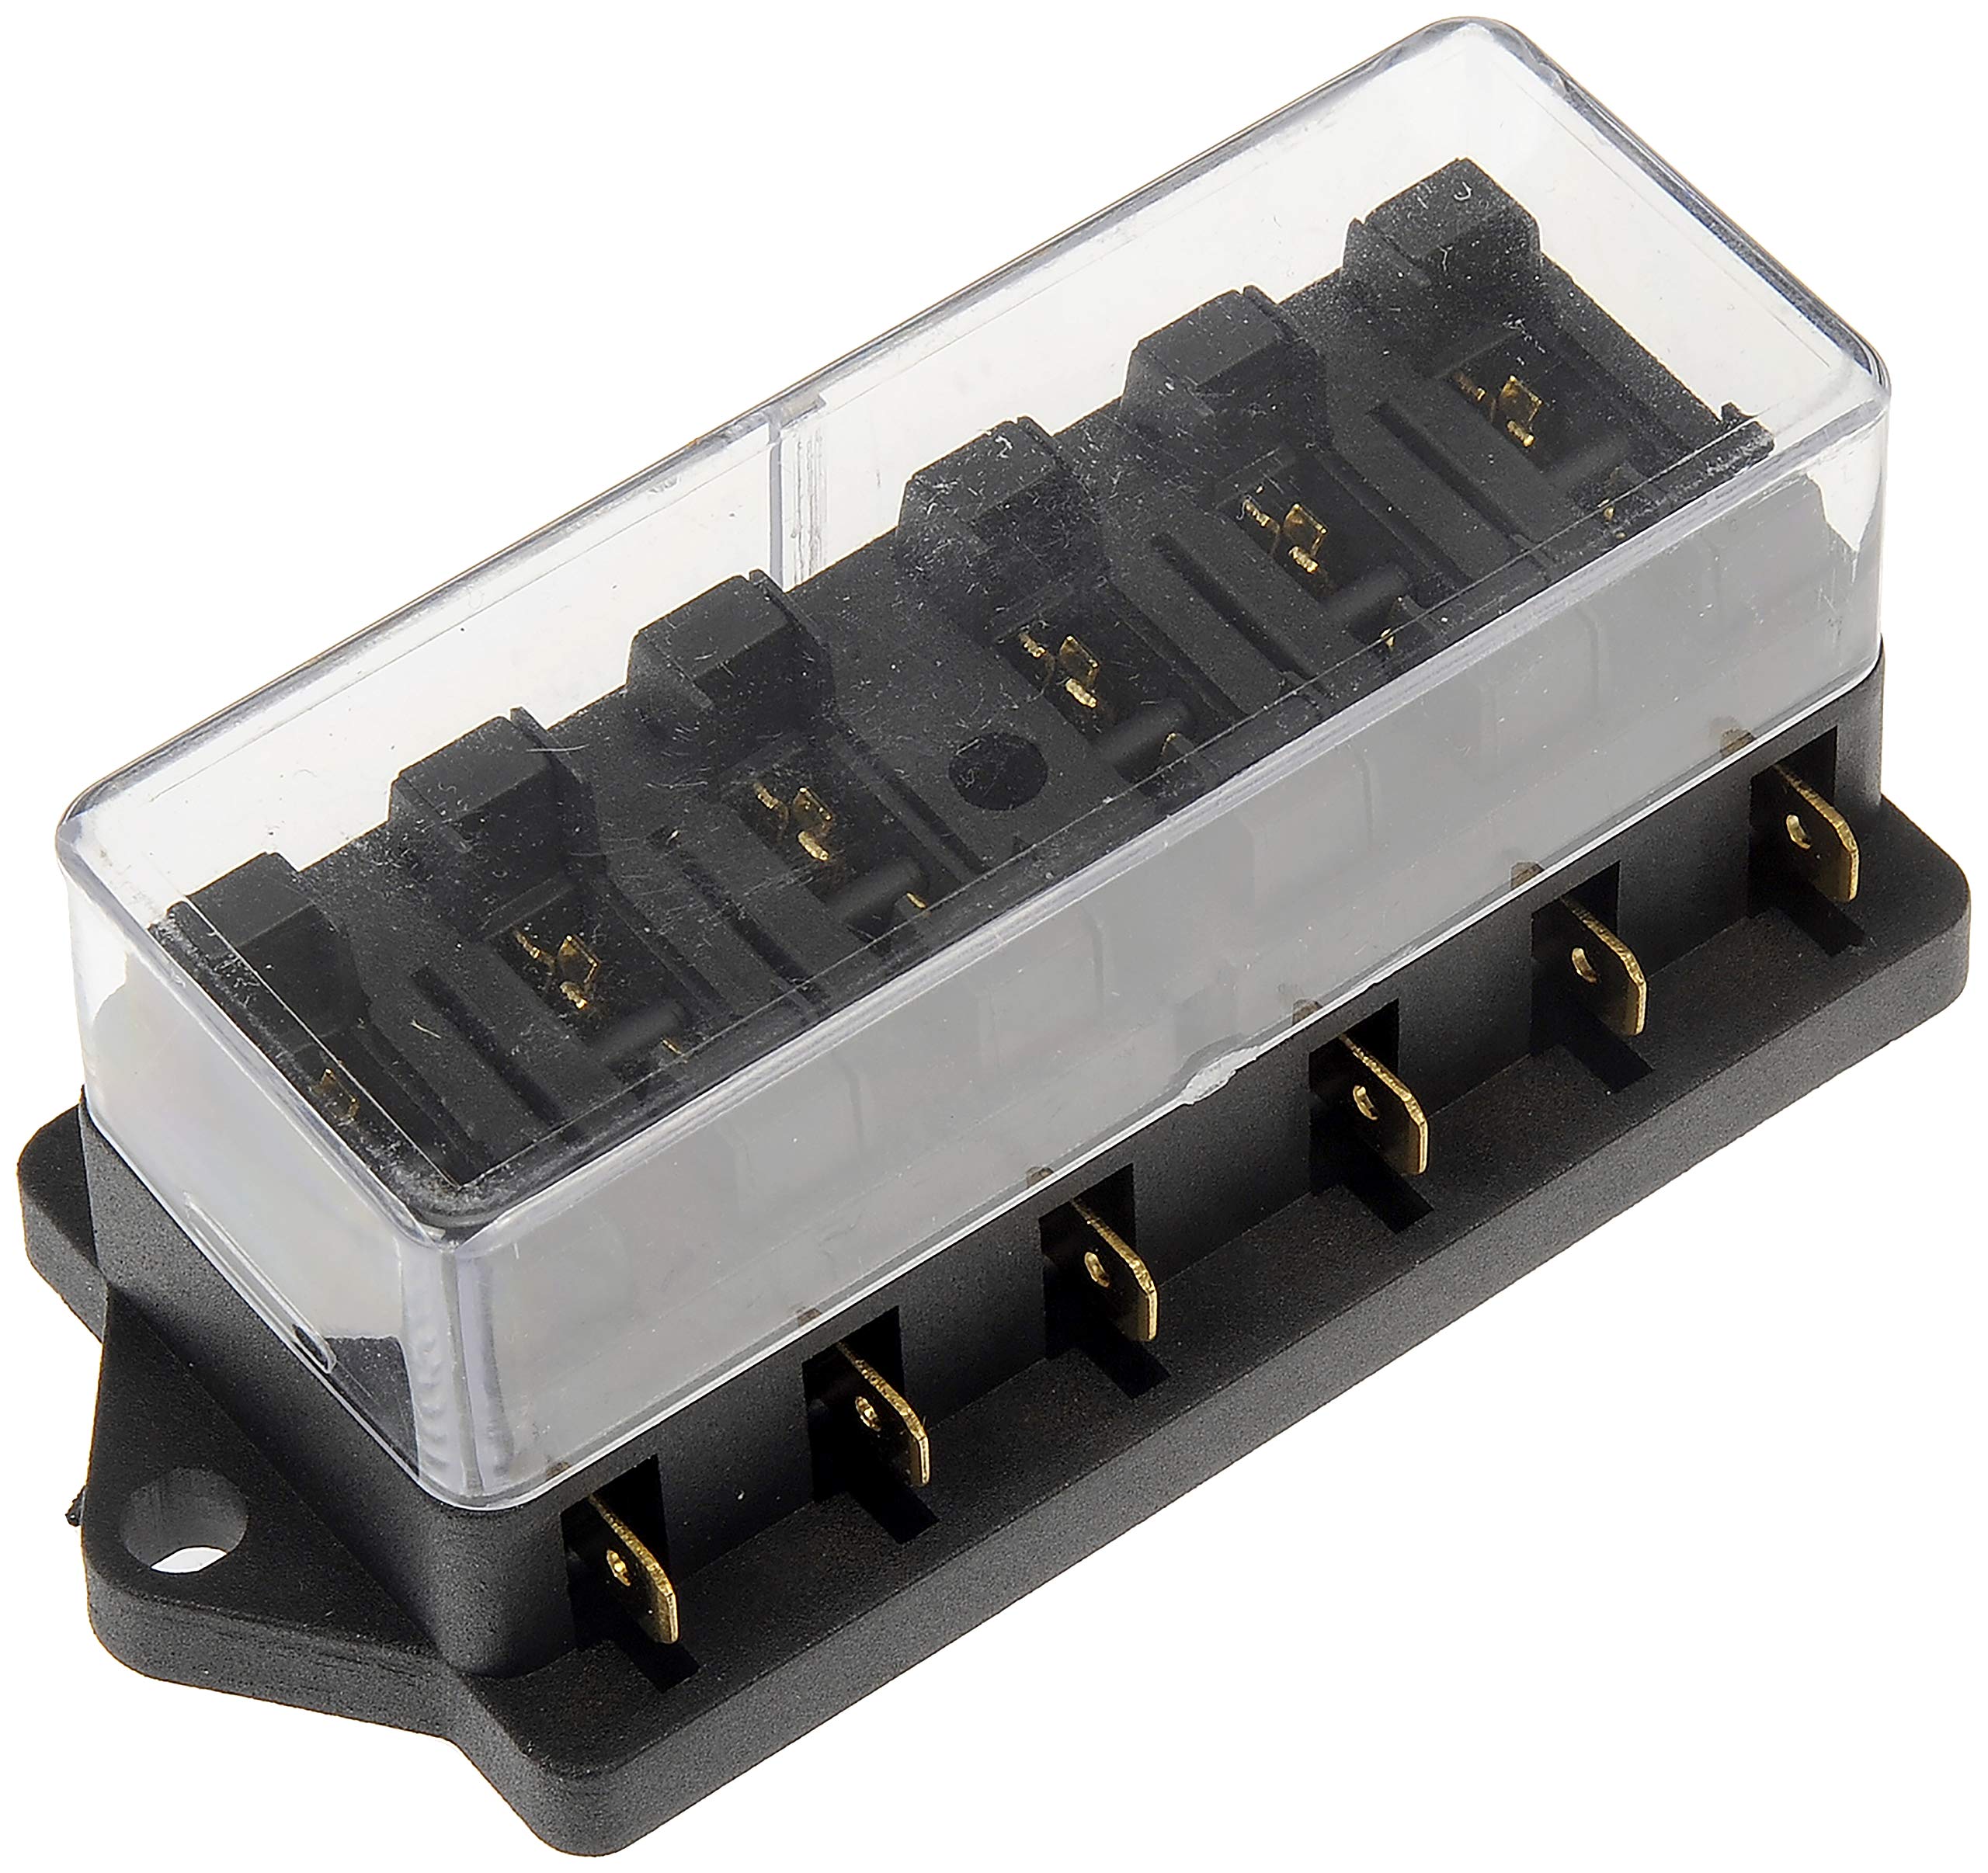
Replacement fuse blocks with enough slots for everything you want to do. I strongly suggest you get ones that have wire entry on the back, not the sides. The ones being replaced have rear entries, and the wiring loom isn't long enough for you to have room to play about.
Some scraps of 1.5 and 2.5mm wire i.e leftovers from domestic wiring. If your example of Solihull's finest handiwork is a Friday afternoon job ( like 90% of them), some wires are going to be inconveniently short.
Standard electrical tools- side cutters, cable ties, PVC tape etc
Wiring diagrams. They may be accurate.....
If you want to add any relays- such as the glowplugs- then this is the time to do it.
---------------------------------------------------------------------
Steps.
Do actually bother to disconnect the battery.
Pull out the cubby box, and as much other stuff as you can to make room. Access is the main problem for this.
Fuse box cover off, and stick it on the dashboard for reference. A wiring diagram next to it doesn't hurt either.
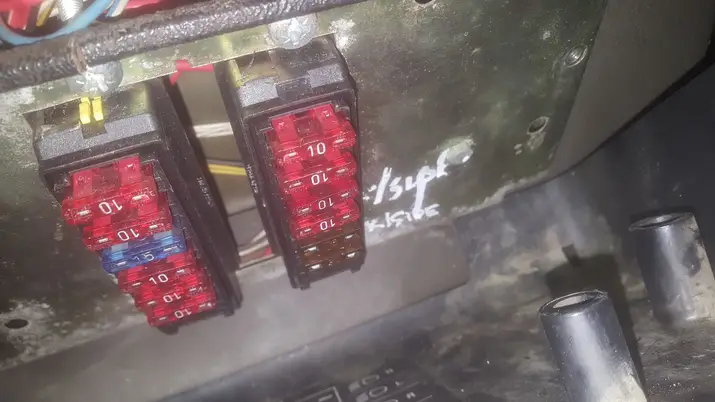
Unscrew fuse box mounting. Take some photos of where everything is. Pop out the two 6 way fuse holders. Label them left and right, and with the correct way up now, to save brain farts later, when the damn things have got twisted....
Take the fuse box mounting to the workshop, and make the new fuse holders fit. If you can make them fit from the rear of the fuse holder, it'll be easier. Label these one too in necessary.
Now working logically, cut the wires off the old holder, and terminate them with new connectors, and connect them to the new holder. Do them one by one.
Some circuits are jumpered together. You may find it easier to stick a butt splice in a little higher up, and stick a Y in instead.
Label your old and
You want:
A garage, or at least a few hours without it being too hot/cold/wet.
Crimpers and crimp terminals. Range of sizes, as you're going to have a range of wire sizes, and some with multiple wires to one fuse.
Sufficient, correct amperage, blade fuses for all the circuits you are putting in or replacing. You will feel very stupid if you're sure you've got enough about, and only find you haven't once the car isn't drivable. If you have any plans to add anything in the future, adding a few spare circuits now will save you time and cursing later.
Replacement fuse blocks with enough slots for everything you want to do. I strongly suggest you get ones that have wire entry on the back, not the sides. The ones being replaced have rear entries, and the wiring loom isn't long enough for you to have room to play about.
Some scraps of 1.5 and 2.5mm wire i.e leftovers from domestic wiring. If your example of Solihull's finest handiwork is a Friday afternoon job ( like 90% of them), some wires are going to be inconveniently short.
Standard electrical tools- side cutters, cable ties, PVC tape etc
Wiring diagrams. They may be accurate.....
If you want to add any relays- such as the glowplugs- then this is the time to do it.
---------------------------------------------------------------------
Steps.
Do actually bother to disconnect the battery.
Pull out the cubby box, and as much other stuff as you can to make room. Access is the main problem for this.
Fuse box cover off, and stick it on the dashboard for reference. A wiring diagram next to it doesn't hurt either.
Unscrew fuse box mounting. Take some photos of where everything is. Pop out the two 6 way fuse holders. Label them left and right, and with the correct way up now, to save brain farts later, when the damn things have got twisted....
Take the fuse box mounting to the workshop, and make the new fuse holders fit. If you can make them fit from the rear of the fuse holder, it'll be easier. Label these one too in necessary.
Now working logically, cut the wires off the old holder, and terminate them with new connectors, and connect them to the new holder. Do them one by one.
Some circuits are jumpered together. You may find it easier to stick a butt splice in a little higher up, and stick a Y in instead.
Label your old and